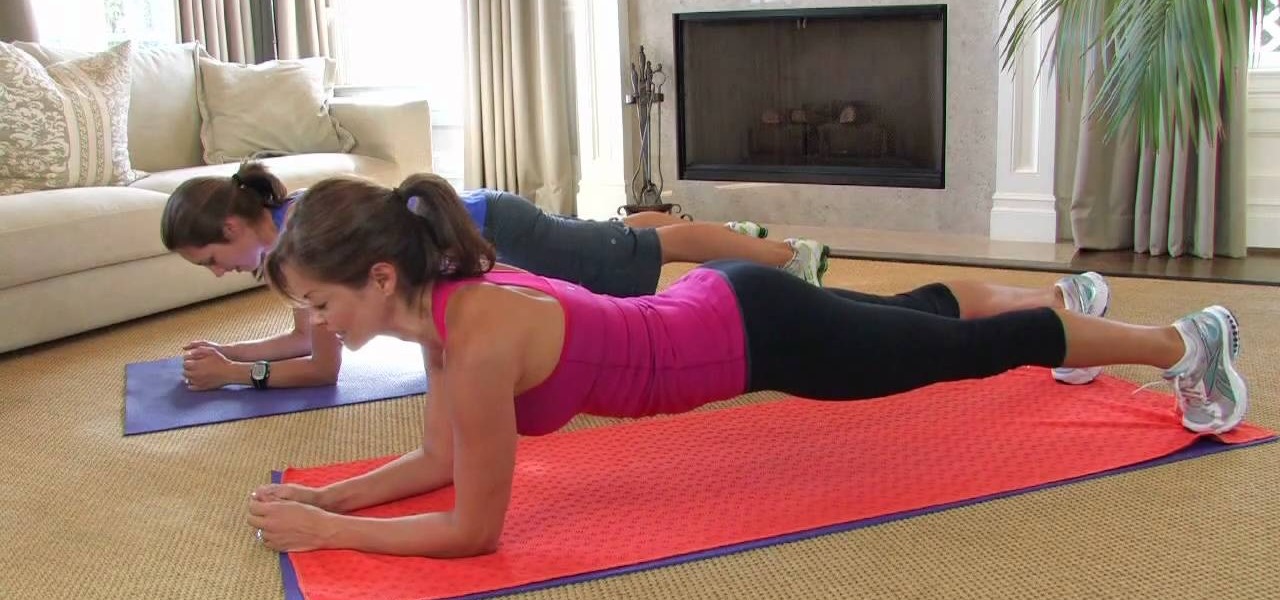
This video shows you how to correctly do the exercise called "the Plank". For beginners, turns of fifteen to thirty seconds are suggested, and you can end up doing minutes after you practice. "The Plank" exercise consists in trying to keep your body in a strait position, somewhat lifted, supporting it only in your toes and arms from the elbow down. You can also do some movement while in that position. Leaning to a side, and then to another, without touching the ground, and always stopping in ...
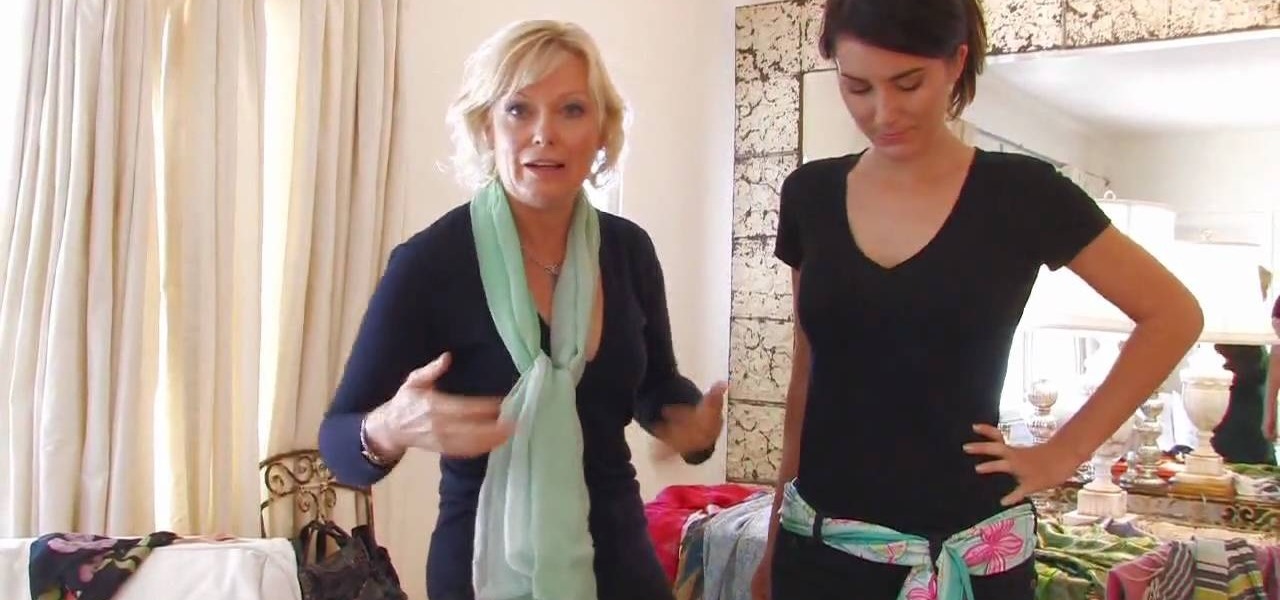
In this Modern Mom video, costume designer and fashion consultant Cate Adair shows how to wear a spring scarf. She shows how to use a long thin scarf as a belt. She threads the scarf through belt loops and tying it in a simple knot around the belt loop at the end. During the video, she discusses using fabric as a scarf, or changing the width of the scarf depending on body shape. Finally, she uses a large square scarf folded in half from corner to corner to tie a "sarong" style splash of color...
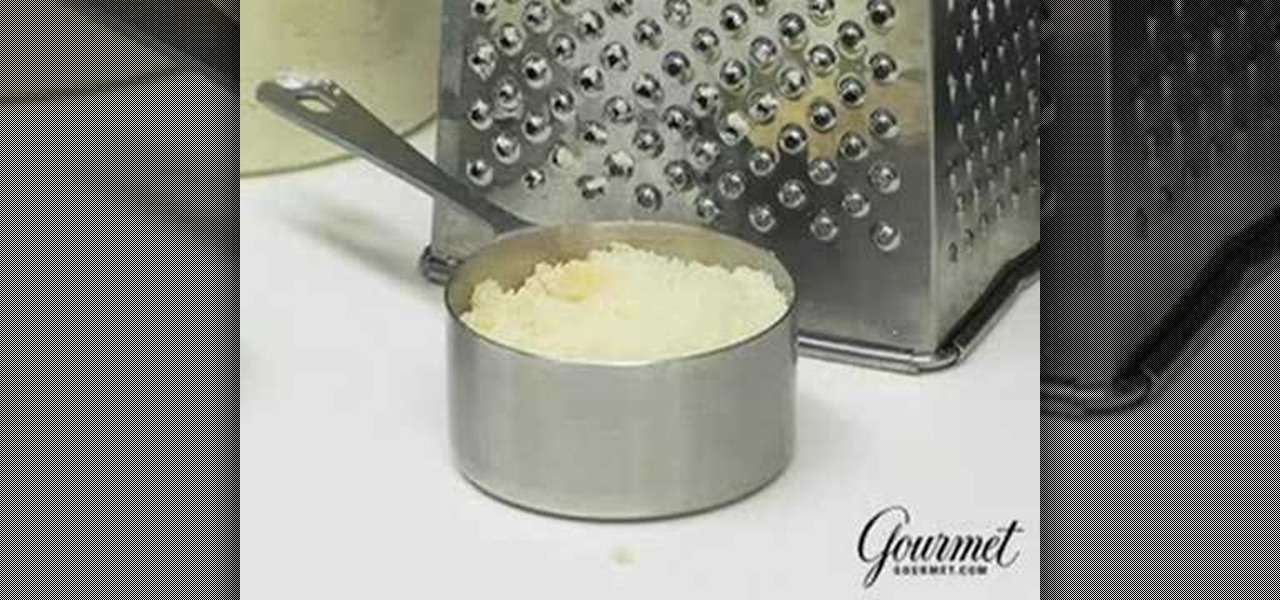
Gourmet editor, Ruth, tells us all about the different graters and why choosing the best grater for each job is very important. The classical grater is called a knuckle bleeder. This is because when you're at the end of the item you're grating, you have to get your hand really close to it and you might scrape your knuckles. The hand grater is easier to use and provides smaller pieces which makes it ideal for most grating jobs. A zester grater is also easy to use and provides more volume than ...
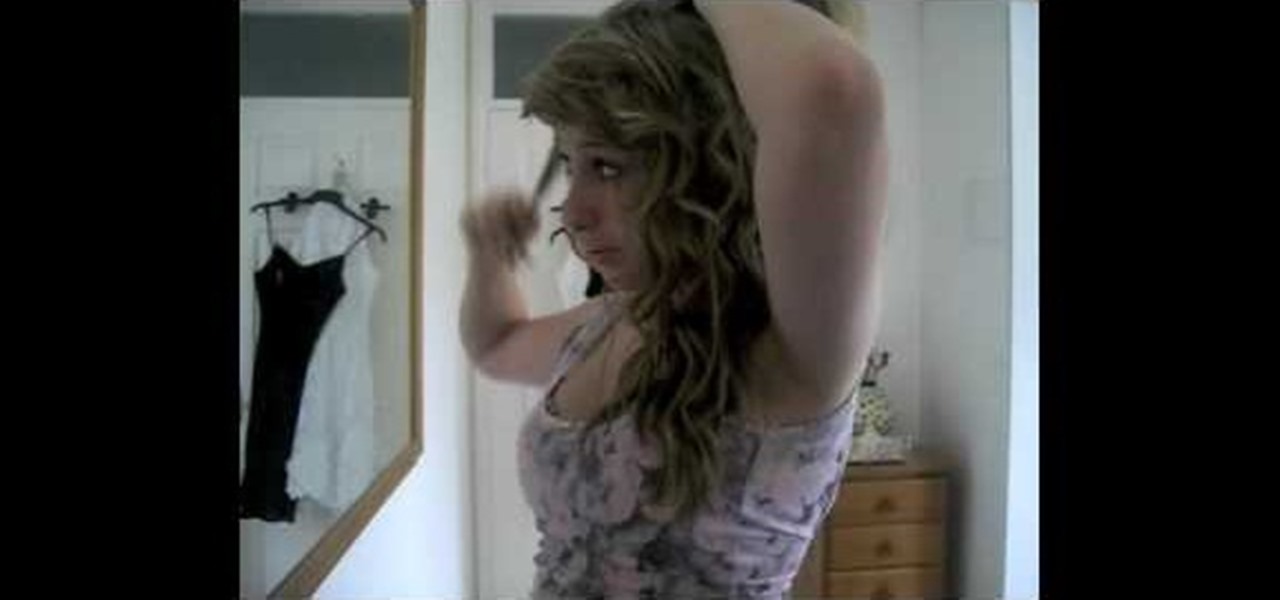
The first step in getting Taylor Swift curls is to wash and blow dry your hair. After that, apply a heat protector spray and brush it through. To section your hair, twist the top lairs up and clip them up on top of your head. Next, take a curling wand and place it under a small section of hair at the root and wrap your hair around the wand. Leave a little bit that is unwrapped for you to hold onto. Hold the wand at a 45 degree angle. The longer you leave your hair wrapped around the wand, the...

This video tutorial is in the electronics category and it is going to show you how to lock and prevent an extension cord from unplugging. When you plug in an extension cord, there is always a chance it getting undone accidentally. There is also the possibility of the pins getting slightly bent. So, you need to lock the extension cord. There is a real simple way to do this. All you got to do is just tie a simple knot before plugging in the cord. Now even if someone pulls at both the ends of th...
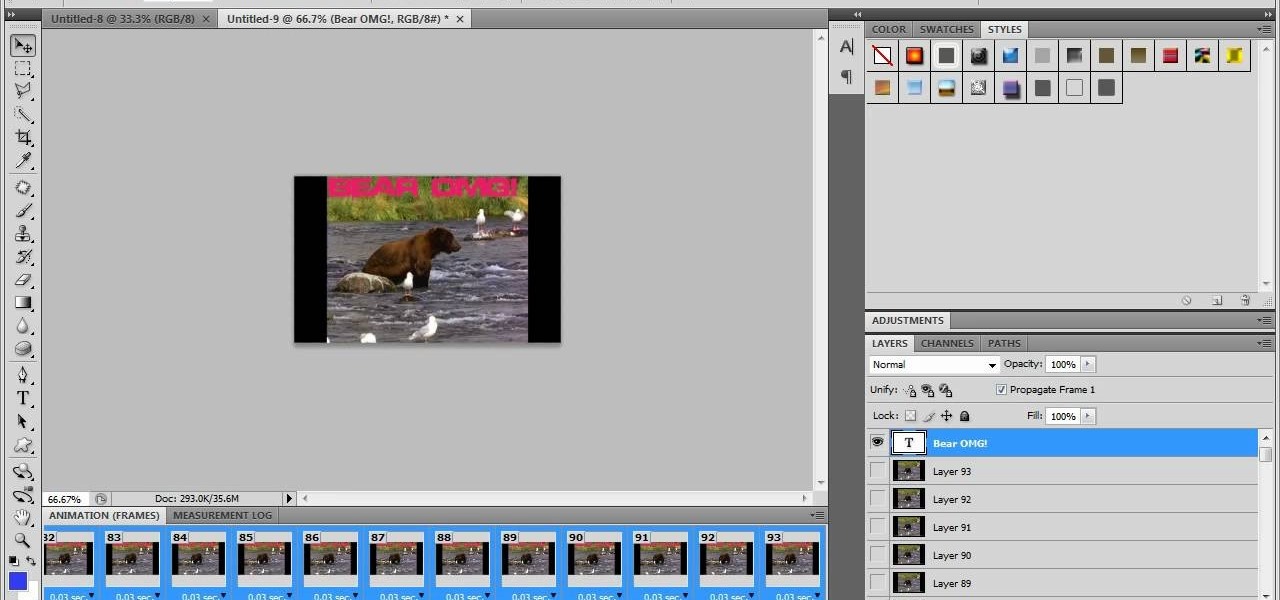
Learn how to make an animated GIF from a video clip using Adobe Photoshop CS4. You'll need to use an external editing program (like Sony Vegas) to create a small clip from your larger video beforehand. From Photoshop, go to "File" and select "Import" and then "Video Frames to Layers" from the pop-up menu and select your video clip. Choose "From Beginning to End" when prompted about range to import. The duration of the video clip will now be displayed in frames. By default, each frame is set t...

This video is describing how to make a LEGO version of the Matrix bullet. The first step is gathering all of the supplies. You will need as many of the one by one transparent squares as you can find and a black one by one circular LEGO. Then put all of the white transparent pieces together in a line and trail them behind each other. Twist the line, this will be your bullet trail. Then take the black one by one LEGO piece and place it on the end of your white bullet trail. Then you have finish...
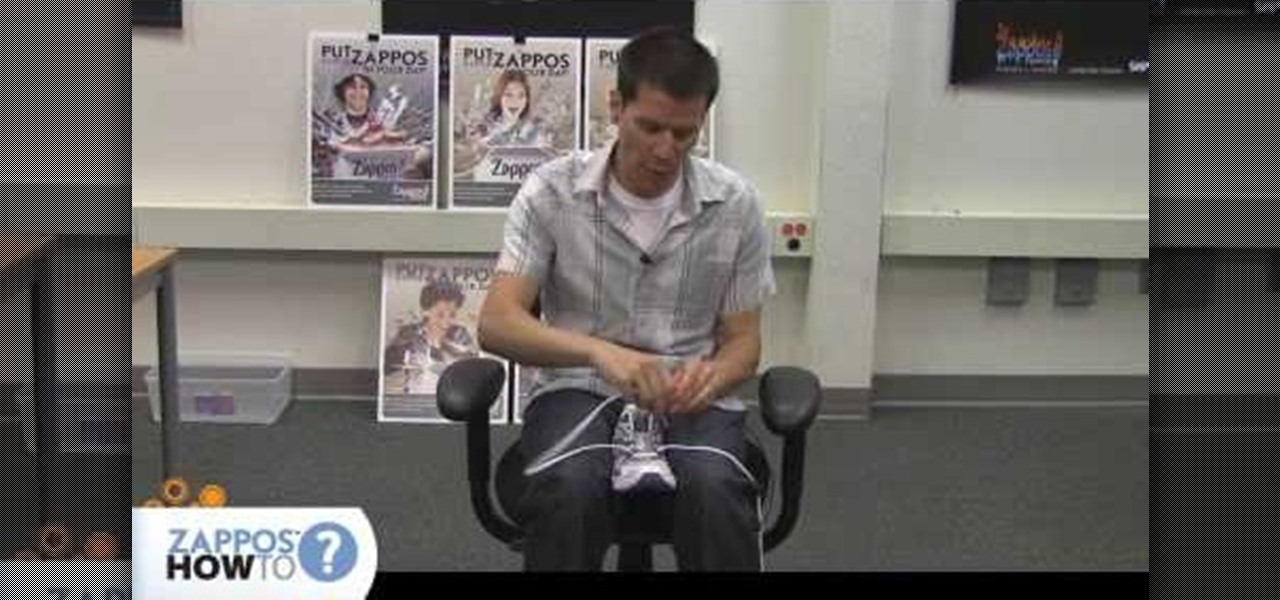
This shows how to loosen up the laces of shoes with an over under technique. It is important to not have any pressure points and discomfort. The first lacing is over at the end then it is moved under the eyelet and makes a cross under. Then it is alternated back over and under. The show is then tied up normally on top. Because the show is not laced on the underside it gives more room for the person wearing the show. This technique for lacing is especially helpful for those who have a high ins...
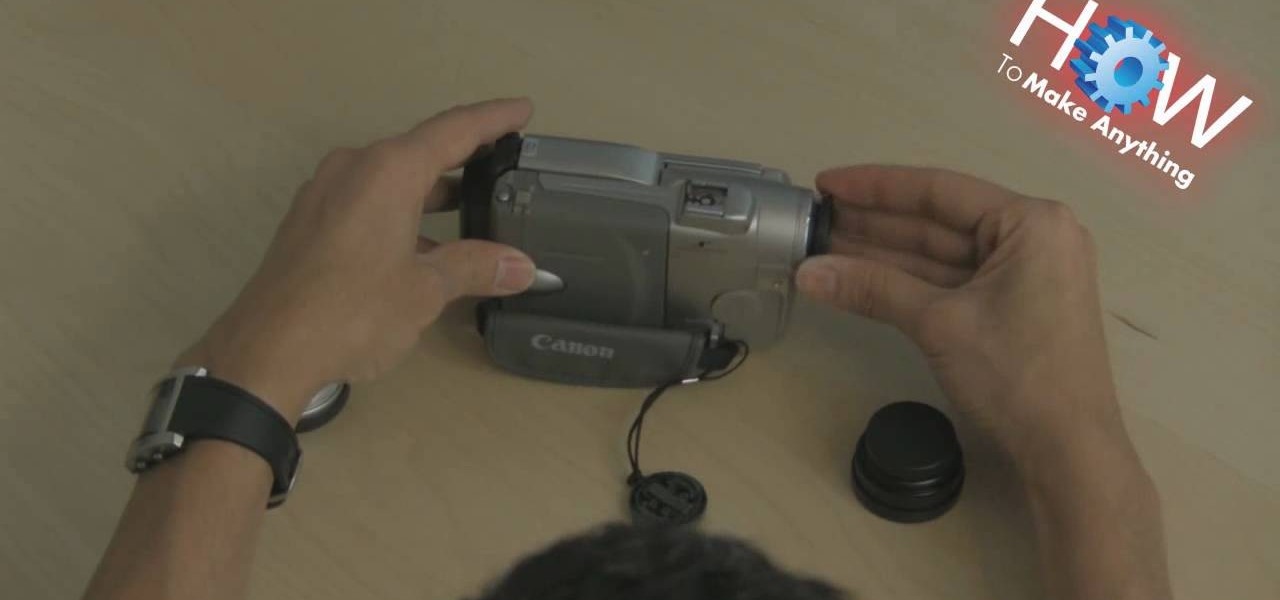
Make sure you have the appropriate lens for your digital camera. Look for markers on the lens that correspond with any mark on the camera body. Different brands have different markers. Some have square dots while some have red dots. Line these marks In one hand, hold your camera body firmly pointing to you. While holding it, push the lens button. Firmly hold the bottom of the lens (where the lens meets the camera body), and twist. Some cameras let you twist clockwise, others counterclockwise....
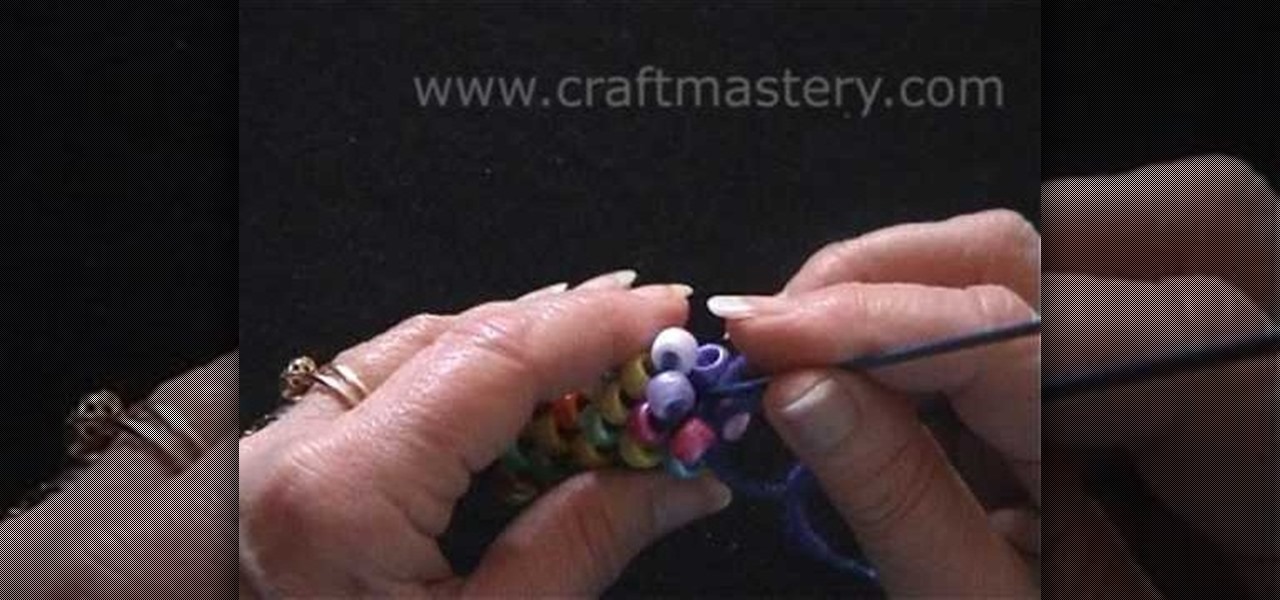
For anyone interested in learning a new jewelry technique, this video tutorial shows how to crochet a bead rope necklace. You can use large pony beads like the video tutorial, or use much smaller beads. The pony beads are suggested for beginners so that you can see what you are doing. To begin, thread all of the beads you will use onto your yarn. You can alternate colors or place them onto the string at random. Both techniques will yield two different effects. Begin with six chains slip stitc...
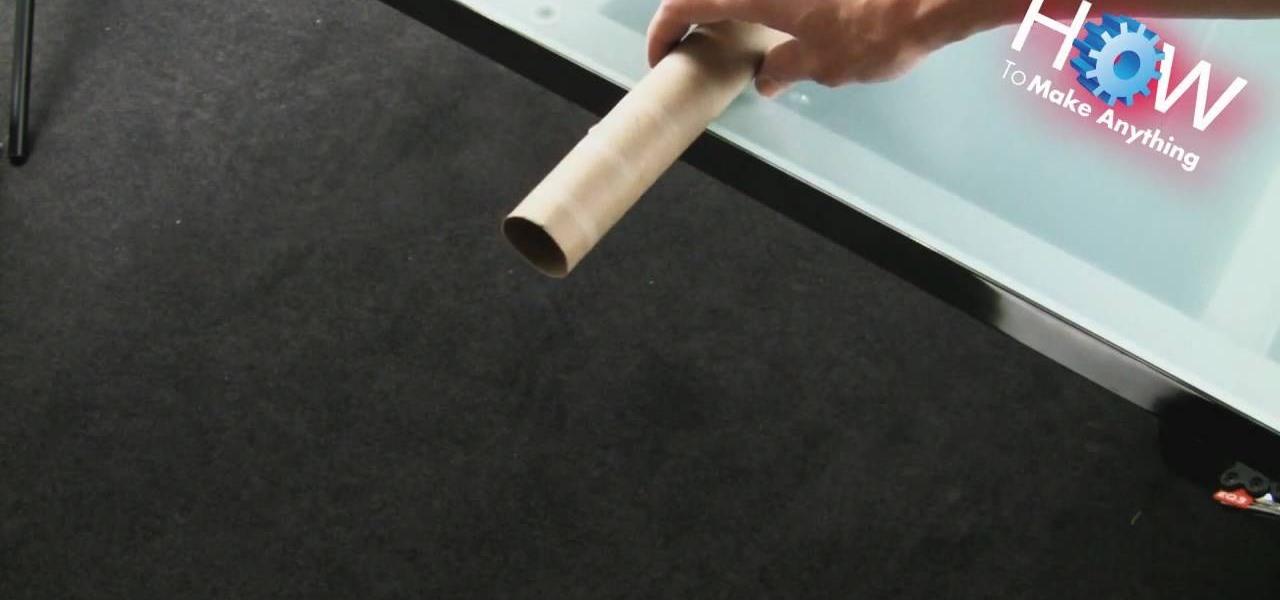
How to Make Anything demonstrates how to make a humane mouse trap from a paper towel tube. If you have a pesky mouse that you would like to catch alive, make a tube mouse trap in a few easy steps. First, put something delicious in the end of the tube. Then, balance the tube on the edge of the counter top. Below the tube, place a mouse catching receptacle like a trash can. The mouse will crawl into the tube to get the treat, tip the tube off the counter and be caught in the trash can. You can ...
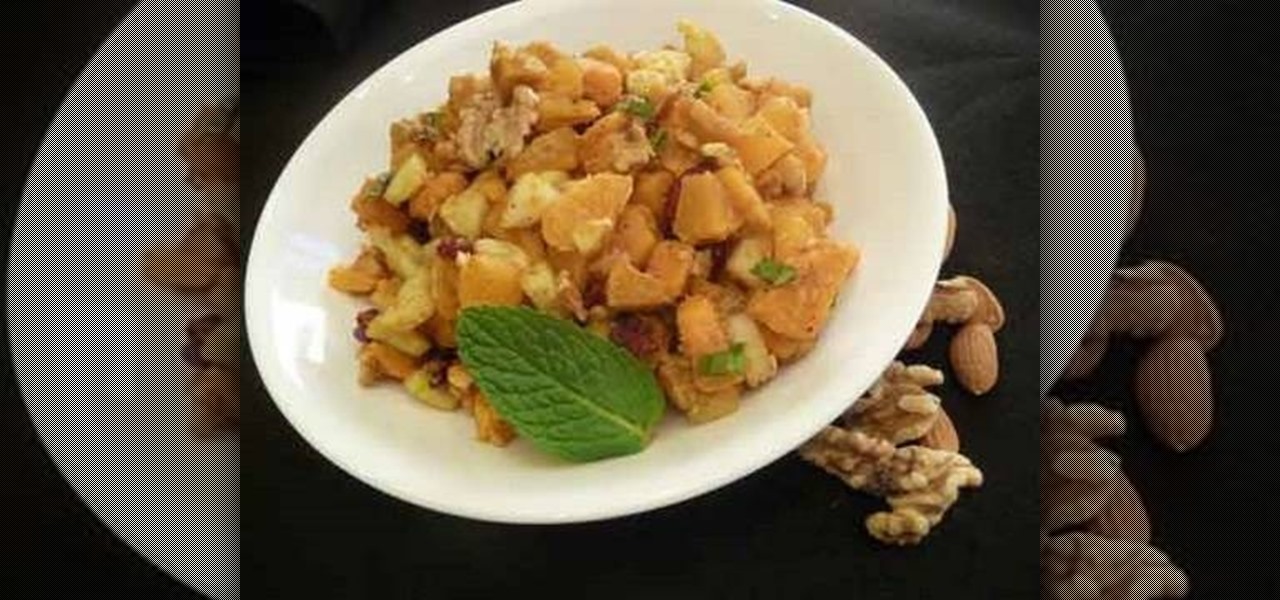
This video teaches you how to make an authentic healthy Indian salad, sweet potato chaat. Quick and easy to make on any budget, for a delicious end result. Healthy, yet full of flavor, this tutorial takes you step by step, as well every ingredient you'll need to wow your guest.
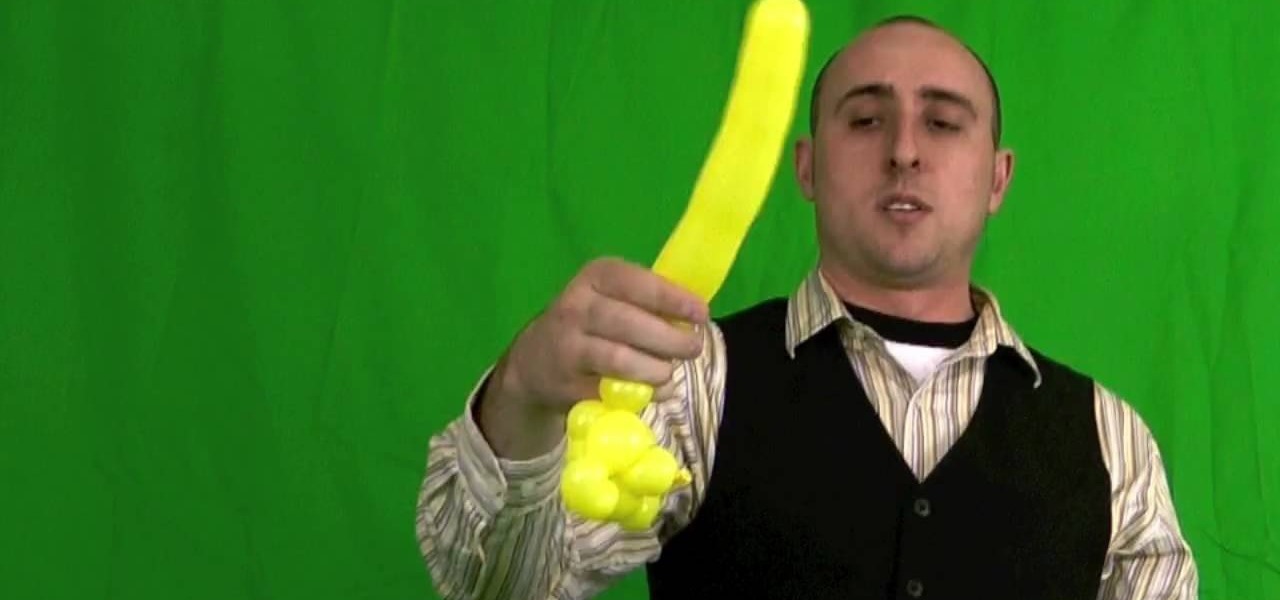
Learn how to make a balloon teddy bear using only one hand by following the steps outlined here in this tutorial. You will need one balloon already filled with air. At the end, create a nose. Then, add two bubbles for the back of the head. Twist the five bubbles that will comprise the head of the bear. Once the head has been formed, you will stick the nose in through your ring for the head to create the overall head and face. Pinch twist to create the ears at the top of the head. The body is ...
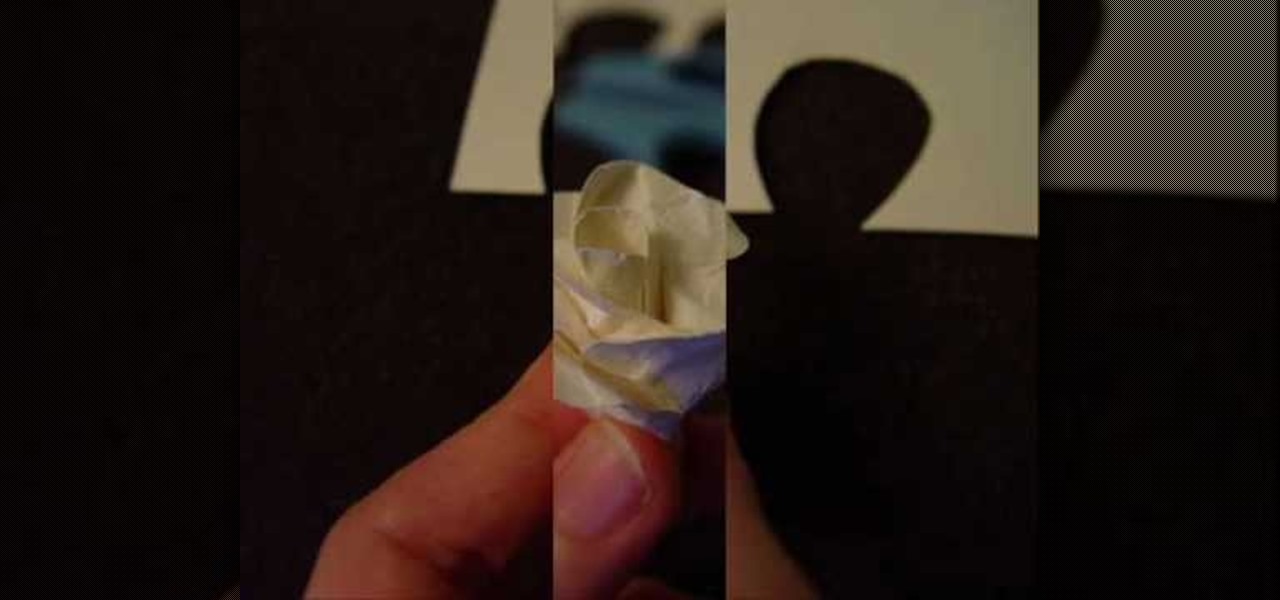
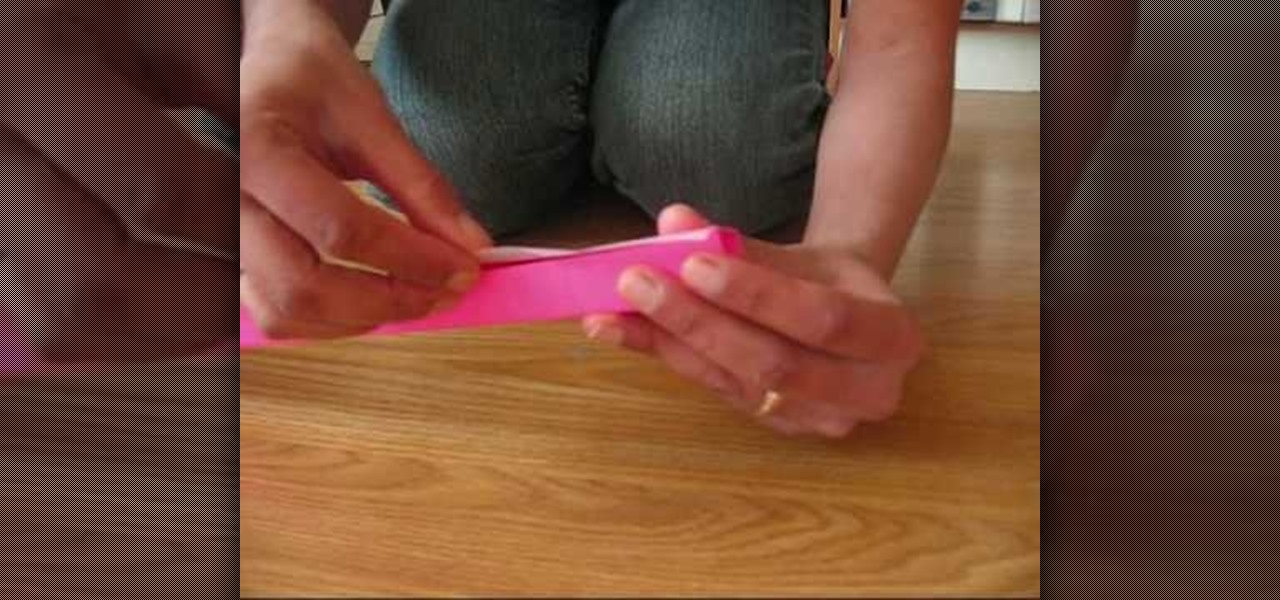
This tutorial demonstrates how to make simple yet beautiful paper roses using only a few materials. The image displayed at the end of this video is just one example of how realistic a paper rose can look. In order to do this, you will need at least one sheet of plain or colored paper, tacky glue, wire and a pair of scissors. Initially, you must first cut your paper in to the shape of your pedals, then crumple them up. Crumpling your pedals not only makes them more flexible, but can also add a...
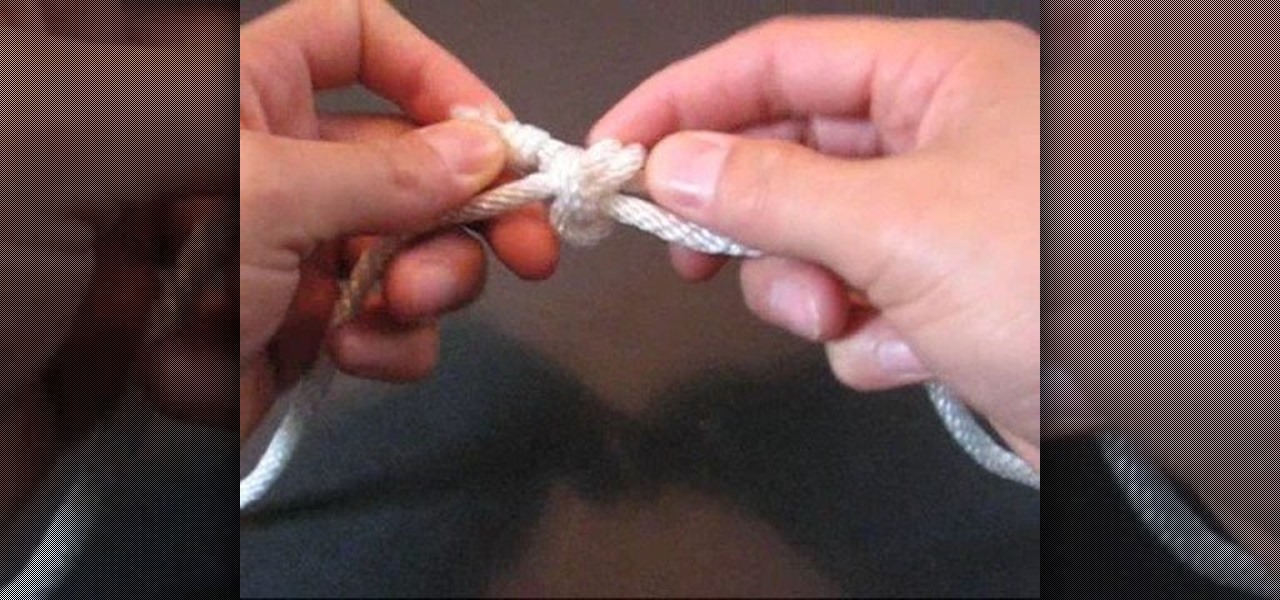
In this video you will learn how to tie a knot known as the "Hunter's Bend". A "bend" is a type of knot used to join two ends of a rope together. Generally, it should be possible to untie this type of knot, once it's usefulness has passed. This knot was originally created by a man named Phil D. Smith during WWII, at which time he dubbed it the "Rigger's Bend". An English physicist, by the name of Edward Hunter, rediscovered the knot in 1978, and popularized it's use, leading to it's current n...
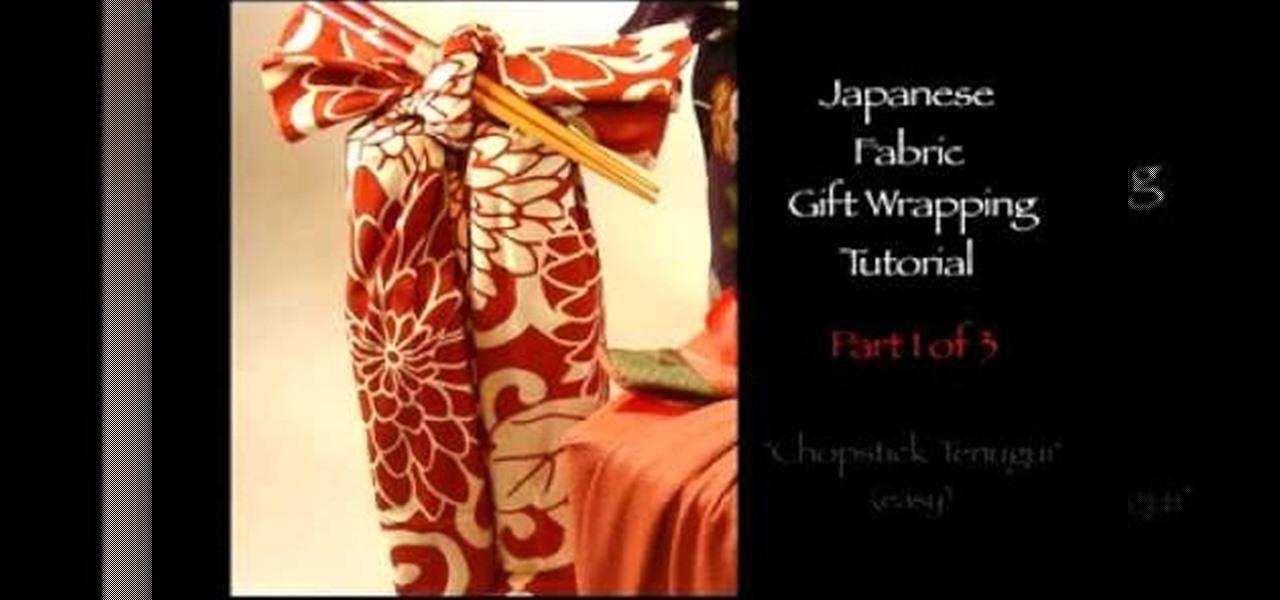
In this video tutorial, viewers learn how to gift wrap two bottles using the chopstick tenugui wrap technique. Tenugui is a thin Japanese hand towel made of cotton. The materials needed for this gift wrap are: a tenugui, chopsticks and two small bottles. Begin by laying the bottles horizontally as the bottom bases touch on the tenugui. Roll the tenugui and fold it up. Tie the ends with a double cross and add the chopsticks in the knot. This video will benefit those viewers who are planning to...
In this video tutorial, viewers learn how to tie a scarf into a bow. Begin by finding a long rectangular scarf of your choice. Now slightly twist it up a bit. Then put it on the neck and wrap it around from the back once. Finish the procedure by tying the ends into a bow. To make a bow, create 2 loops and cross them over each other. This video is very simple, easy and fast to do. This video provides step-by-step instructions for viewers to easily understand and follow along. This video will b...
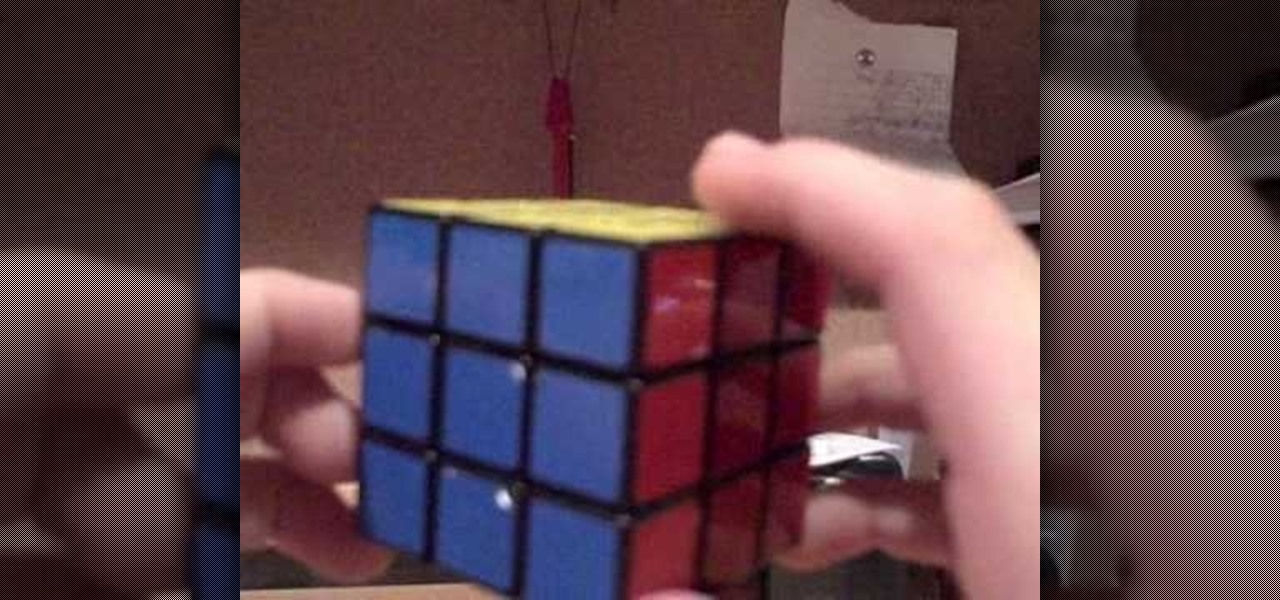
Has a Rubik's Cube got you stumped? This video demonstrates how to understand notation in a three-by-three cube. Step one of the video is to understand that there are three types of pieces in a cube. One is a center pieces, these demonstrate what the color of the side must become. Next, is an edge piece. This is one piece with two stickers. Lastly, there is a corner piece. This is a corner on the cube. It has three stickers. Finally, once you understand the notation of the pieces of the cube,...
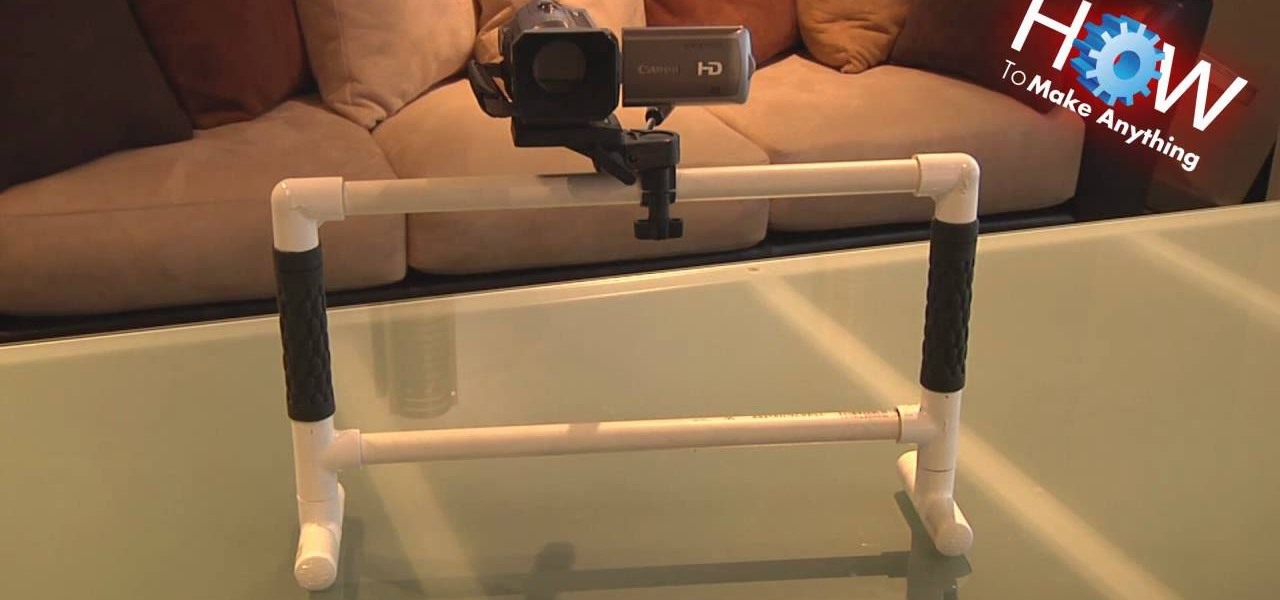
This video tutorial is going to show you how to steady your shots with a homemade fig rig. The camera is mounted right in the middle of the top bar and it uses the iron as the balancing mechanism. The official fig rig is about $300. But, the one shown in the video will cost you around $10. Cut a PVC pipe about 2 feet in length and glue on two T joints on either end parallel to each other. Now fix the two feet into the T joints as shown in the video. The larger the camera, the longer will be t...
One of the most important features on the jerk bait is the front end diving lip which is used to make the lure dive deeper in the water when the jerk bait is pulled by the fishing rod. There is one more very important feature involved in using this jerk bait. It is the "pause" and "jerk" motion of the lure. This action should be performed after the line is fully cast out and fully under the water and all of the slack left in the fishing line is reeled in and gone. The reason for the "pause" i...
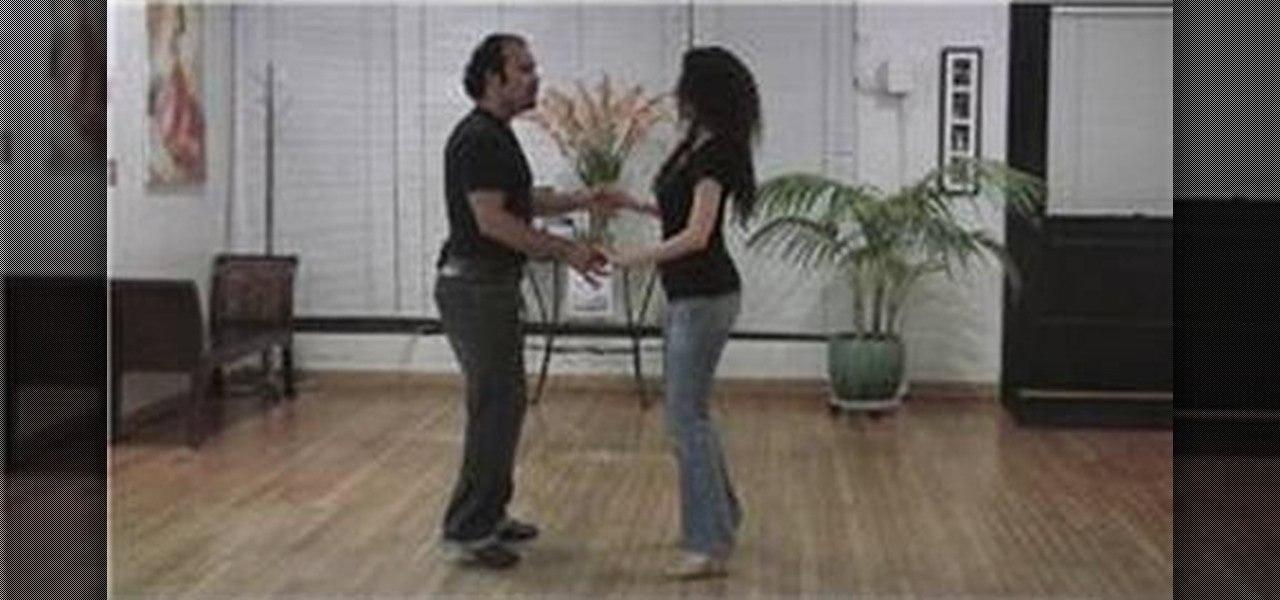
Looking to learn the Bachata? We've got a string of videos that will get you on your way. In this dance tutorial, learn the reverse cross-hands turn, which starts with the ladies on the left and ends with the ladies on the right. Learn how to do the reverse cross-hands turn with guidance from a professional dance instructor.
The self-proclaimed "Flower God" was shopping the other day when he came across a vase that he could not resist purchasing. He shows us how to create a beautiful flower arrangement. He works with two different heights: a high plain and a low plain. He wires up some flowers so that they hold their shape better, clustering them down at the bottom. He then accents the low section with some Japanese Lanterns which project outward from the lower section. Next come the flowers for the height, tall ...
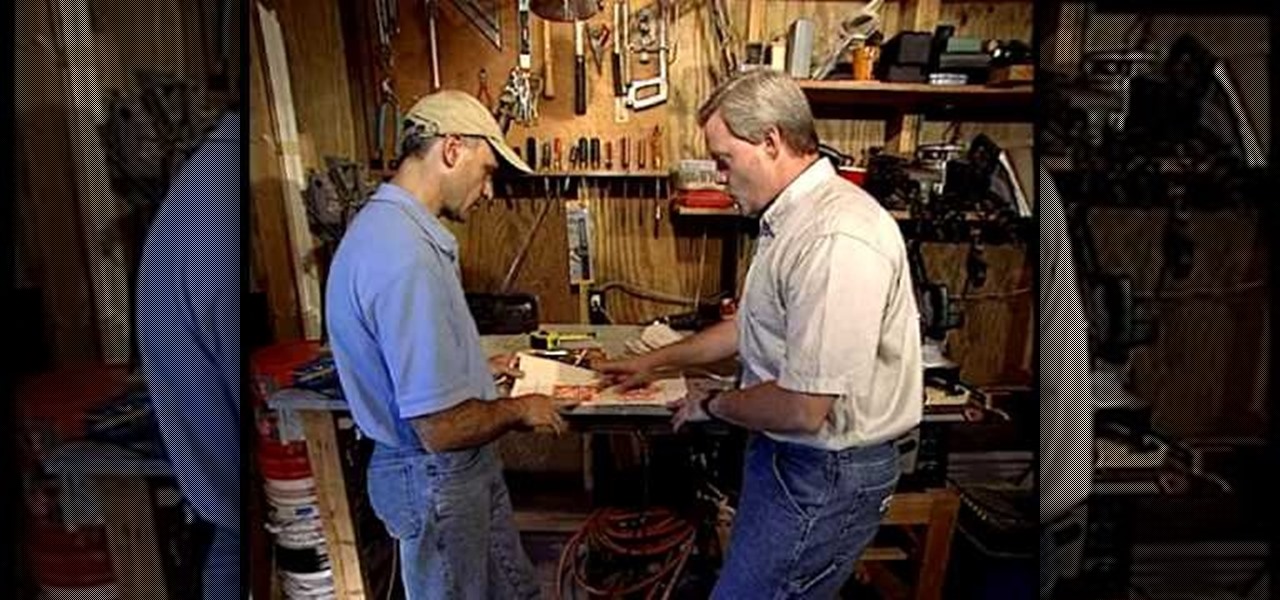
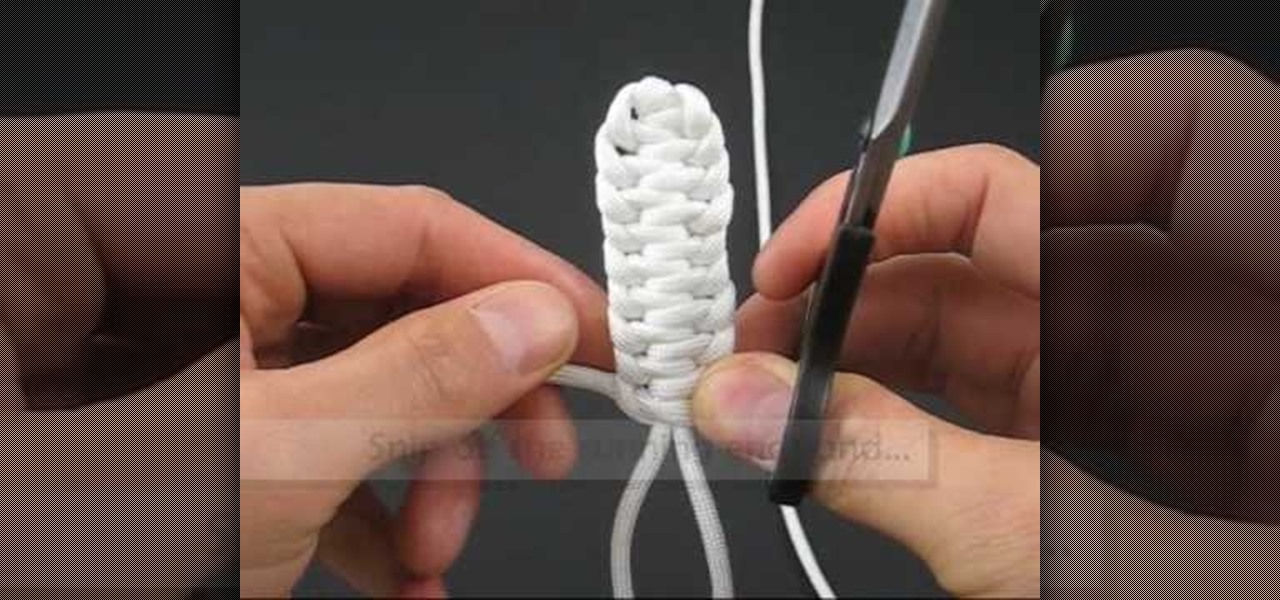
In a tool shed there are two gentlemen discussing how handy a well organized tool shed or tool box is. One man starts to say that he has come up with a easy and in expensive way to keep hand tools organized. Find a old simple nail apron and draw some lines down the pouch. This lines will later turn into places to put tools so it is a good idea to think ahead about what tools you will end up using and adjust the size accordingly. Next, snitch up those lines that you have drawn. Finish up by pu...
The Flower god gets us all ready for the Chinese New year with a quick and very simple flower arrangement for a table centerpiece. You'll need some good luck bamboo, some ivy, little pieces of ginger and some passion flowers to accent the green. Take some of the ivy leaves and cover the centerpiece base. Cut them short at a sharp angle to cover everything. Next use the good luck bamboo to add height. Cut these at a sharp angle as well so that they will stay secure. The angles help it work as ...
On YouTube-irDescent you find a simple way to make your own model of a gliding airplane. The instructor begins by giving some information on how birds inspired the inventing of airplanes. Some clips of flying birds are shown. She also explains all of the general parts of the airplane model and their purpose. After the short introduction, she talks you though making the airplane model from scratch. She begins by making the fuselage of the plane. Then she makes the wings which must be equal in ...
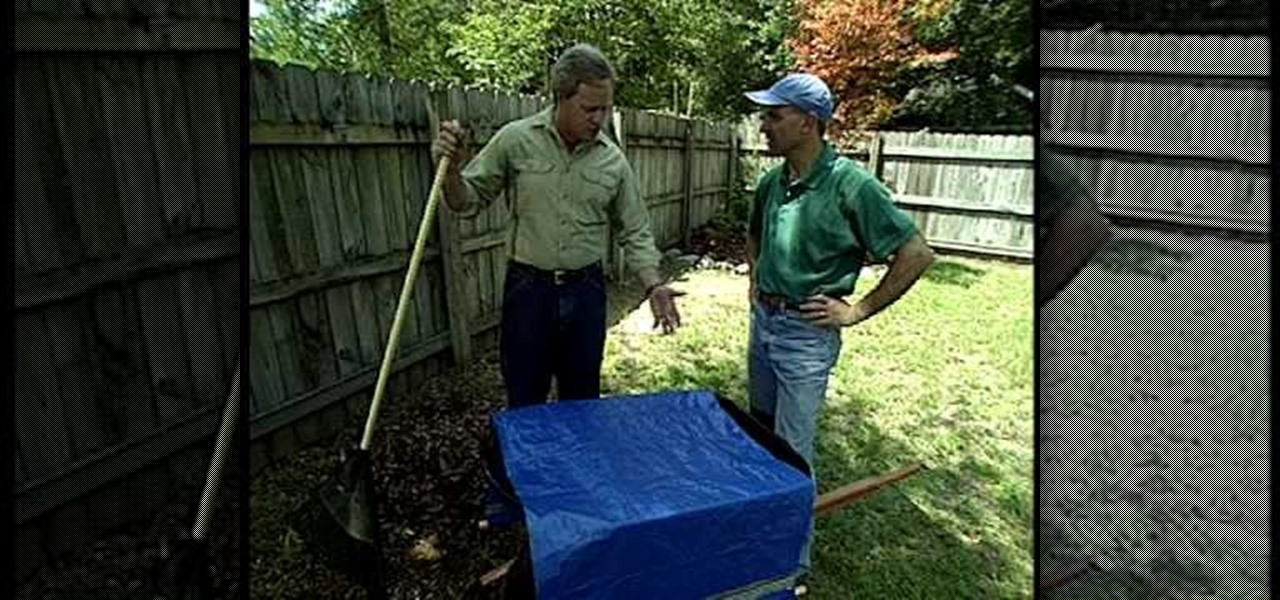
This video from Danny Lipford explains how to make a cover for raked leaves so that the wind won't blow them away. Get a tarp and cut it to the right size. Get two wooden dowel rods and put them along two ends of the tarp. Turn the tarp edge over the dowel rods and tape them down with duct tape. The cover can be used to cover leaves that are in a wheelbarrow or on the ground. You can also lay the tarp on the ground, rake the leaves into the tarp, drag them where you want them and pick up the ...
This is a tutorial video on uploading HD quality video onto YouTube. The video is simply a screen shot view of the YouTube home page. As the narrator goes through the steps the cursor moves and clicks on what you should click on. He advises to click on upload; he clicks to choose a video. The video must have a certain resolution to be assigned HD video. He indicates that YouTube will accept a variety of file formats to upload. You must use the 44.1 kHz frequency rates to get the best resoluti...
This video will show you how to tie a thick string or cord into a snowflake-like knot. Be sure to take your time, as there are a lot of loops to make. Also, you'll have to lightly pull the knots into shape a few times to retain the snowflake style. The instructor takes extended pauses to ensure that you can follow along easily. Near the end of the video, there is also a variation on the last few steps to make a slightly different knot. Whether you're a pro or novice at knot tying, you'll be m...
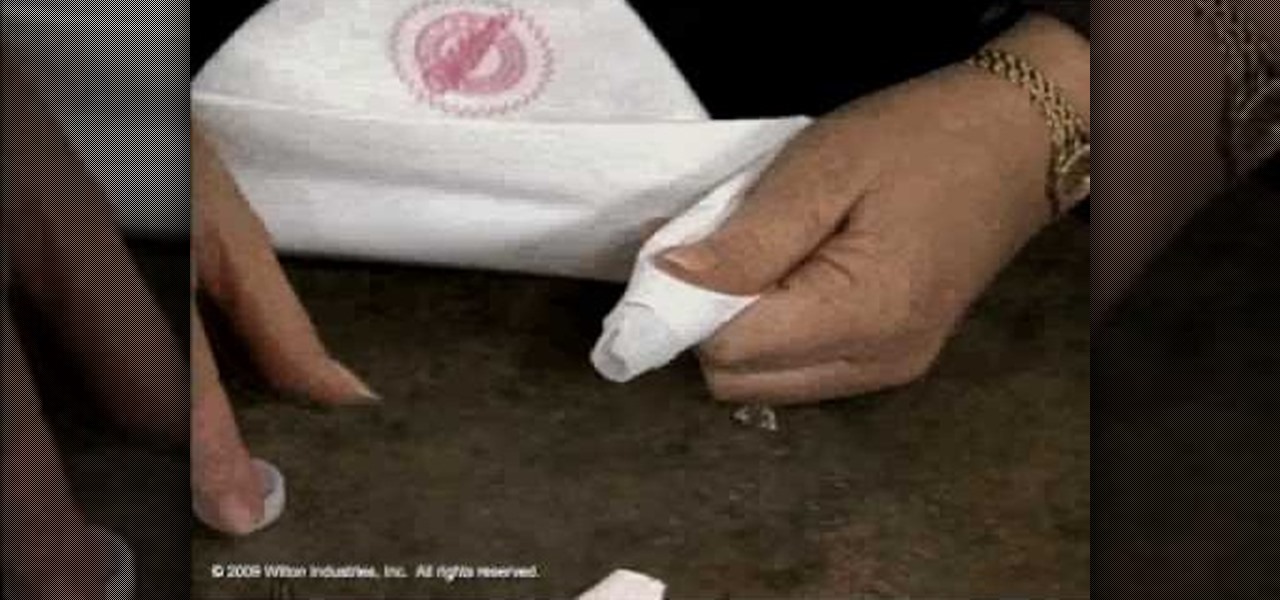
In this video tutorial, viewers will learn about decorating bag basics. A decorating bag is used to pipe semi-solid foods by pressing them through a narrow opening at one end for many purposes, including cake decoration. Viewers will learn about the types of decorating bags, how to add a coupler to a decorating bag and the proper way to fill a decorating bag with icing. This video introduces three different types of decorating bags. The bags are the feather white bag, the disposable bag and t...
Create a table with sales data with this video.
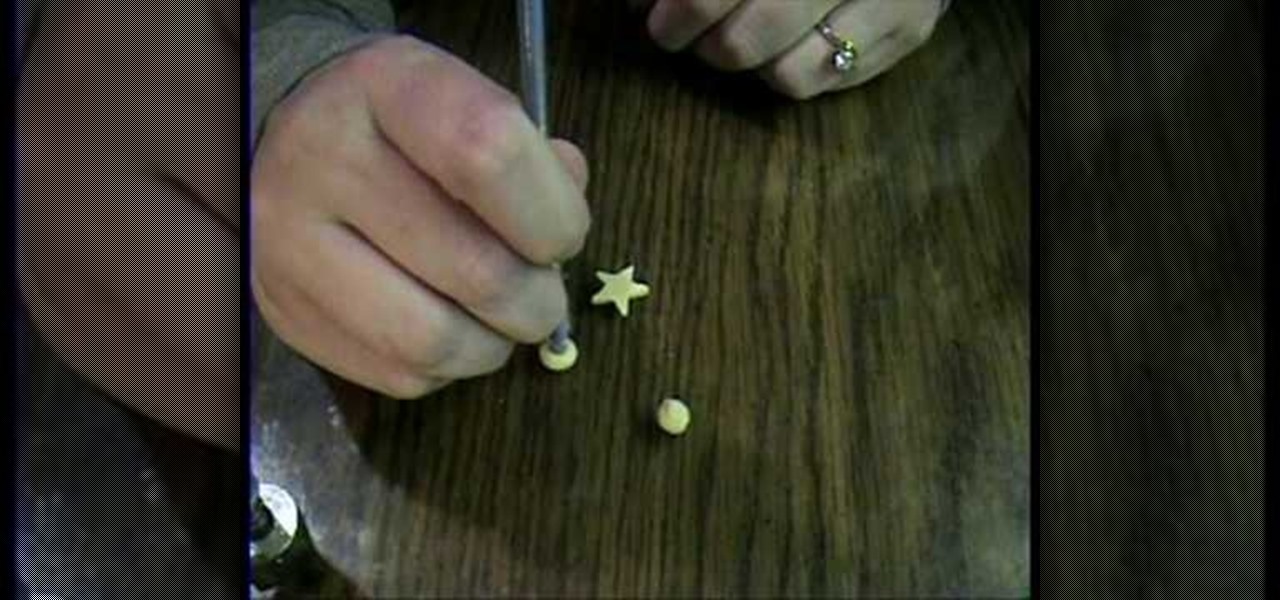
Garden of imagination show you how to make all your donut beads the same size without a clay measurer. Roll out your clay to desired thickness. Use any shape cutter and cut out the desired number of beads. Using your fingers, roll the cut-outs into balls. Press the balls to flatten slightly. Use the end of a thin paint-brush or similar object to puncture a hole in the middle of the bead.
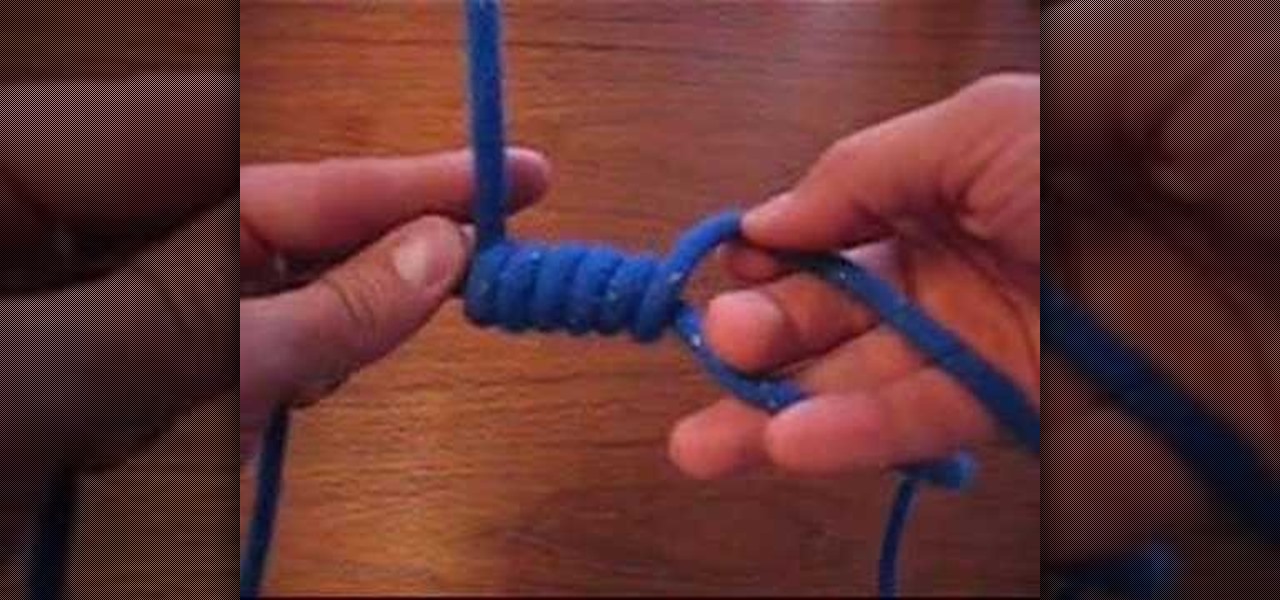
If you have ever wondered how to create a Rorschach knot, this tutorial will show you how to do it in no time. A Rorschach knot is indicative to the blotchy silhouette of Rorschach inkblots, which are primarily used during psychological evaluations. A subject's perception of inkblots are recorded using these. This video is going to be walking you through the process of tying your Rorschach knot, as well as the ways in which it needs to be adjusted while being tied. You will also learn a bit m...
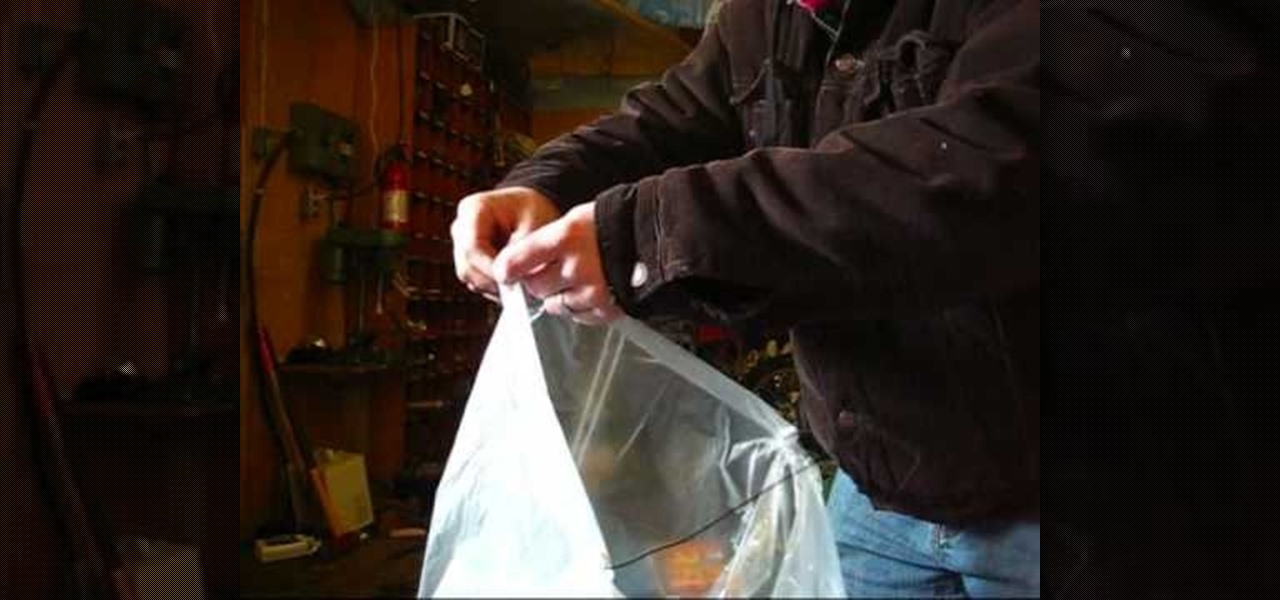
This is a simple and easy tutorial, and anybody can build a hot air balloon out of a garbage bag by following the instructions in it. All one needs is a garbage bag, some stiff industrial wire and fire starter bars. The important thing, according to the author, is to judge how many fire starter bars will be required to make the balloon rise without melting its plastic body. First, two long wires are twisted together in the middle to make an 'X'. A smaller wire is twisted onto the middle of th...
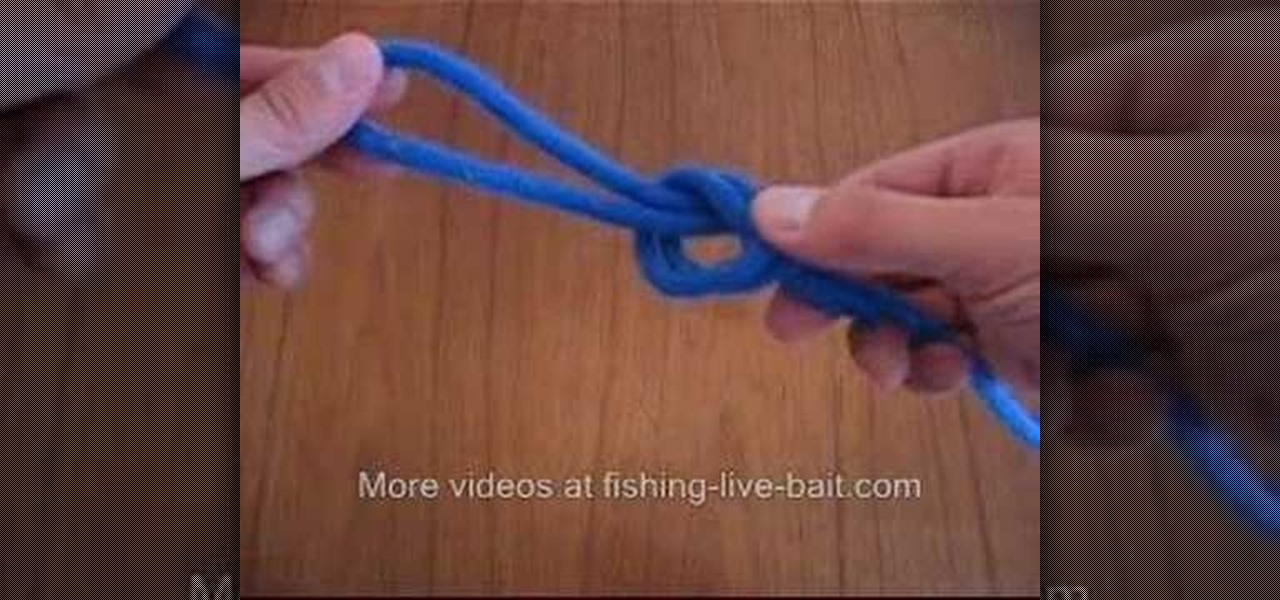
This is a video shows you how to tie a surgeon's loop. You start with a large loop, and treat it as one. Then just tie a normal overhand knot, but instead after that you pull it through once more as shown in the video. Then pull both ends to tie the knot up. This is a very strong knot so it's a very good loop to know. Their website also has much more information on how to tie this and other knots.
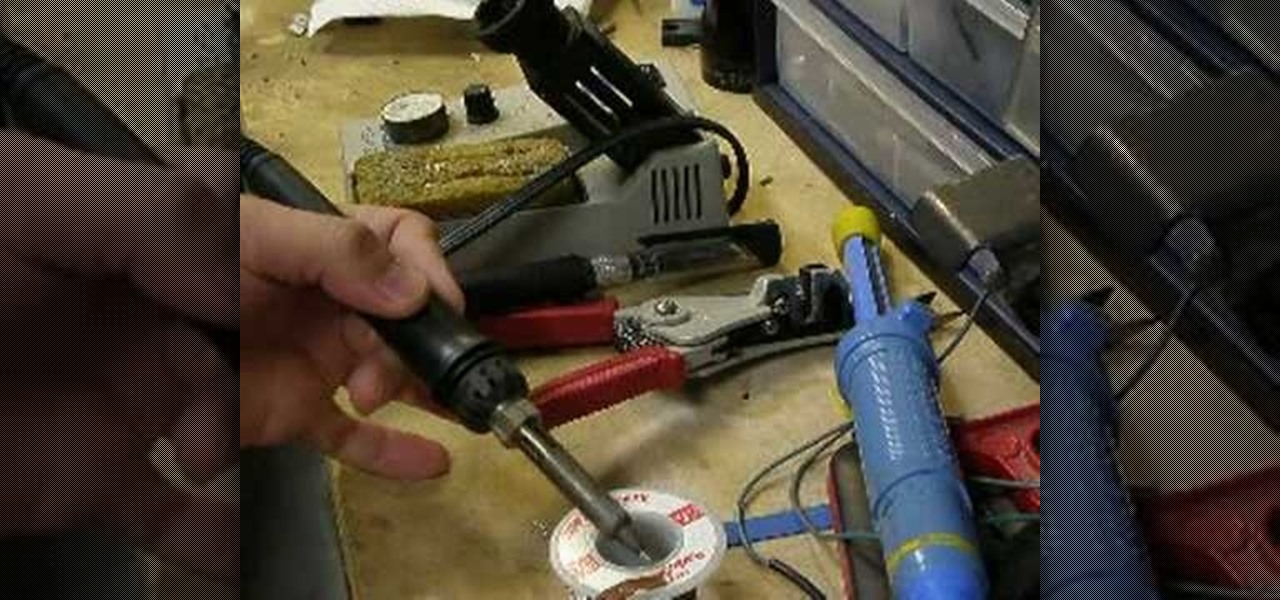
This is how to solder wires properly and then heat shrink them in order to insulate them. Firstly upkeep of the soldering iron is required to keep it from oxidizing. Portable versions of the iron are also available to make work more convenient. A solder sucker is required to suck up and solder left behind by the iron. Alternatively you could use a solder wick which when used with the solder iron can absorb all the solder over the circuit board. Onto the actual process, strip off some of the w...
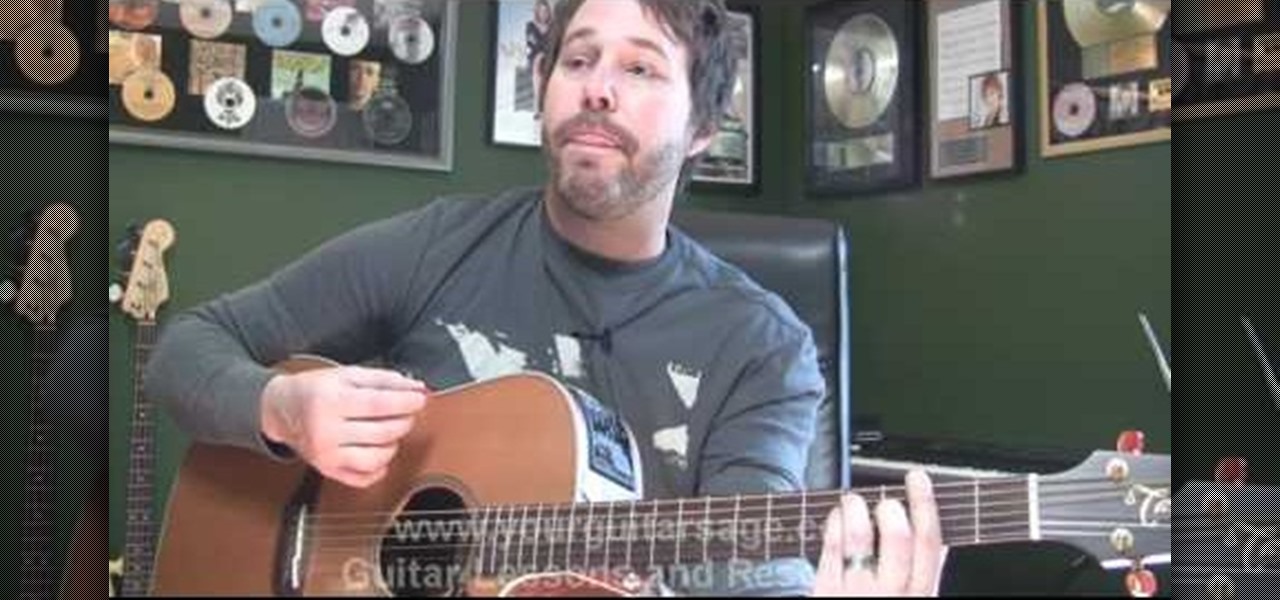
In this video, yourguitarsage walks you through the song, "Californication" by the Red Hot Chili Peppers. The video is give the viewer a clear view of the instructor's hands as you walk through the cords and break down the song into its component parts. Or, you can write them down as you walk through the video. This video focuses on bar chords. If you are interested in knowing the licks for this song, you will need to skip forward to the end.
This video describes the technique used to tie a single Genoese bar knot. The presenter shows what the completed knot looks like, and then shows the technique used to tie the knot. The process for tying this knot is similar to braiding as the ends of the string are looped around and through the previous section. Each segment must be pulled very tight or the knot will fail to reach the correct shape. The hitches continue until the desired length of the knot is reached at which point the excess...
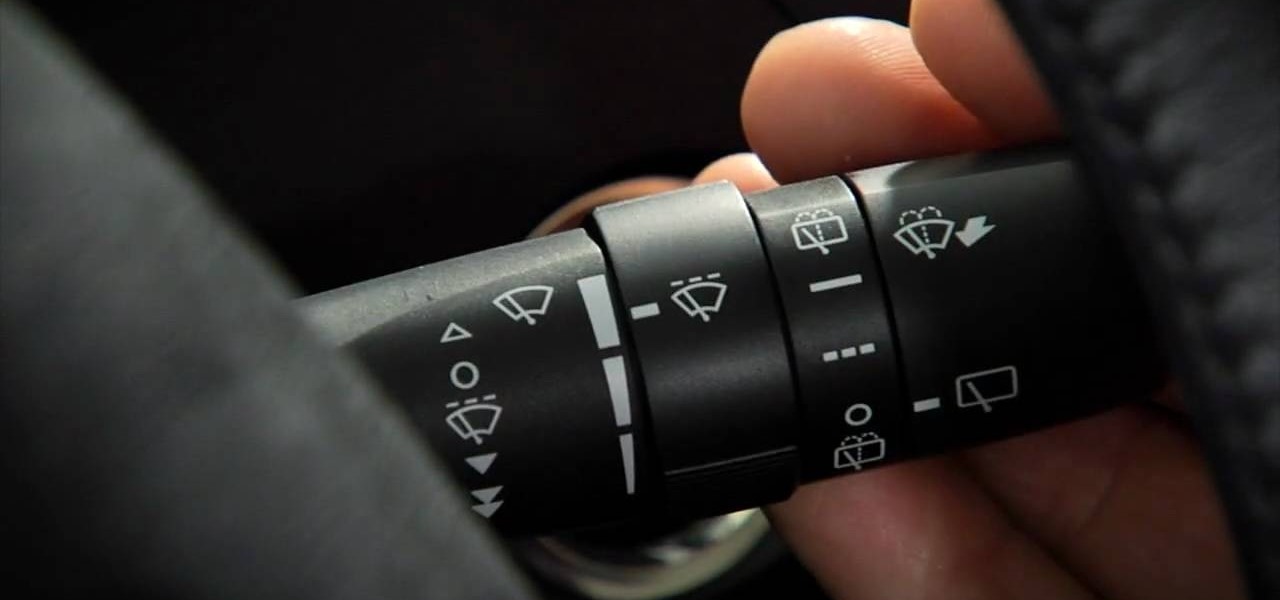
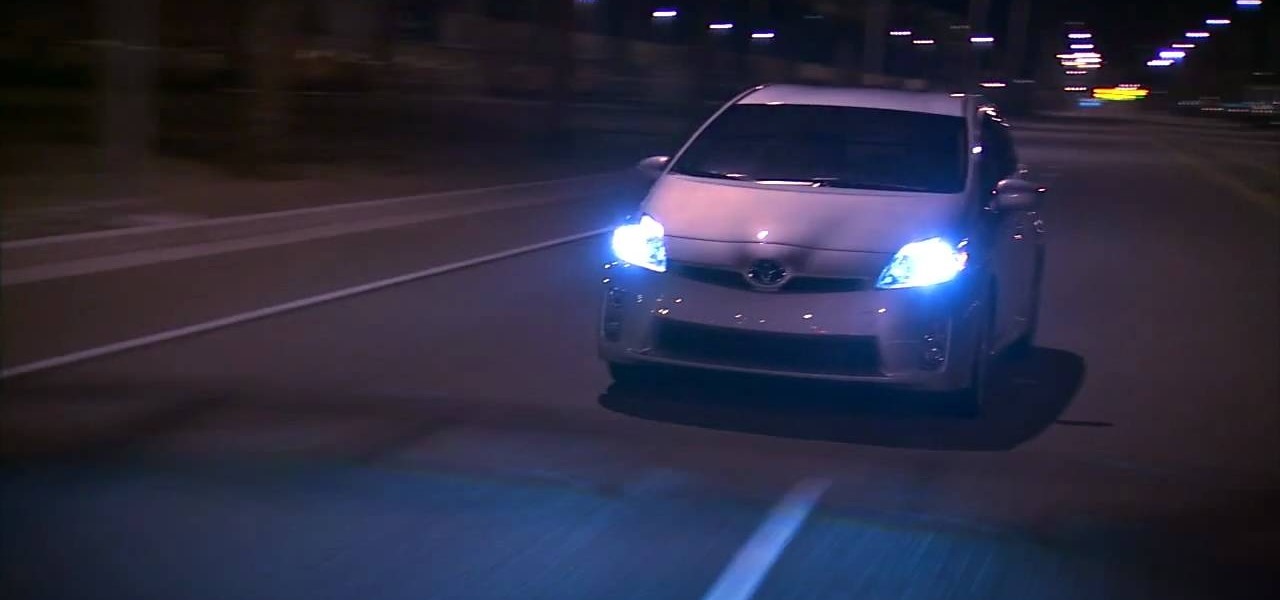
Toyota USA provides this quick video guide to show you how to use the windshield wipers in the 2010 Prius. If you want to control the wipers and washers, take the following steps: To operate the wipers, move the right hand stalk up for a single wipe, or move it down to activate the intermittent setting. Move the stalk down one more position to select a slow and constant wiper mode. One more down pull selects the fast wiper mode. Pulling the entire stalk towards you will activate the windshiel...
This video teaches you how to tie a blood knot which is used to tie two lines together in a very strong knot. Fly fisherman use this knot for making their own fly leaders. Wrap the right line around the left line five times. Take the end of the right line and put it in between the left wrapped line and the back of the right line. Wrap the left line around the right line five times, repeating the earlier procedure. Make sure you bring the line up through the hole that is created in front of th...
Operating the Toyota Prius 2010 cruise control is very simple if you watch this video. The switches of the cruise control is located on the stock which is behind the right side of the steering wheel. The on/off button is at the end of the stock. Once you turn it on, accelerate to your desired speed and push the stock down to set it on the current speed. If desired to change speed, hold the stock up to increase the speed and release it when speed desired is reached, and to decrease the speed h...