A plastic bag made out of plastic bags that's stronger than its constituent parts and reusuable for shopping trips? How did we not think of this before? While there's been a green movement recently to upcycle "junk" or "trash" into something usable, like old t-shirts into grocery bags, the idea was always to turn something into something else entirely.

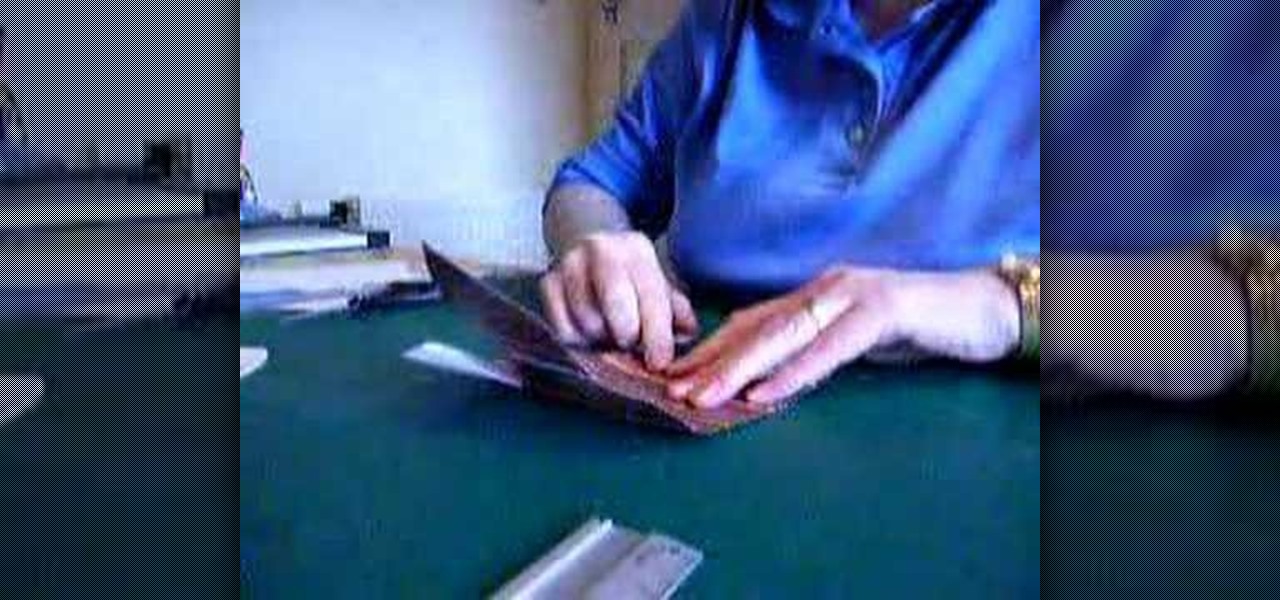
In this video, we learn how to write the letter "b" in calligraphy copperplate. Start off with a piece of lined paper and your calligraphy pen. Create a smooth curved line going down, with a dot that is at the end of the line. After this, create a swirl on the left hand side of the line, then curve it out to make the top of the letter of the humps on the "b". Make sure you grab ink often, especially when you want to make a bolder line. Continue down to make the humps of the letter, then when ...
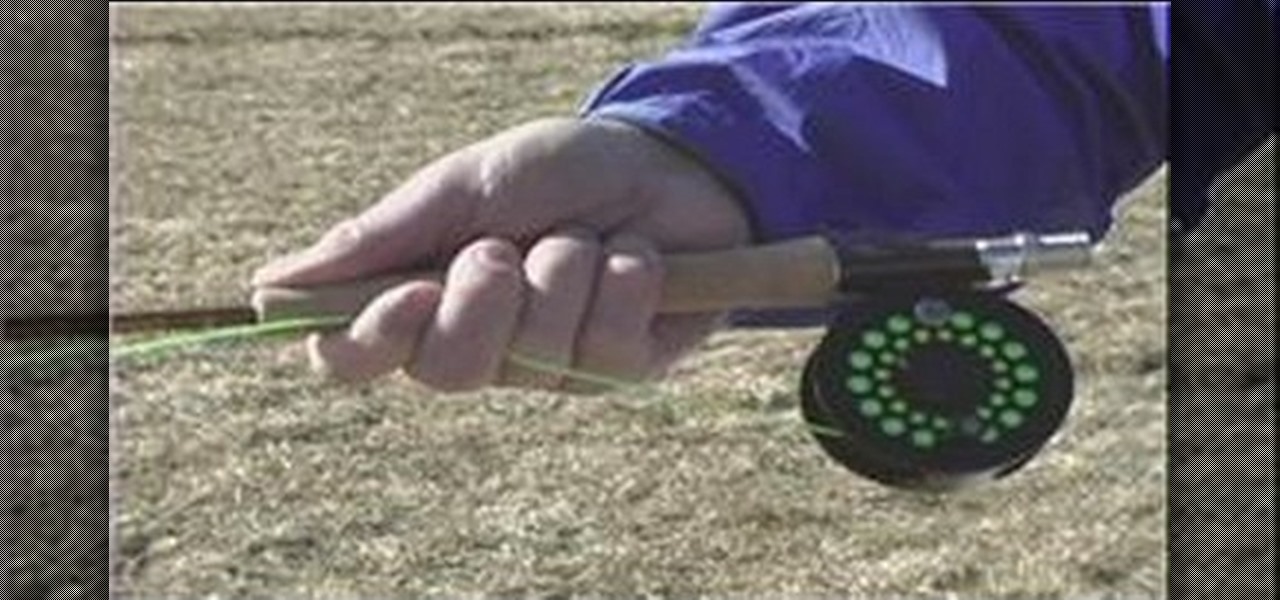
In this video tutorial, viewers learn how to do a basic cast in fly fishing. Begin by holding the rod like your shaking someone's hand. The fore fingers should be over the fishing line and wrapped around the rod. Do not grip the rod too firmly. Before casting, make sure that you have a certain amount of fly line out at the end of the fly rod. Keep your wrist stiff and elbows to your side as you cast the rod. Now pull back the rod and release the line forward. This video will benefit those vie...

In this video, we learn how to make a "puppy love" box for Valentine's Day. To key to creating this box is a thin strip of paper that has teeth (pointy spikes) at the end of this. Turn this into a heart shape, then tape it around the heart to make a perfect box. It will be easier to find your center and cold it in half, then place it on the box. Glue the heart onto a black card stock to situate it, then tie a cute ribbon along the edge of the heart. This is very cute and a great idea for Vale...
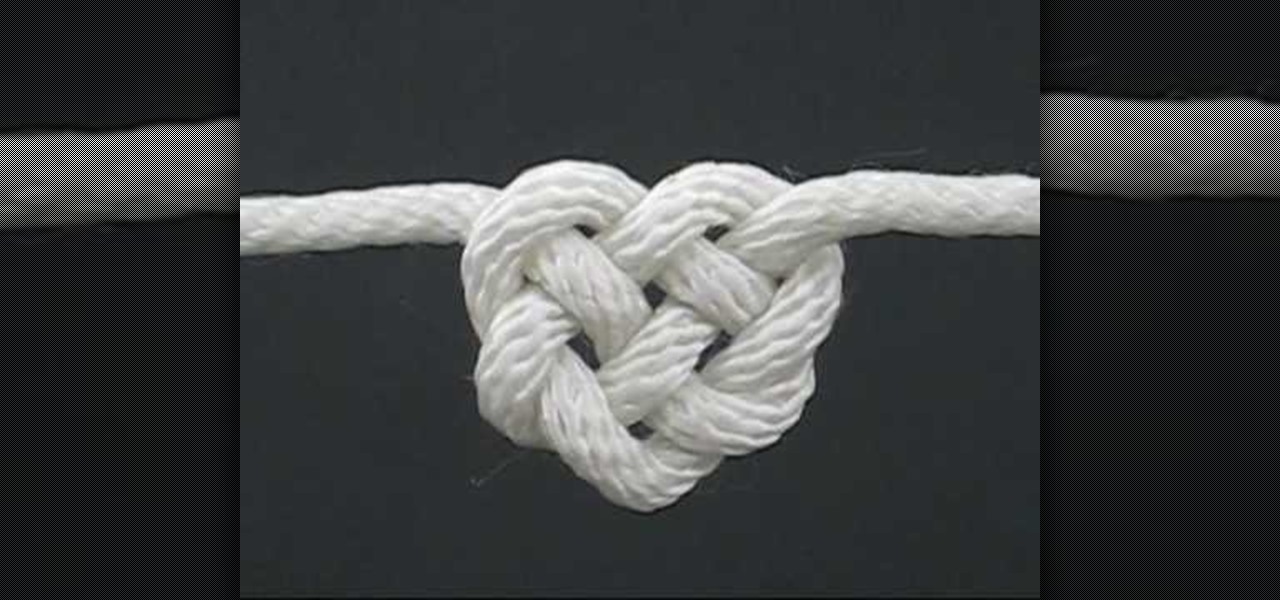
In this video, we learn how to tie the Celtic heart knot. Start off with your rope and make a loop in the middle of it. Now, bring the working en on the right side into the loop so you have a circle. Now, bring that end back into the knot and braid it through the other loop. Next, push this through the bottom loop, then braid it through the lines that are on the shape. After this, you will see a heart shape start to form. Pull gently on the heart with both sides of the rope and shape the midd...

In this video, we learn how to make a tee a stylish one shoulder tank. First, lay your shirt down on a flat surface. After this, cut the shoulder off one side, then cut a diagonal line down the other side, removing the other shoulder completely. Next, take a round brass ring and attach it to the first shoulder to connect the front and back of the shirt. When you are done with this, you can wear your shirt and enjoy! If you want more of a professional look, you can sew the ends of the shirt so...

In this tutorial, we learn how to rock an emo hairstyle. First, blow dry your hair with a round brush, then place the top section down and to the side of your hair. Next, take small sections and spray your hair with heat protector. Now, straighten your hair in each of the different sections until it's pin straight. next, take heavy gloss and work it through the ends of the hair to add texture. Make sure the bangs are covering the front of the face, and the hair looks messy. This will give you...
Clinton Kelly teaches us how to prepare an easy radish appetizer in this tutorial. First, take a radish and cut off both ends. Next, scoop out a little bit of the center of the radish going in a circular motion with a pairing knife. Now, take softened butter and place it into a plastic bag and push into the corner. Snip off the corner of the bag, then fill the middle of the radish with butter and sprinkle with kosher salt. Next, place this on a platter with a bed of kosher salt on the bottom ...
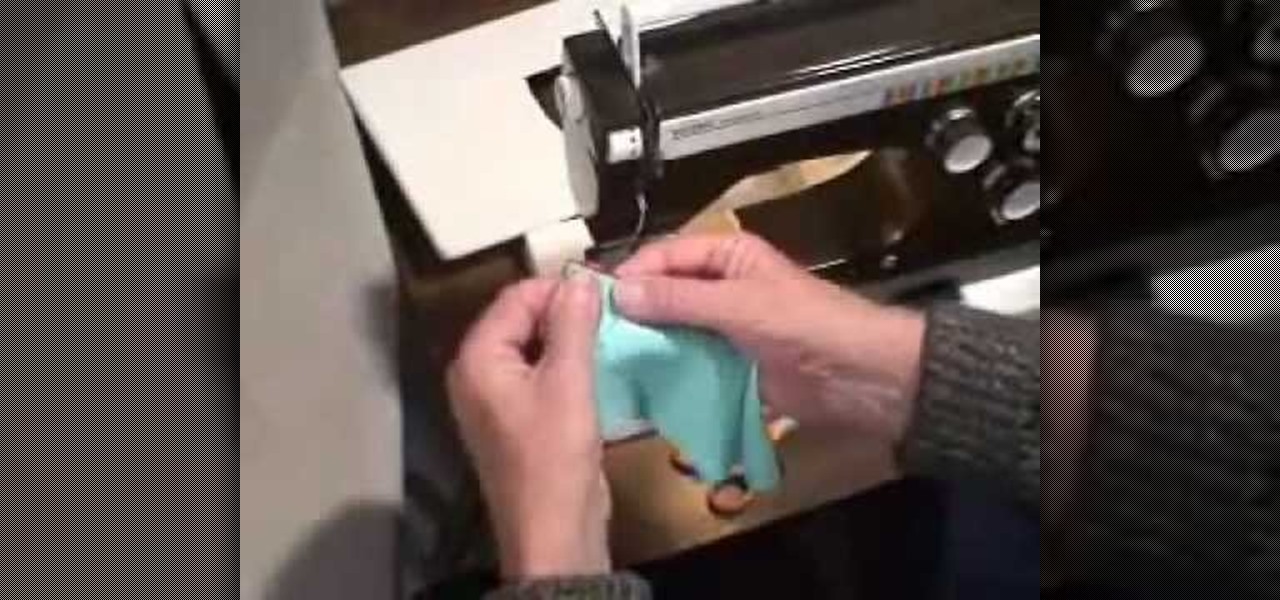
In this tutorial, we learn how to edge finish with lingerie elastic. First, grab your elastic and place it onto your fabric. Line up the elastic so it matches in perfectly with the fabric. Use a sewing machine to sew the elastic onto the fabric. Go slowly while you are doing this and lift the elastic in your hand as you continue to sew it on the fabric. When you get to the end of the fabric, the elastic will be sewn on, and you will be able to wear it! This only takes a few minutes, just make...
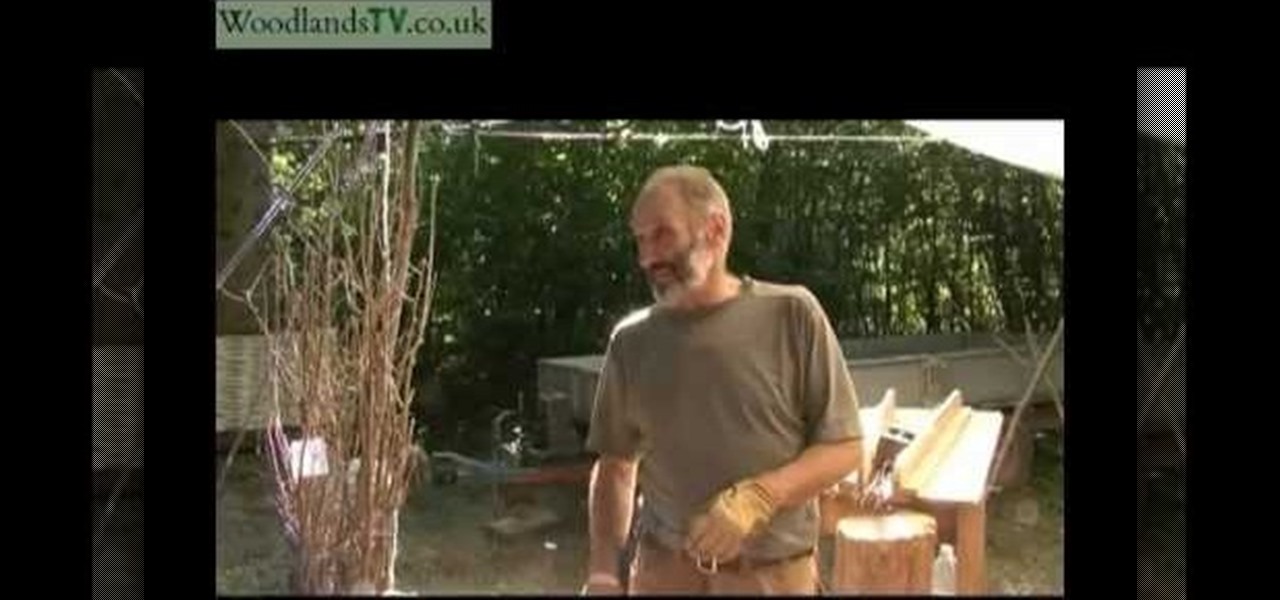
In this tutorial, we learn how to bundle kindling. First, gather up 25 pieces of kindling together and tie it together with a rope on two ends and in the middle. Before you do this, you will cut the tops off of the kindling so you are just left with the branches. The water will go through these and it will build the bank up, that is what these kindling bundles were created for. You can bundle kindling in larger groups or smaller groups, depending on what you need it for. These were once used ...
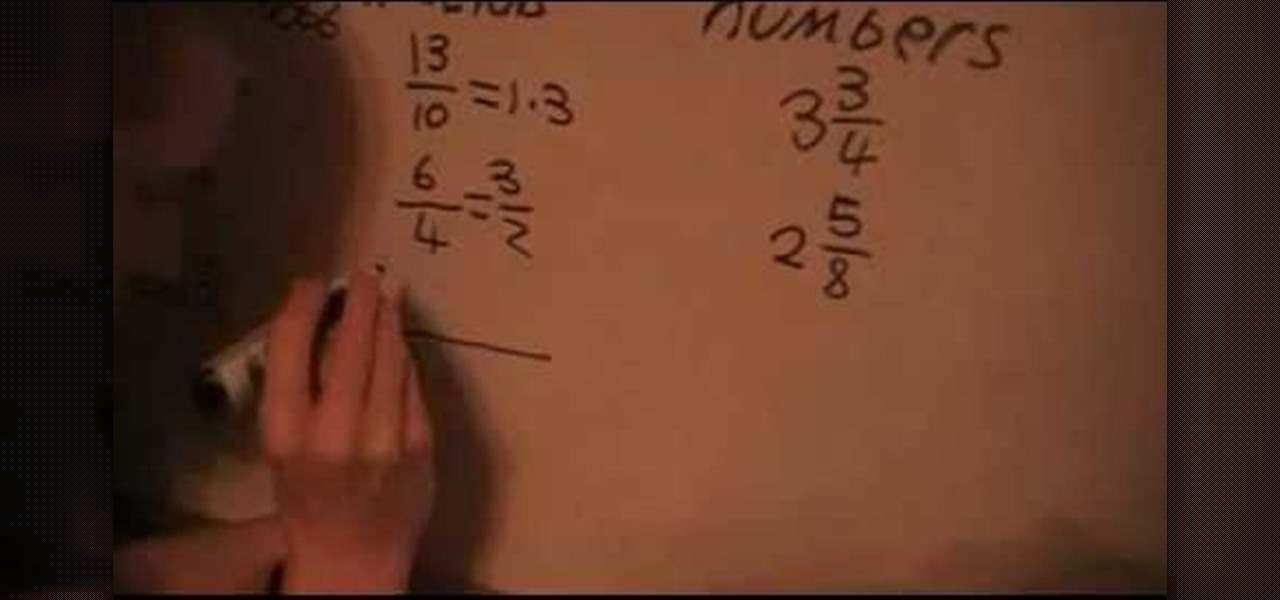
In this tutorial, we learn how to divide fractions into decimals. First, you will want to divide your numerator by your denominator. If you can simplify this number further, it will make it easier for you to divide. You can do this on the calculator, or you can do it by hand. The numerator will go on the outside of the division sign and the denominator will go on the inside. When you divide, you will come up with a decimal. If you have an improper fraction, you will probably end up with (1.so...
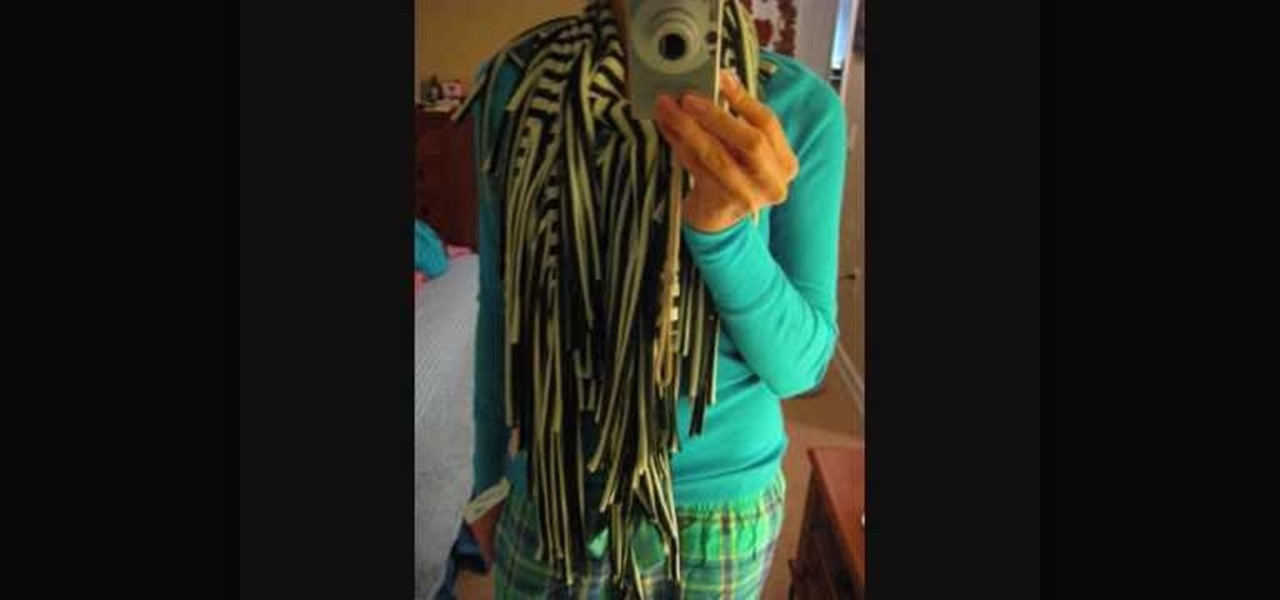
In this tutorial, we learn how to make a fringy scarf. You will first need 1 yard of fabric, then fold it with the right sides facing each other. Next, measure 19" down, then start to cut. After this, measure 7" down, draw a line from across. Now, start to cut towards that line, making fringe on the ends of the scarf. After this, you will be done with your scarf! The great thing about this is that you can use it in so many different ways. You can pair it with a casual outfit, or as a going ou...
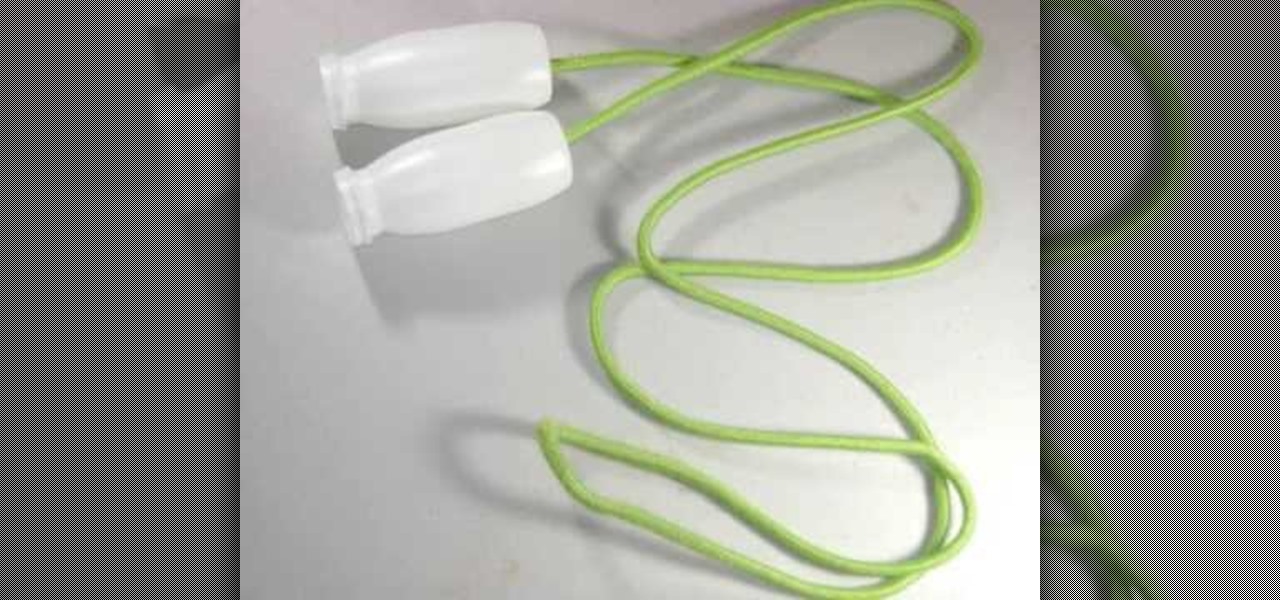
In this video, we learn how to craft a homemade jump rope with your kids. You will need: 2 think plastic containers, a heavy rope, and scissors. First, take your plastic containers and cut a hole in the bottom of each of them with the scissors. After this, place your rope through the inside of each one. Tie a knot at the end of each side of the rope so it's thick enough that it won't go through the hole you just made. After this pull the rope down and now you will be able to use it as a jump ...
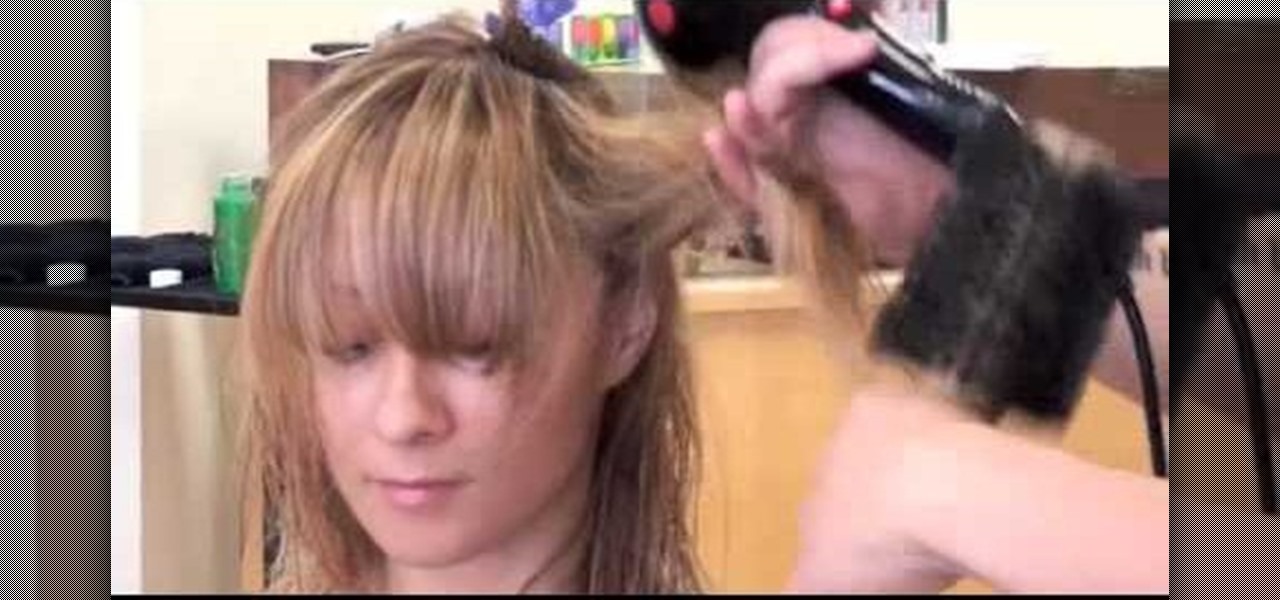
Jason Lee teaches us how to style your hair with a basic blow-dry in this tutorial. Once you get out of the shower, use a heat protector all over it. After this, grab a blow dryer that has a nozzle at the end of it. Start to blow dry the hair while pointing the dryer down the hair, then grab a round brush and start to dry in sections. Once you are done with each section, allow the hair to curl. Do this over the entire head of hair in sections until you're completely done drying the hair. Styl...
In this tutorial, we learn how to monitor hardware sensors in Ubuntu. First, go to your Synaptic Package Manager and download any IM-Sensors you need. You will also have to download and install "hddtemp". After you do this, go to your terminal and type in "sudo sensors-detect", then press enter. Answer the questions YES to every question you are asked. When you get to the end, start the chip drivers that are found by typing in "sudo modprobe (driver name)". This is all you have to do to monit...
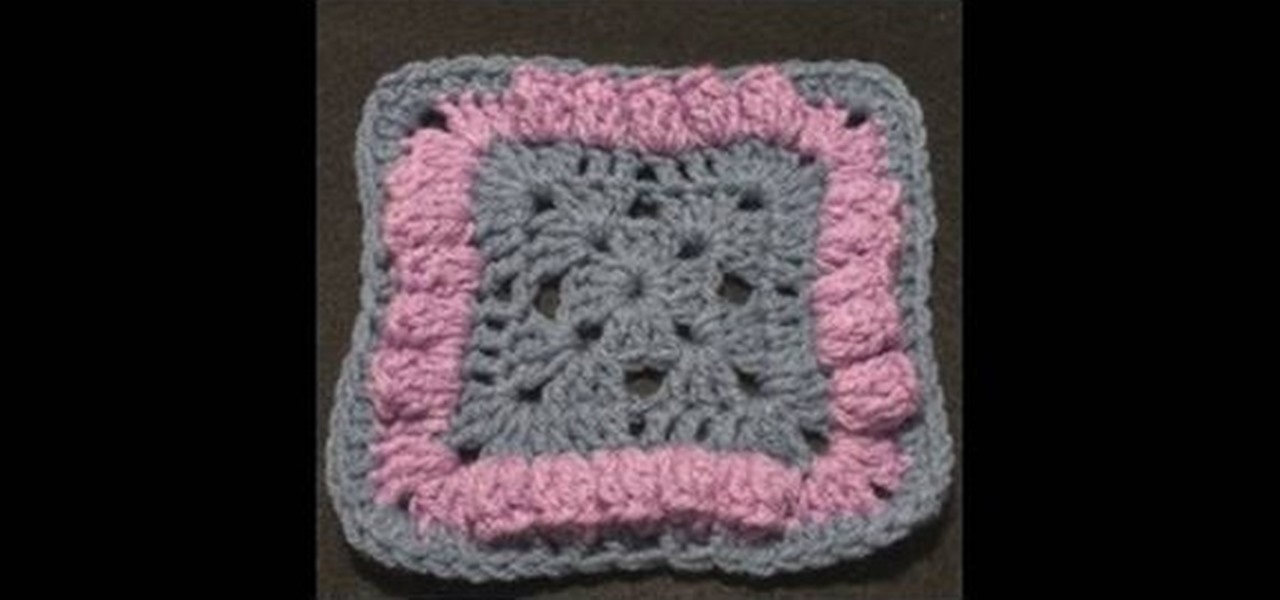
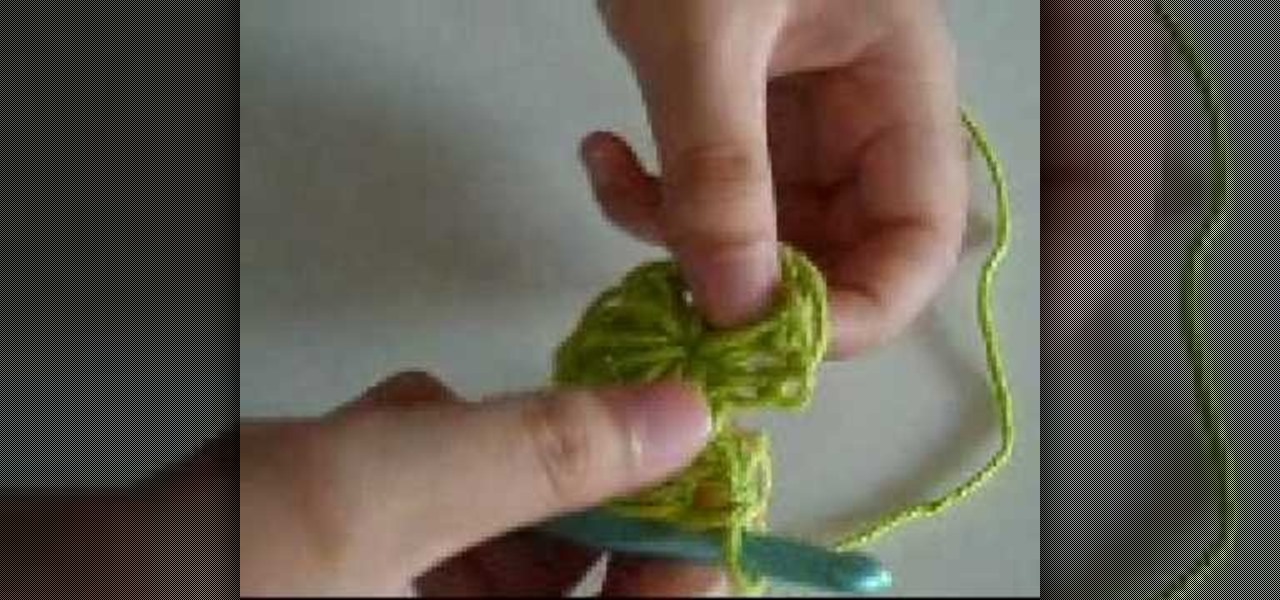
In this tutorial, we learn how to crochet a Bellevue granny square. Start by adding the slipknot to the crochet hook. Work a chain of four and join with the beginning chain. The first two rounds are going to be a traditional granny square. Chain, pull up, then work three double crochets. Continue doing this for all of them. Chain two, then work three more double crochets. Work the last three double crochets and you will have the base of the granny square complete. Continue doing this, but end...
In this tutorial, we learn how to clean a coyote. Start out by cutting the legs and up to the inside of the rear end. Cut the skin around the feet and then peel the fur and skin upwards. Trim into the butt of the coyote, then cut around the tail into the middle. Keep pulling the skin up around the legs of the animal and around the thighs, using a sharp knife to loosen the skin. Remove the skin completely from around the legs, then cut the tail so only the bone is left and the skin is off. Aft...
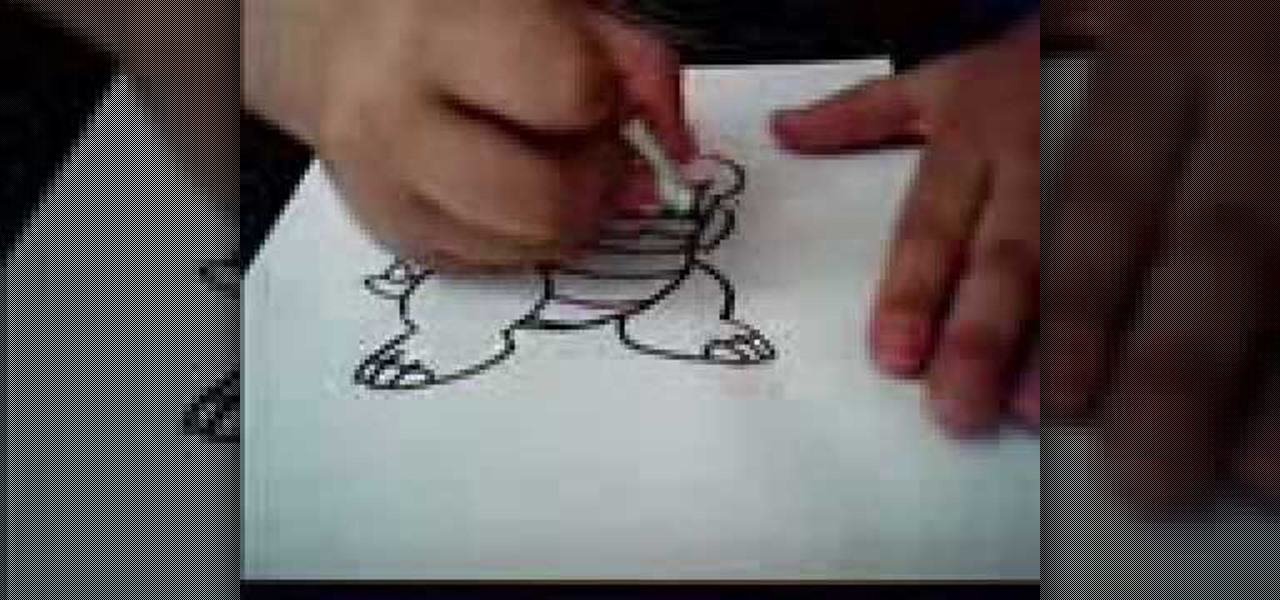
In this video, we learn how to draw Charmander. Start off by drawing the large eyes with lines inside of them. After that, you will connect the head around it, followed by the nose. Next, you will draw in the rest of the body including the feet. Draw in the tail with flames coming out the end of it. Add in lines around the body to make the figure look more realistic, then draw in pupils for the eyes. When you are finished, you can color the character or just leave it how it is and shade in on...
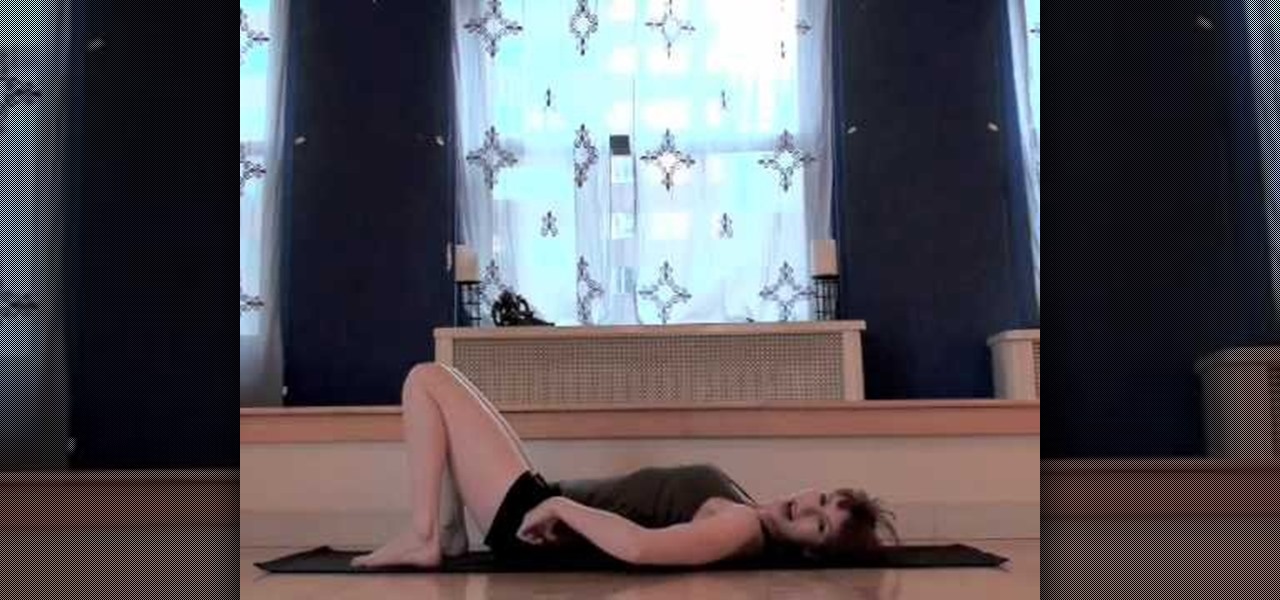
In this tutorial, we learn how to understand Full Wheel alignment. This is a very difficult move to do, so make sure you set up properly before you do this. Your body needs to be warmed up before you attempt to do this. Prepare for the post by laying down on a mat, then placing a couple blocks underneath your rear end. This will help stretch your body out. When you're done, curl your tailbone up and now your body will want to curve into the wheel. From here, push the hands down by the shoulde...
In this tutorial, we learn how to make a Christmas style wreath bow. First, cut a piece of holiday ribbon and pin it into place. After this, make a bow out of the ribbon. Next, curl the ends of the ribbon and pin them into the wreath as well. Use your fingers to make curls and waves in the ribbon to make it look like it's moving in the wind. Pin these securely into place. Once you are finished, hang up your wreath and enjoy the decorations! This is a great project to do that will save you a l...
In this tutorial, we learn how to do a cabled pleat. First, do three stitches onto the cable need and hold them in front. Then, slide the needles together and start knitting on each needle with the separate needle. Continue to do this until you are done. You will then put four stitches on the cable needle and then hold them parallel again. You will continue doing this process until you have reached the end of your row. This may take you a few times to accomplish, but practice can help. If the...
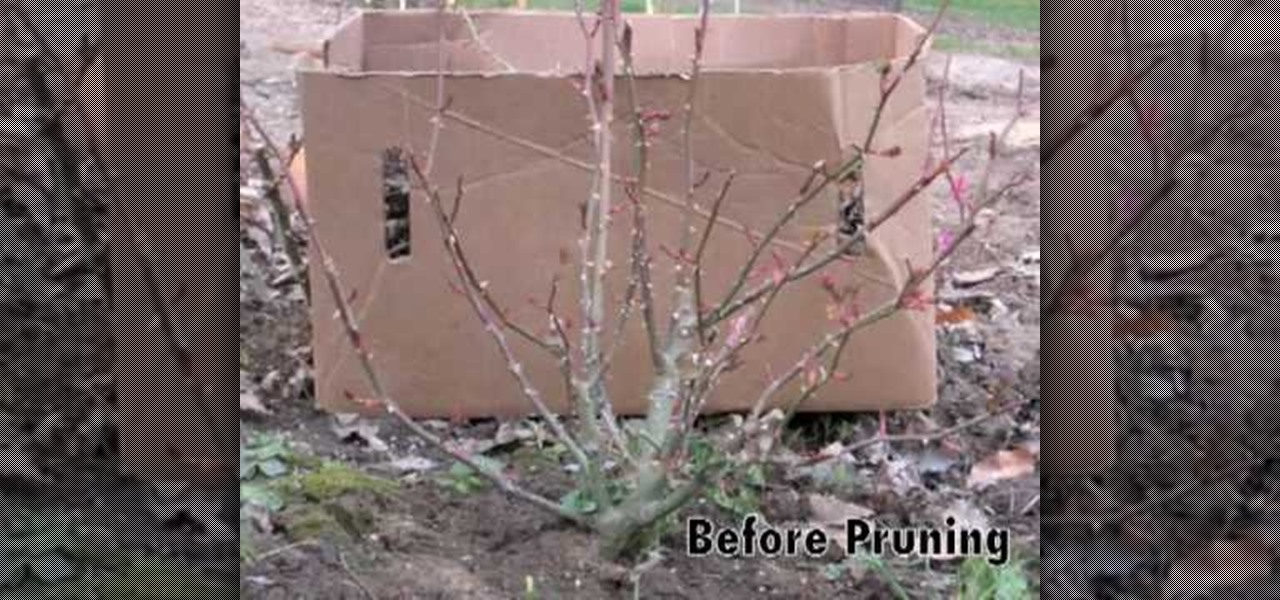
In this video, we learn how to prune roses in the spring. When you prune the roses, you want to cut the branches with shears at the bottom of the plant. Cut any of the dead parts that you see before the flowers start to grow back. If you see any short stubs that haven't and won't grow out, trim those off as well. Leave any healthy branches to keep growing, but trim the tops of them. When you finish, you should end with just a few branches left that are ready for the new growing season. Remove...
If you've got 20 pounds or more to lose, then this is not the video for you. But if you're on the cusp of reaching your goal weight (so think 2-5 pounds off) but you've hit a plateau and the fat won't slide off no matter what you do, then this video will teach you how to get that final fat blast in to reveal lean muscle.
In this video, we learn how to punch down a 12 port patch panel. Start off by grabbing your cable and using scissors to cut off the outer covering of the cable. Next, use the wire scissors to cut off the end of the wires (about 1-2 inches). After this, place the stripped down wires into the appropriate spots that correspond to the colors that are on the 12 port patch panel. After you finished this, you will need to grab your punch down tool. Use this tool to push down on the wires, then it wi...
In this Computers & Programming video tutorial you will learn how to easily open your NAT on a ZyXel router. There are three steps involved in doing this. Open your web browser and type in the router IP address which is normally http://192.168.1.1. Then you will get the log in page. The password is either 1234 or admin. It will be written on the packaging of the router. On the next page click on UPNP, then check all three boxes and click 'apply'. Then you click on NAT and set the start and en...
In this tutorial, we learn how to take out knitted stitches. First, pull your yarn tight and insert your two crochet needles. Take the left needle and go into the stitch, then pull it out with the right needle. Continue to do this for each stitch, until you have removed each one you don't want. Although you may think you won't need to do this, it's very important to learn just in case you make a mistake while creating something. make sure to work slowly, so you don't end up removing more stit...
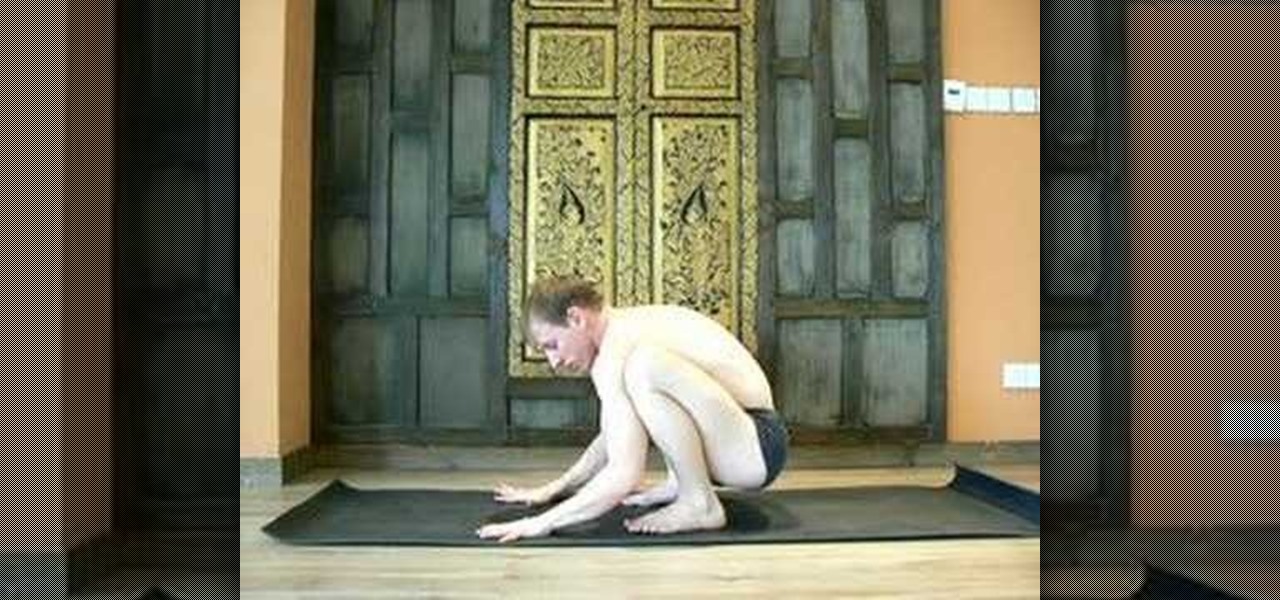
In this tutorial, we learn how to do the Bakasana pose in yoga. First, take a deep breath and crouch down on your feet. Now, keep deep breathing and bring your arms out in front of you. Lean forward, and place all of your weight on your hands. After this, lift your feet up off the floor while they are still crouched inwards towards the abdomen. Take several deep breaths while you are in this position. Make sure you aren't placing your weight on your feet, or you won't be able to lift them up ...
In this video, we learn how to draw Paper Bowser from Mario. Start off by drawing the legs and feet. Make sure you draw claws instead of toes and make three large toes with nails. Next, draw the belly of Bowser in the middle of the two legs, with stripes on it. Next, draw upwards and make a curve for the back and draw spikes onto it. Also, draw a tail with a spike on it coming from around the thigh by the foot. Once you are at the top, draw the head and all the facial details in. Make sure to...
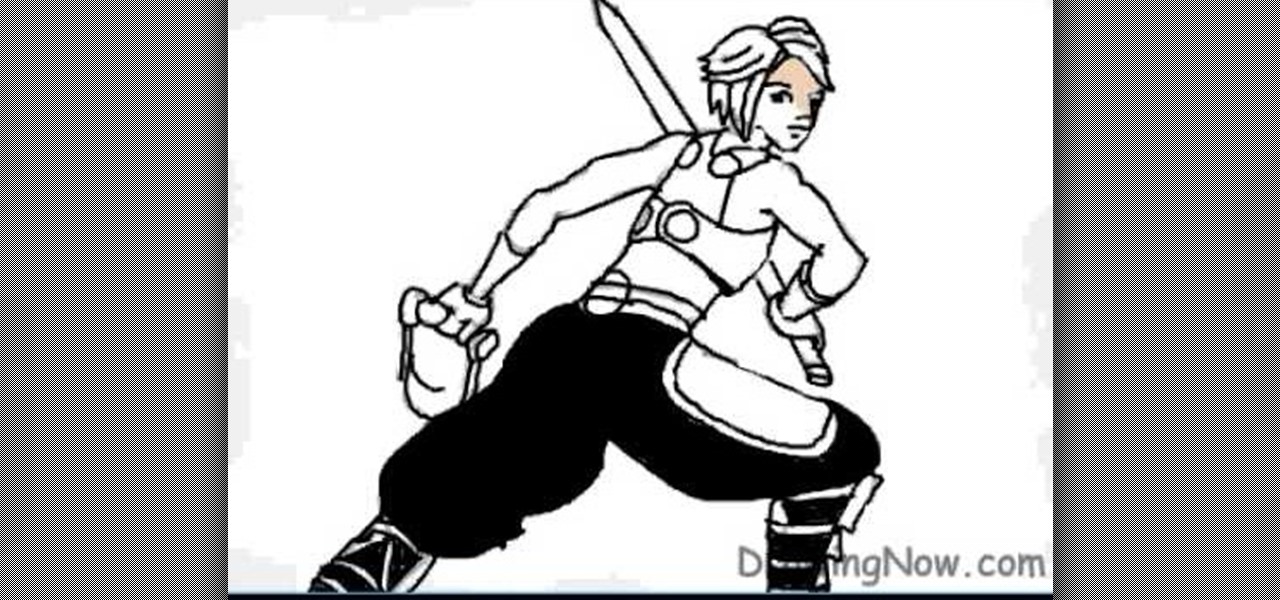
In this video, we learn how to draw a Final Fantasy character. Start out by drawing a rough outline of the entire body, starting with the head then doing the rest of the body and ending with the hands and arms. After this, draw over the initial markings with a black paint brush. Draw in eyes and hair, then start to draw in the details of the body armor and clothing. Make sure to draw on pants and make a sword that the character is holding. After this, fill in the painting with different color...
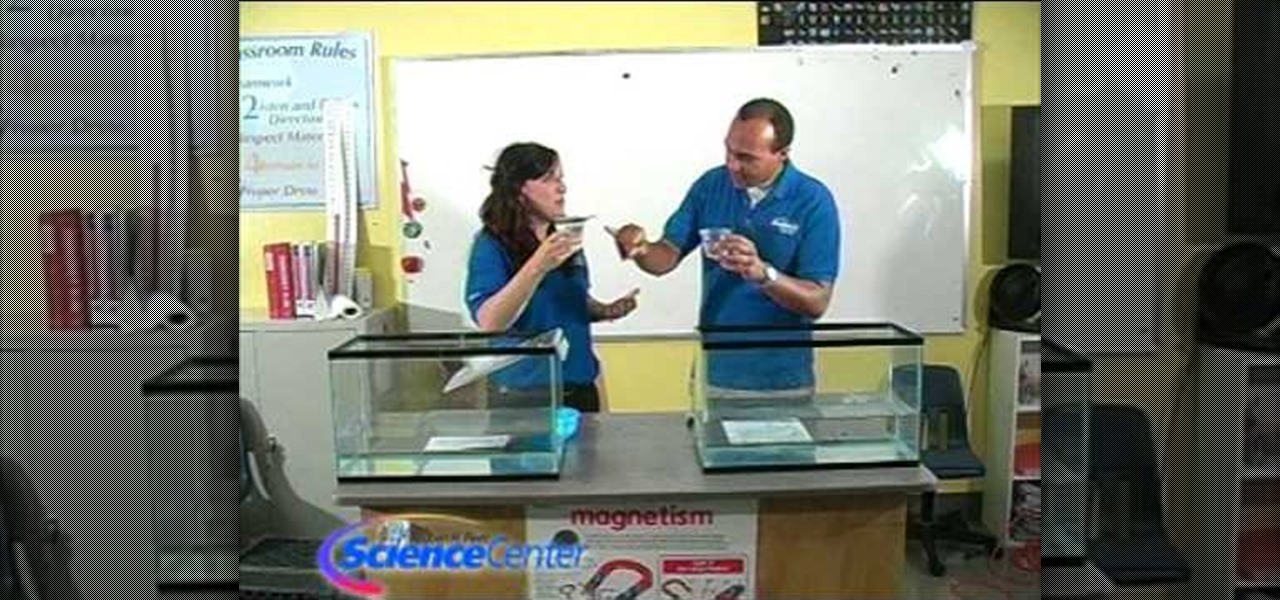
In this tutorial, we learn how to demonstrate the difference between land & sea ice. First, fill up two large aquariums with water, then add in a glacier to one aquarium and an iceberg in the other. This will see how the water level changes based on the melted of each different ice item. Draw a line at the water line where it started at, then when the ice melts, check the water levels. When finished, see what the water levels have ended up at. Now you will be able to show this to your student...
In this tutorial, we learn how to make mini paper square boxes. First, grab a piece of paper and fold two ends in so they touch in the middle. After this, fold the bottom up so it covers the triangles and they meet at the middle. Crease the edges, then cut down the edges on both sides where the crease is. Next, fold the sides in so you have a shape that looks like a sword. After this, fold the sides up, then fold the other sides in. When finished, push the creases in and you will form a box, ...
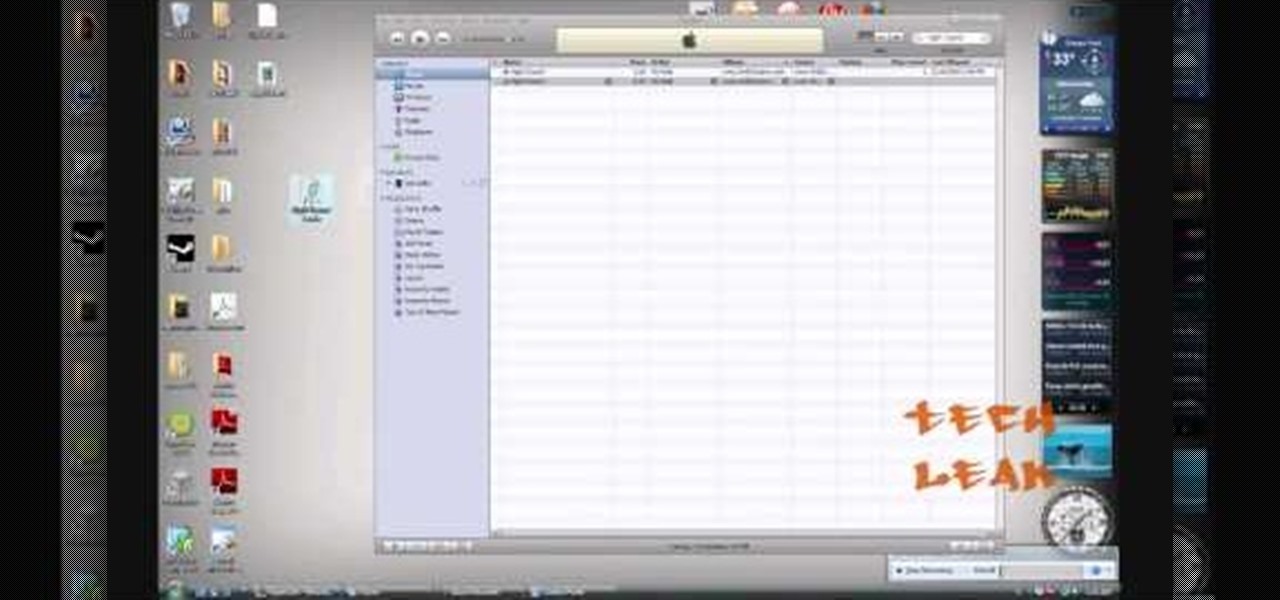
In this video tutorial, viewers learn how to make free custom ring tones for an iPhone. Begin by clicking on the Start menu and select Control Panel. Then click on the Folder Options and deselect "Hide extensions for known file types". Now open iTunes and select the desired song. Right-click on it and select Get Info. Click on the Options tab and make the song lasts only 29 seconds. Then right-click on the song and select Create AAC version and wait for it to finish converting. Now open the c...
In this tutorial, we learn how to apply MAC 34 fake eyelashes. First, lift your eyelashes out of the case they come in and lay them on your lash line. If they are too long, cut the ends to fit your eyes. Next, grab your eyelash adhesive and apply it to the strip on the base of the lashes. Let the glue dry for several seconds until it becomes tacky. After this, push the lashes onto the base of the lashes, and use tweezers or your finger to push the lashes on until they are stuck. After this, a...
In this tutorial, we learn how to make a lily out of paper and pipe cleaner. First, lay your hand flat on a piece of copy paper. Next, trace your hand with a pen or pencil, then cut it out with scissors. Now use a pencil or pen to curl the ends of the fingers you just cut out. After this, combine two pieces of gold pipe cleaner together and bend in half. Then, place a green pipe cleaner in the middle and make a twist to keep in place. To finish, wrap your paper hand cut out around the gold pi...
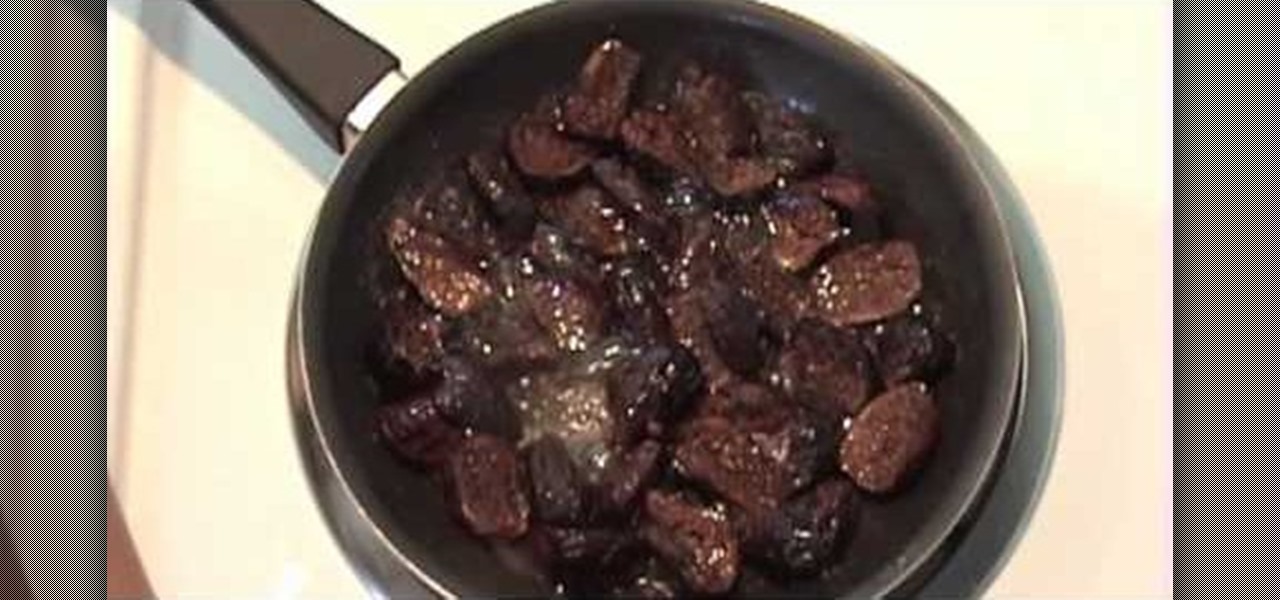
These Mediterranean fig tree desserts are what Fig Newtons wish they could be. Crafted out of puff pastries wrapped around figs and then stuffed with mascarpone cheese, these babies are a wonderfully delicious way to end your meal. Also, spices like nutmeg and cinnamon add a sweet flavor as well as antioxidants to the dessert dish.
DJs exist because just playing the same songs from beginning to end over and over again gets boring, especially in a clubbing atmosphere where all people want to do is get down and dirty.
This next tutorial is for Red Dead Redemption's DLC, Outlaws to the End. There are a total of 10 new achievements that can be collected in the downloadable content and can easily be added to your collection.
In this tutorial, we learn how to make a single speed bike crank. You will need: chain ring bolt tool, large screwdriver, Allen wrench, file, hacksaw, vise, and crank set with 2 ring. First, grab your chain ring bolts and cut about 3mm off of the end. If the nut moves while you are cutting it, adjust it. After this, put your chain ring on the inside of the crank arm to align the chain. When you are finished, you will have a single speed bike crank! This tool shouldn't take too long to create,...
In this video tutorial, viewers learn how to draw Obi-Wan from Star Wars. Begin by drawing a circle for the head and rectangular shape for the jaw. Then draw a line 1/3 way across the circle. Draw the eyes on the line and the nose just underneath the line. Now draw 2 lines from the ends of the eyes to the rectangular shape. Use those lines as a guide to draw the length of the mouth. Then add the ears, eyebrows and beard. Now lightly draw the hair. Finish by coloring and shading the image. Thi...
In this tutorial, we learn how to tie a necktie the easy way. The first step is to take your tie and estimate how long you want it to be. Now, lay the tie on a flat surface and take the bottom of the diamond on the tie and flip it under to create a loop. Now, take the long end of the tie and create a loop the opposite direction. Now you should have two loops. Next, turn the second loop upside down and twist it into the other loop. Pull the fabric through the top hole on the loop and then slid...