

How To: Use tables, color, images and fonts in Numbers '09
Check out this informative video tutorial from Apple on how to use tables, color, images and fonts in Numbers '09.

Check out this informative video tutorial from Apple on how to use tables, color, images and fonts in Numbers '09.

Julieg713 is a nail art expert. Check out her nail art tutorials on WonderHowTo (Search Julieg713). Her nail art looks are fun & pretty, not to mention well demonstrated. This nail polish video demonstrate how to create a Moroccan magenta nail art design. Watch this video to learn how to recreate this nail art look.
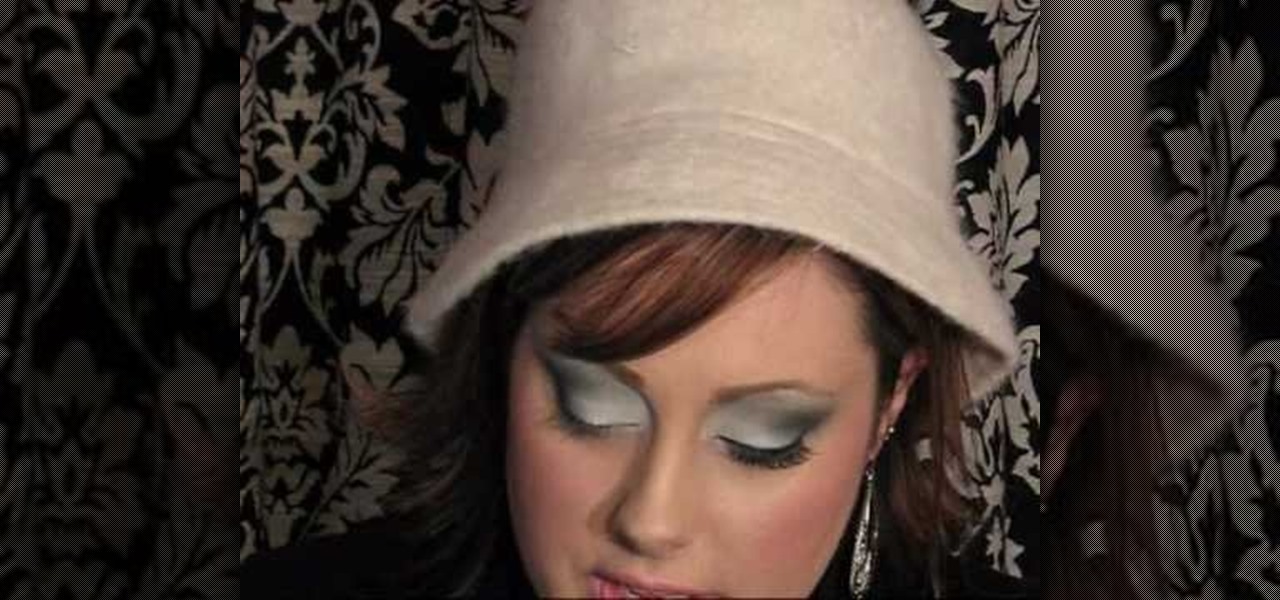
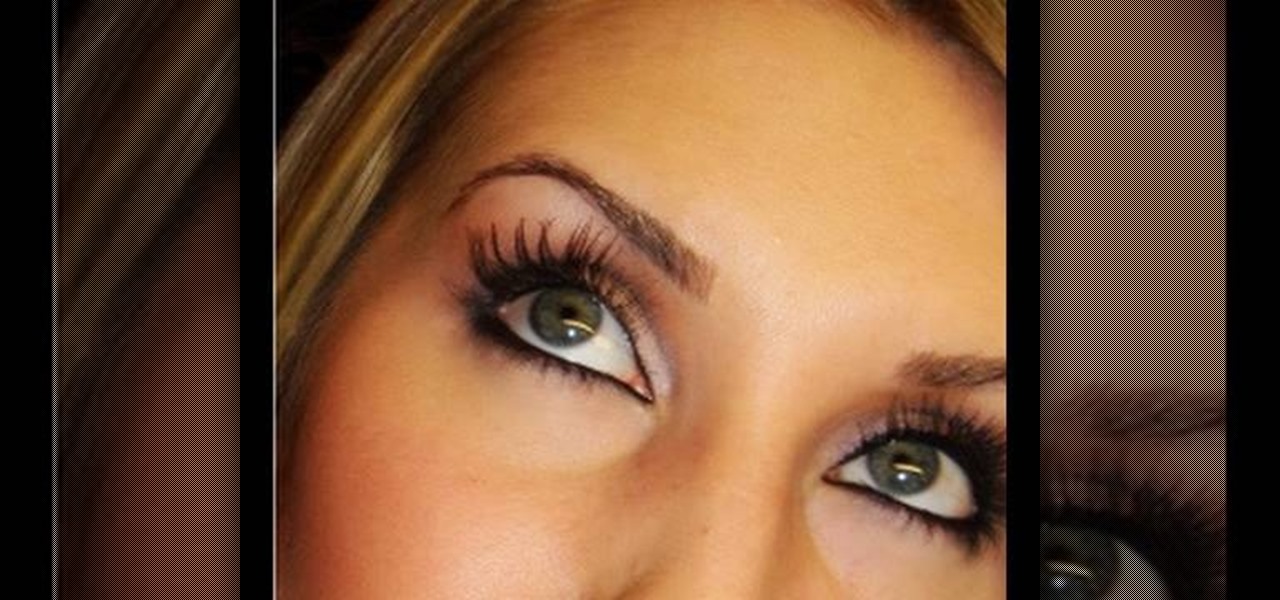
This beauty video demonstrates how to create a green & white holiday makeup look.
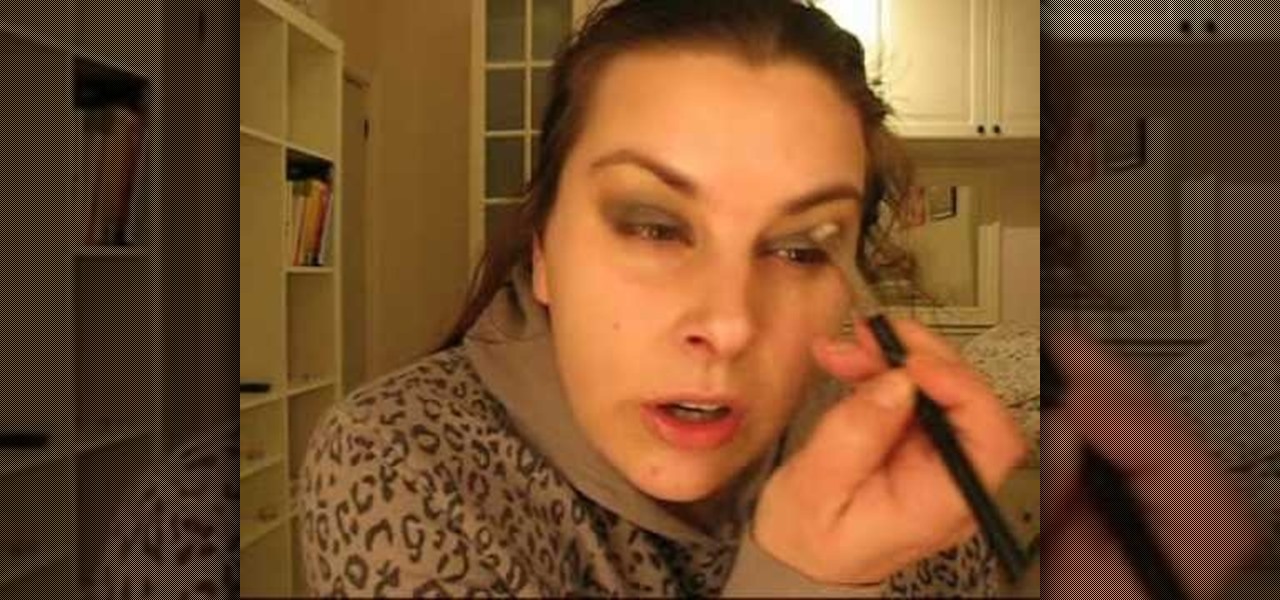
Create Miley Cyrus "7 things" inspired makeup look with the makeup tutorial from Lauren Luke, aka Panacae81.
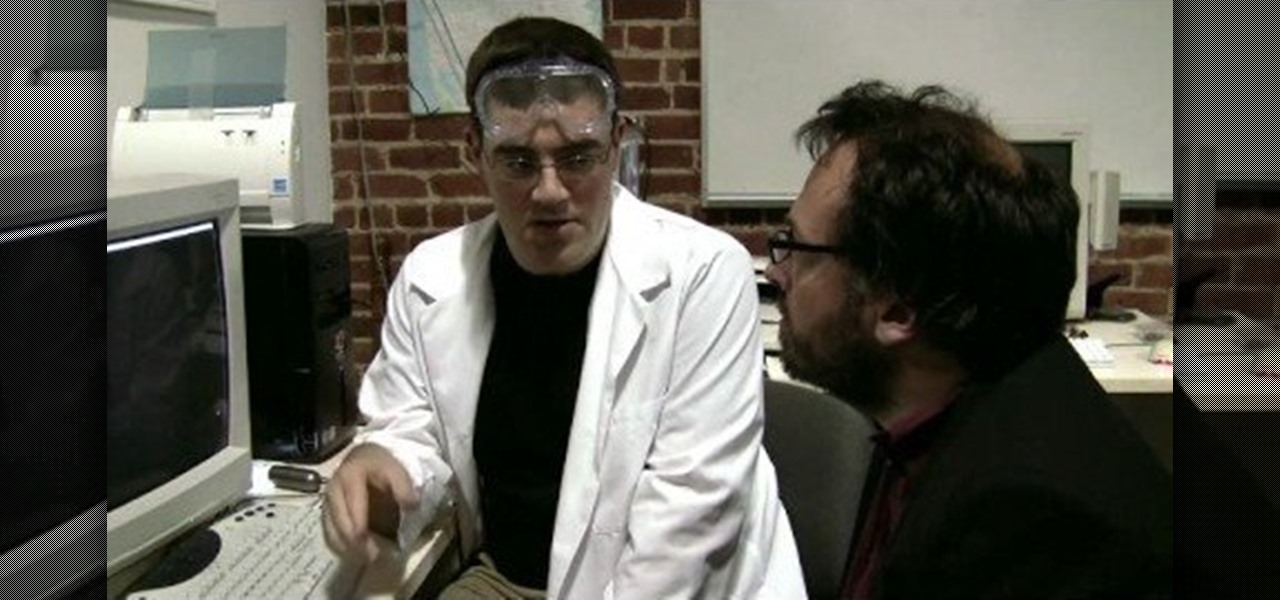
Imagine that every time you print a document, it automatically includes a secret code that could be used to identify the printer -- and, potentially, the person who used it. Sounds like something from a spy movie, right?
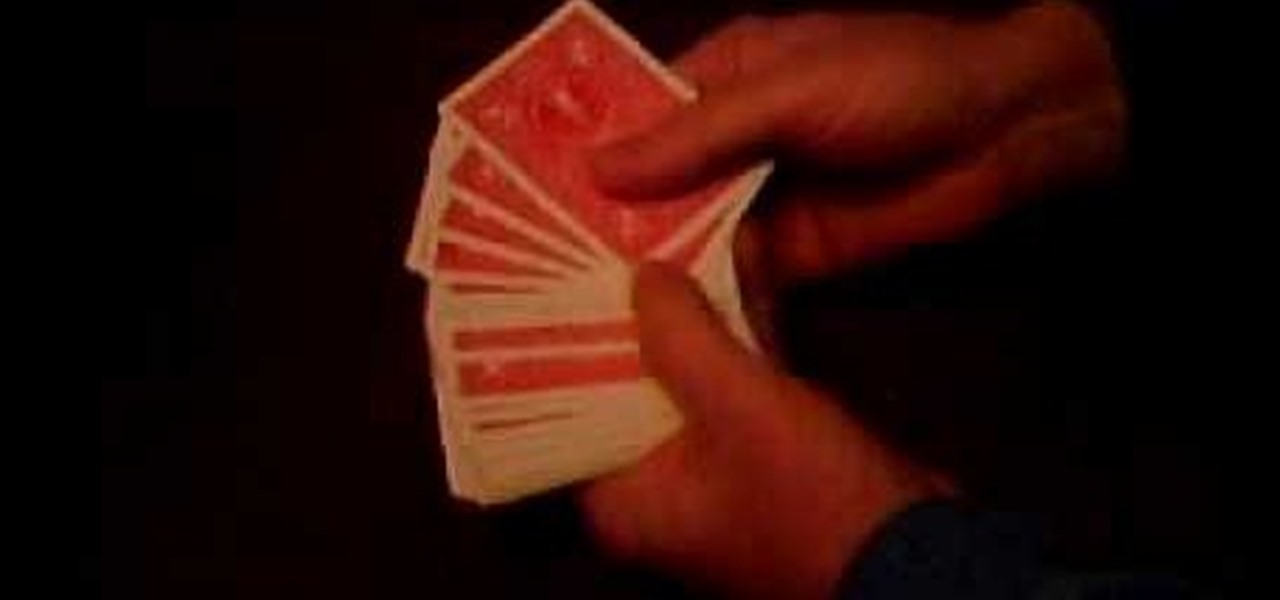
Hello ladies and gentlemen, Greg Solomon is here today in this video tutorial to teach you how to perform the "Best Card Trick in the World". He will show for you, and perform for you what many have referred to as the best card trick there is. See the performance of this illusion! Greg will reveal to you, and explain to you how the color change card illusion is performed.
Ditch the needle and thread, enjoy a fun family project, and give your little crusader the ultimate crime-fighting tool. Learn how to make a no-sew superhero cape.
Add some fizzle and sizzle to bath time with a homemade bath bomb. Bath bombs make great holiday or birthday gifts.
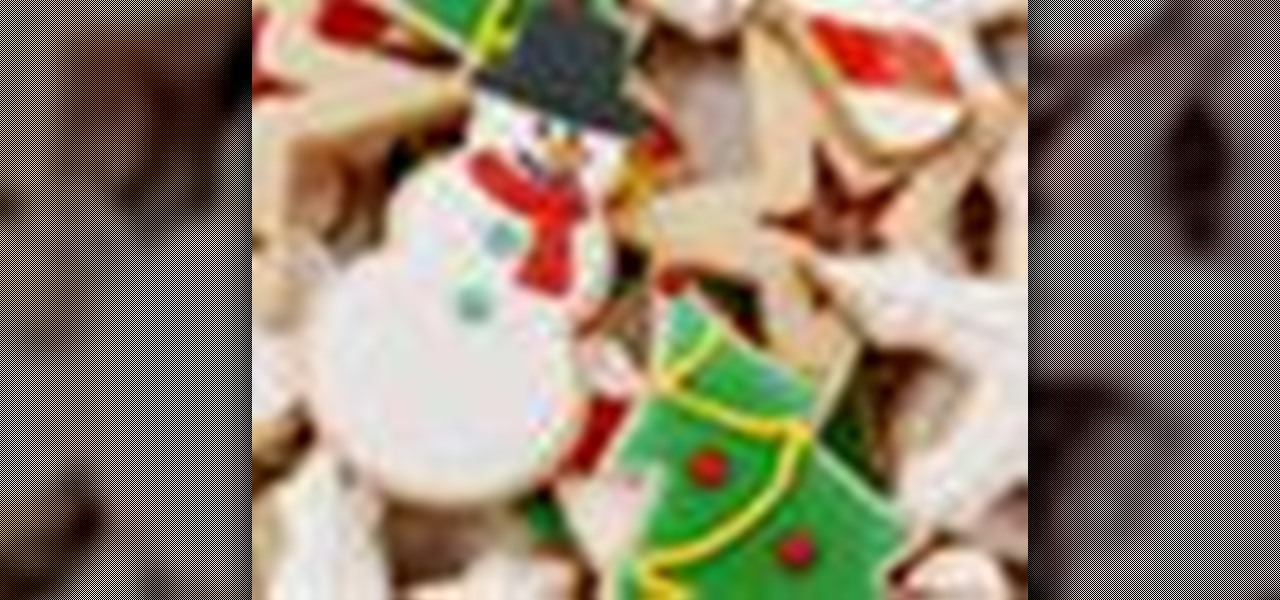
You've got the basic recipe. Now learn all the different ways you can decorate those holiday sugar cookies like a pro.

Solving the Rubik's Revenge Cube is similar in concept to solving the original Rubik's Cube. You still match colors and replace one piece with another, but there is an added level of complexity. Where the classic Rubik's Cube has fixed centers that determine the color of each face, every piece on the Rubik's Revenge Cube is fully moveable. It is also much more fragile than the original Rubiks Cube therefore requires greater care and precision. If you want to more... just watch and learn.
What's an LED Throwie? Watch this video and find out how to light up your neighborhood using colorful LED's and magnets! Yet another great idea for creating neighborhood art from Graffiti Research Lab.
In this tutorial, we learn how to make cheap, realistic, fake blood. This is easy and cheap and looks great depending on how well you mix it and follow directions. This is safe and won't hurt you or anyone else. You will need: corn syrup (any brand or kind), cocoa baking powder, red and blue food coloring, water, and vanilla extract (optional). Start out by pouring the corn syrup into a bowl, until half way filled. Next, add in around 5 or six drops of red and mix it together. Then, add in a ...

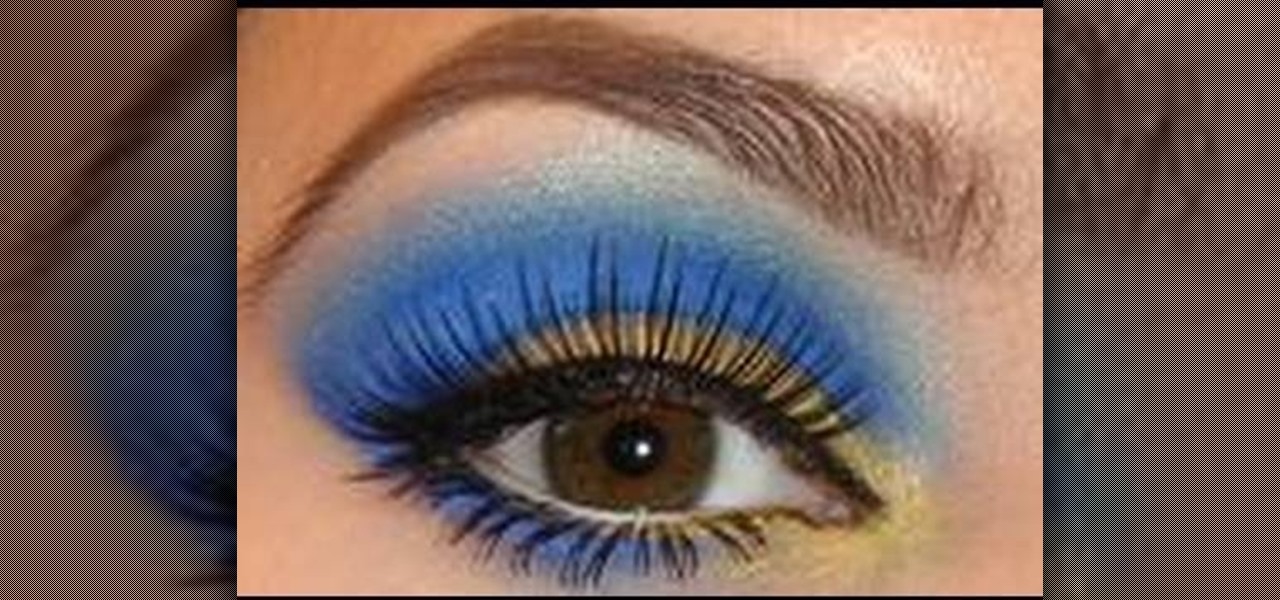
In order to create a Cheetah girl makeup look for Halloween, you will need the following: a cheetah print scarf, pink and gold shadow, false eyelashes, foundation

To perform the color burst technique using Adirondack paint, you'll need to shake a new dabber really well. Then, you will need to turn it upside down onto a craft sheet, until the paint starts to come out evenly. Once if comes out evenly, you are ready to use. Make sure you recap it, whenever it isn't in use.
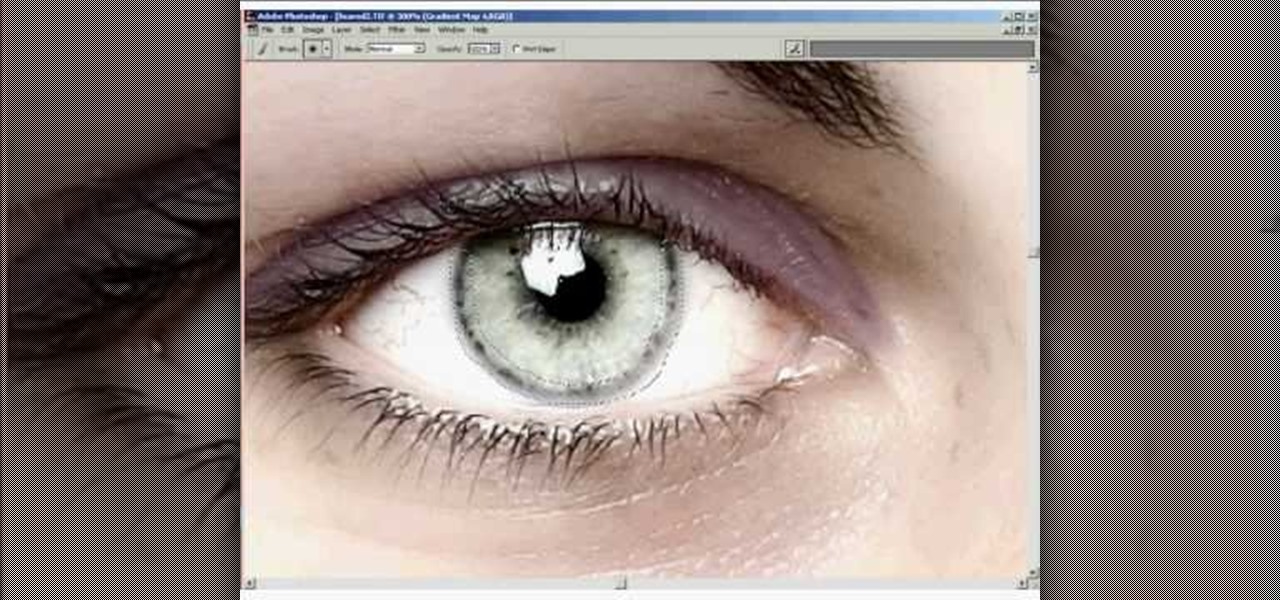
If you want to retouch or add digital make up using Photoshop you should first erase and cover up any blemishes you see on the surface of the skin. This can be bruises, blemishes, or even acne marks and bumps. Do this anywhere you feel necessary such as the face or on the body. Using the lighten tool, you can also lighten the eye color as well as the whites of the eyes. Next, you can also adjust the texture and color of the lips. You can also shift the color saturation of the picture to add r...

In this how to video, you will learn how to draw a witch. First, draw three oval shapes for the head and body. Next, draw the basic out line of the witches and legs. From there, you can add the arms, cape and broom. You can also add a bat and cat if you want. From here, you can go back into the drawing with more detail. Add the buckle and band of the witches hat. Next, draw in the curls of the hair and the eyes, nose, and mouth. Next, add in the folds of the cape. If you drew the cat, add fur...
This how to video shows you how to create wallpaper for your computer desktop. Open Photoshop and create a new file. Change the dimensions to the size of your desktop. Click okay and go to edit and fill. Choose color and select black. Click okay to fill the screen with black. Duplicate the layer. Once this is done, go to filter, render, and lens flare. Make sure the lens flare is in the center. Edit the settings to your liking. Click okay to add the effect on to the image. Go to filter, disto...
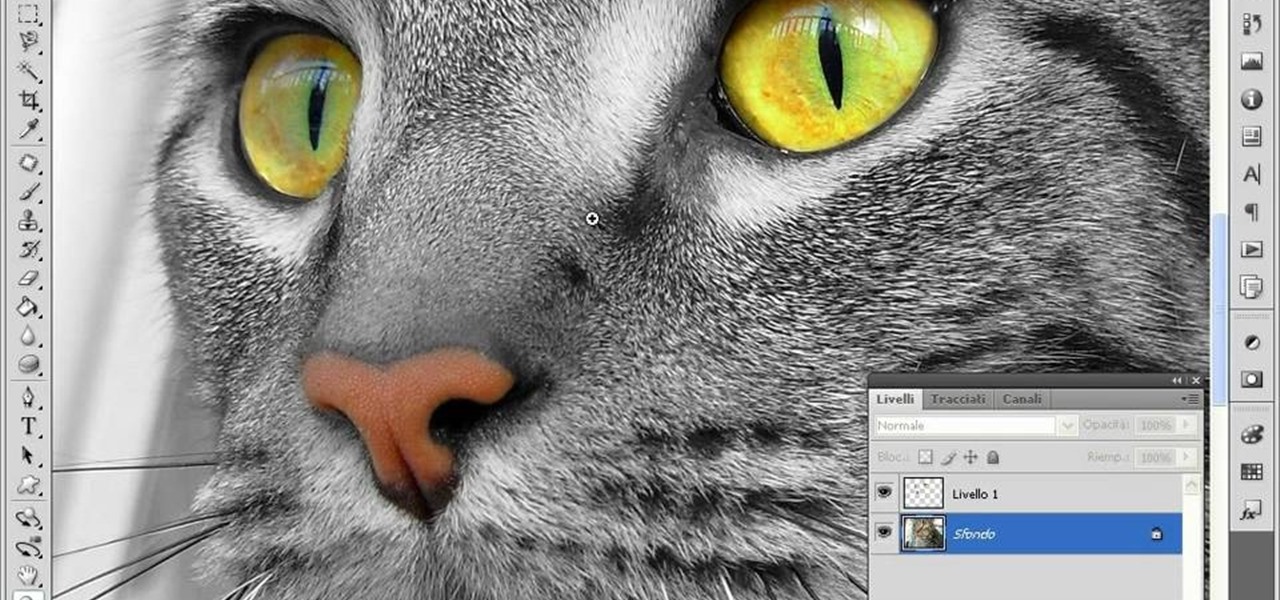
This video teaches us to make a photo black and white with coloured parts in Photoshop. This procedure consists of many steps. In the first step, we choose the magnetic lasso tool from the application. This is followed by the second step. In the second step, we draw the contours of the places we want to stay colored in the photo. Press the 'Shift' key to keep the contours selected while drawing contours across multiple places in the image. After drawing the contours, go to step three. Right c...

This is a video on how to weave in ends on kniting. First take two ends at a time, tie the new color and a half not around the current working color, and tie them. The thread the end onto the yarn needle, and go througha few of the yarn stitches. Next give it a little pull to make sure nothings coming loose. Go up to the next yarn ends, and do the same thing. What you have to make sure you do is weave the yarn through light colors. Also make sure the knots are secure, and are not going to com...
First of all you have to draw the outline using light color rough lines. Draw the face with beak and then draw the two wings hanging down. Also draw a tail at the back of the bird. Now you have to draw the outline by using a pen. Start by making the beak of the bird at the front. Make the wings with the feathers. Also make the outline of feathers to make the tail. Once the main outline of the bird is ready then you have to erase all the previous rough lines. Now you have to darken the body wi...

How to decorate cupcakes with some helpful tips
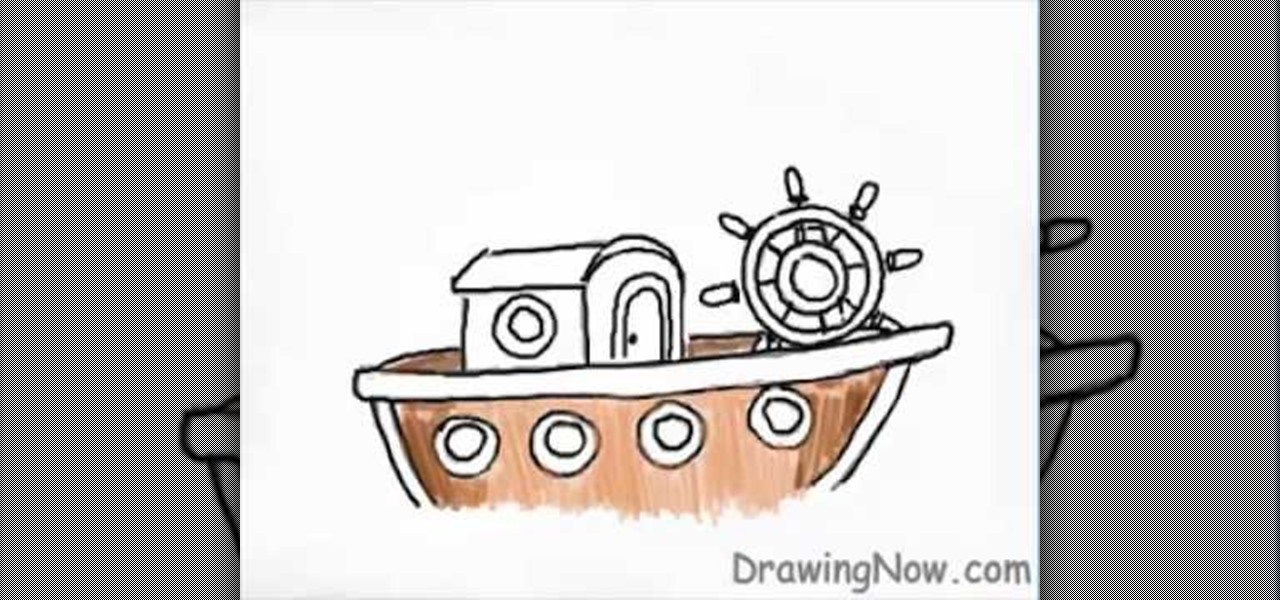
This video helps you to draw a boat. First draw the base with double lines. Then draw a cabin and a wheel. Next draw small circles on the base. Now paint the entire lines with black. Next draw spokes on the wheel. Shade the base of the boat with a lighter brown color and over-coat it with a dark brown. Paint the cabin with orange and brown color as shown in the video. Give a dark brown to the outer area of the circles in the base and fill the inner areas with black color. Give a white line to...
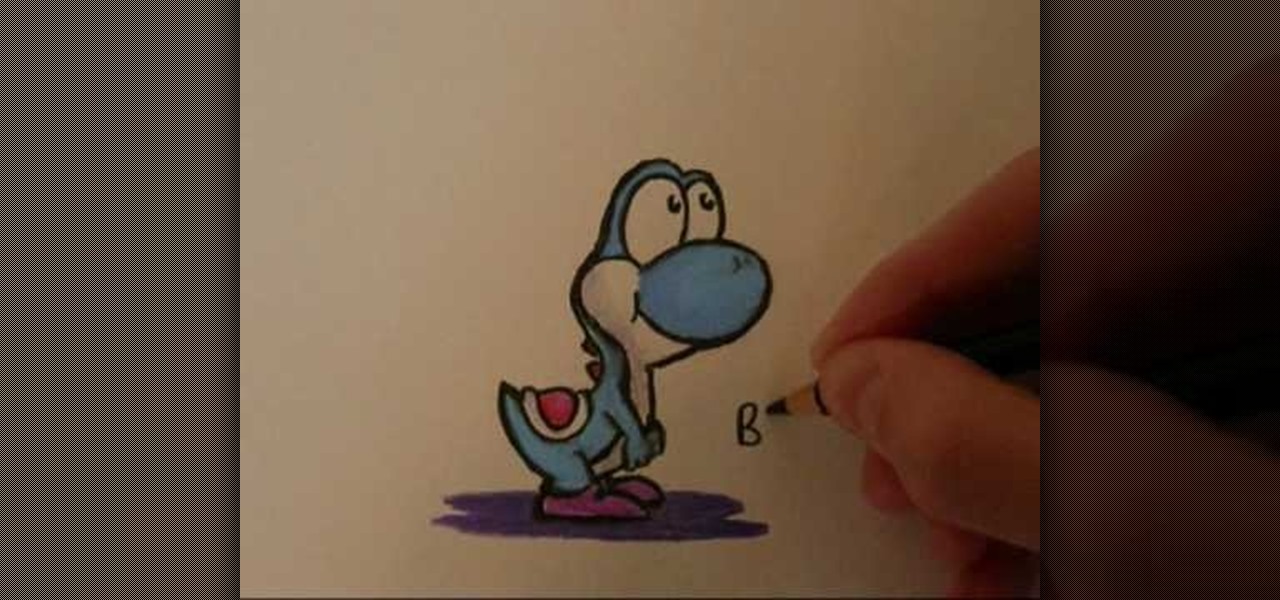
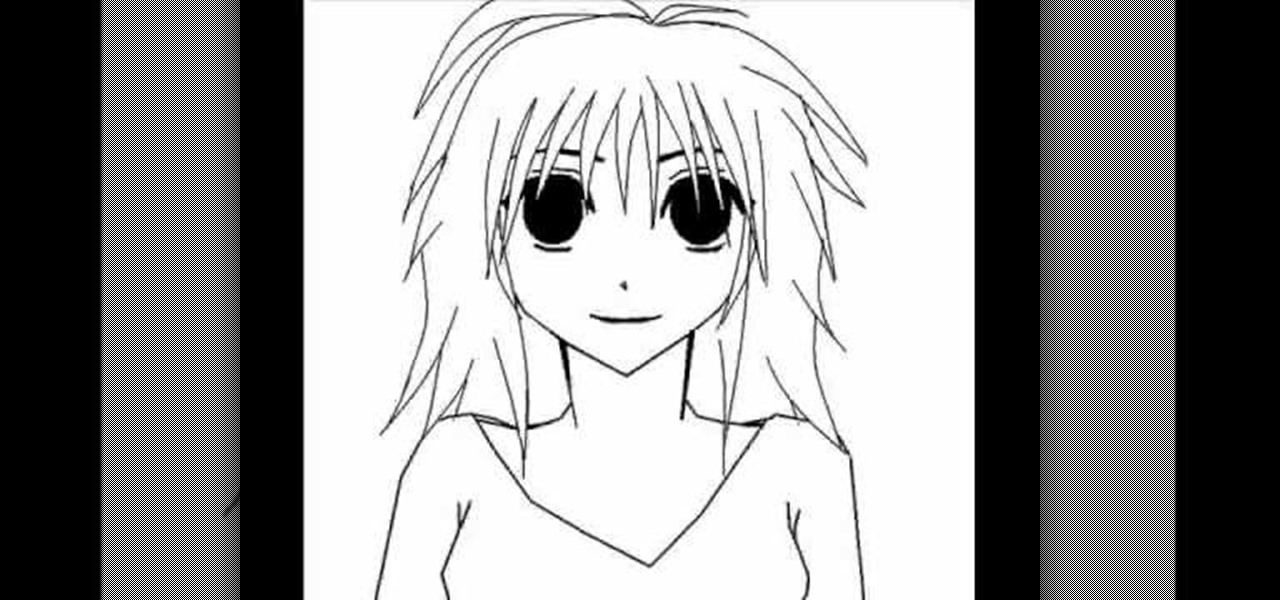
First of all you have to start by drawing an oval for the nose. Draw the rough lines so that they act as guide for your sketch. You have to draw the finishing lines later. Draw the head with the two large eyes. Make eyeballs in the eyes. Now draw the two round cheeks. Draw the body with the two arms joined at front. Now draw the tail and the legs. Now use a pen and draw the final lines. You have to start by drawing the lines thinner and then gradually thicken it to ease out any mistakes. Fina...
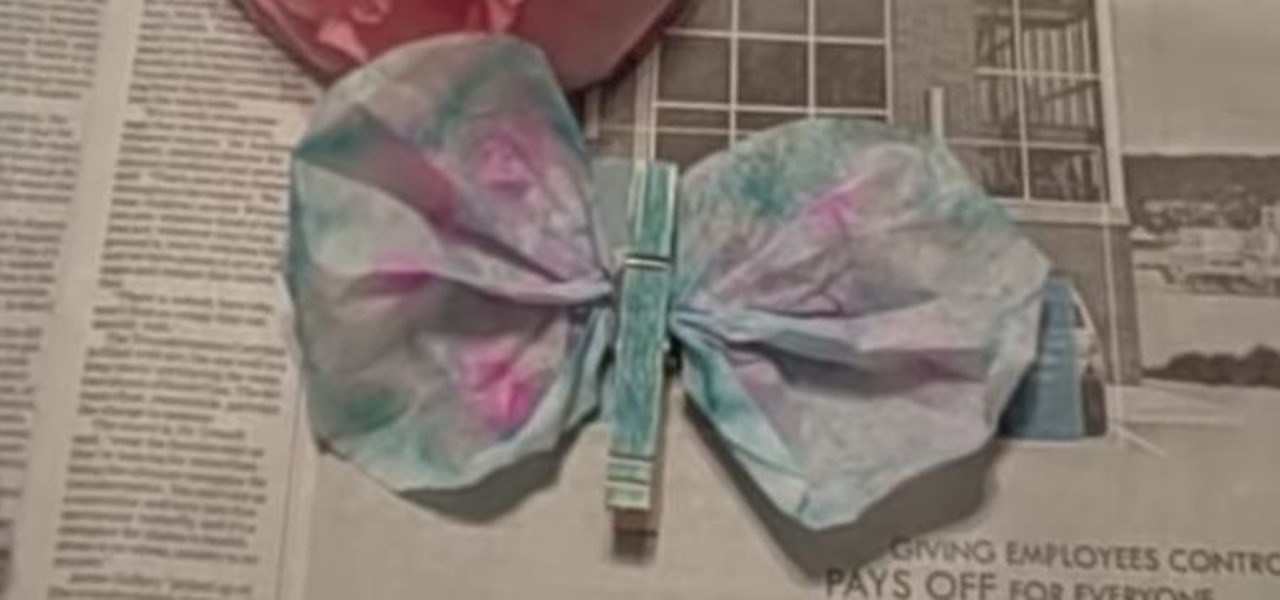
Learn to make beautiful coffee filter butterflies and flowers by watching this video by Kim Janocko. The following materials are required to make them:
Jennisse shows us how you can enhance your natural beauty simply by using your eyebrows. Start by taking some Brow Duo, and a eyebrow makeup brush. The brush should be angled, and stiff. Start by taking just a dab of the makeup, and begin shaping the eyebrow with the darker color, leaving the inner part of the brow alone. Now we take a small bit of the lighter color, and start to shade in the brow, moving towards the arch. Now Follow by taking another dab of the darker color and begin to shap...
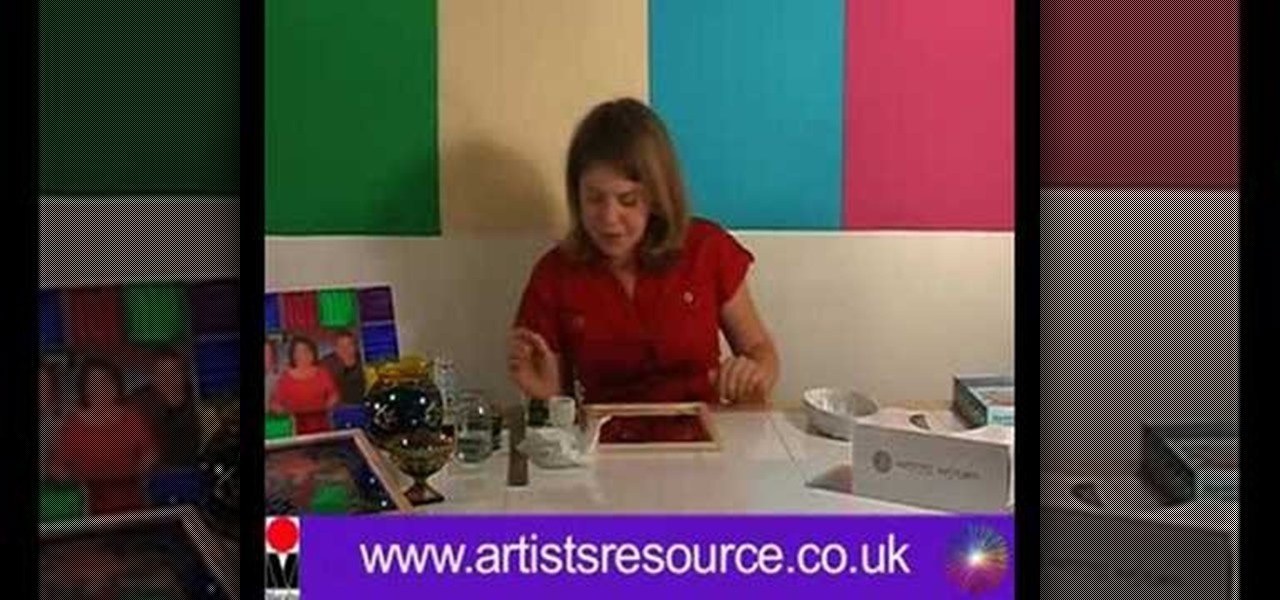
In this Arts & Crafts video tutorial you will learn how to make a stained glass mirror. This video is from Artists Resource. You will need a Marabu GlasArt kit, some spirit, a china graph pencil, scissors, a ruler, masking tape, a container to mix your paint, an object to draw an oval shape, Marabu outliner paint, a mirror and peel off dolphin stickers. Take a few dolphin peel offs and stick them on the face of the mirror; on the edges, to form a design. Place the oval shape object in the cen...

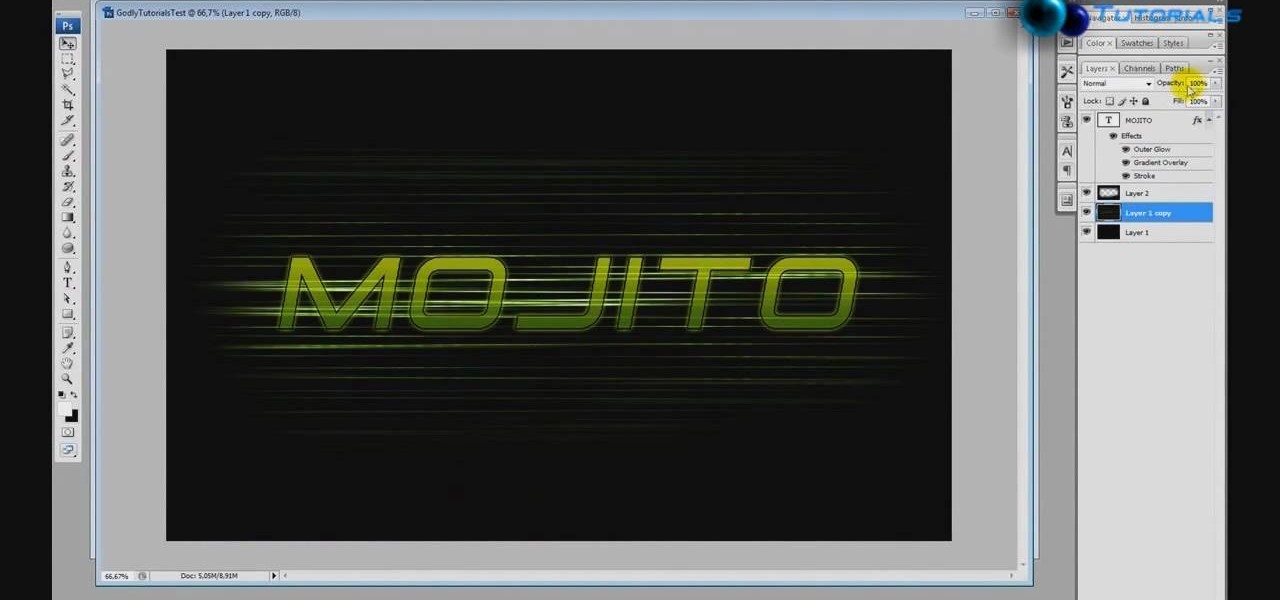
This step-by-step tutorial will teach you the correct way make a Light-Saber effect using Paint.net.In this video, you will learn how to gather the Light-Saber image, paste the image into Paint.net, choose the preferred color for the Light-Saber, and other special effects such as: sizing your Light-Saber, 'blurring' your Light-Saber, and learning the correct way to save your project.Your first step is to right click on the Light-Saber image and click 'Copy'. Next, you open Paint.net. Then you...
To make a Mario avatar begin by going to change my features. Under hair go to pate three of ten and select the middle one. For color, go to page two of three and pick the bottom middle one. For the eyes, he used the right middle one, but says that you can use really any one you like. As for eye color, again just choose whichever you like. For the eyebrows, go to page three of three and select the bottom middle one and color them brown. For the ears, use the first one available. For the noses,...
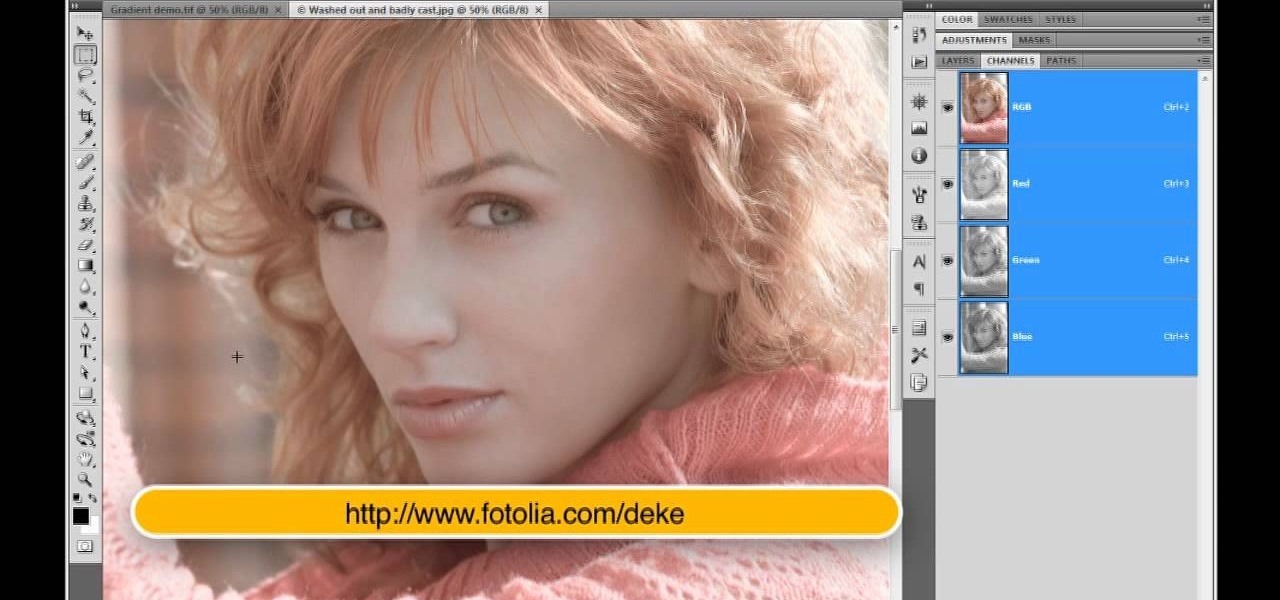
Deke McClelland explains what the Levels and Histogram commands can do in Photoshop in this video tutorial. Levels allows you to adjust the luminance levels allowing you to adjust the contrast and colors within each color channel of an image. Thus, Levels allows you to adjust the individual colors that can be found within a gradient. This command is very similar to the curves command but to a less powerful extent. It is also more efficient than the curves command. The Histogram is another col...
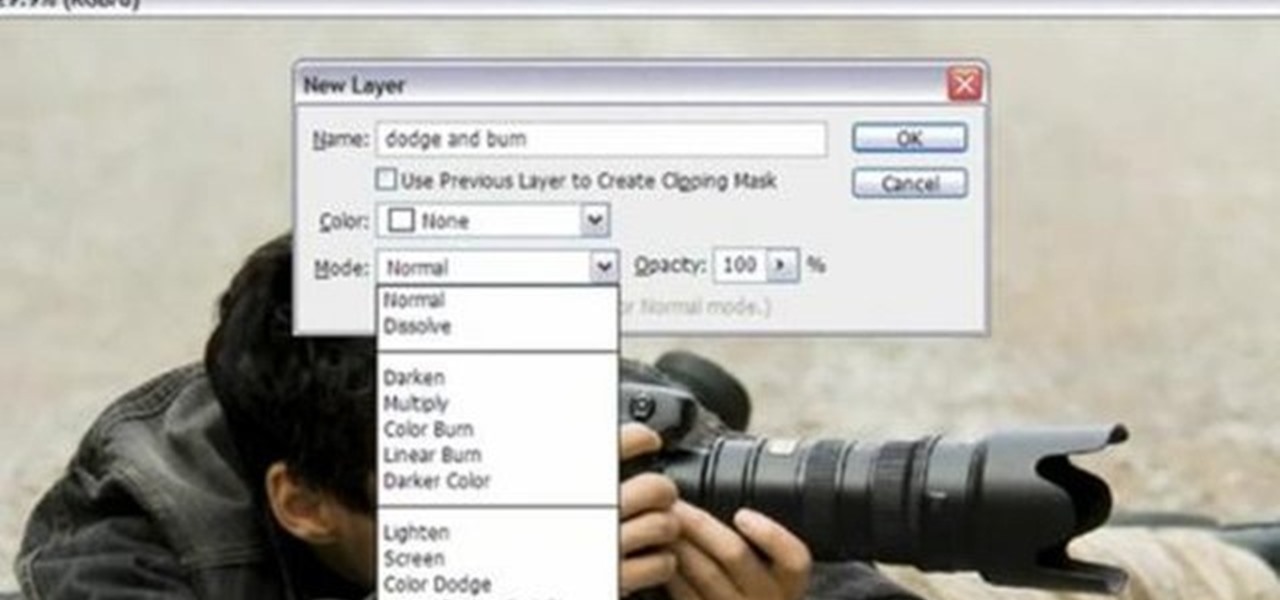
Yanik Chauvin demonstrates how to do Non Destructive Dodging (lighten) and burning (darken) of images using the tools in Photoshop. He shows the image of a man lying on earth with his camera. To start the work he wants to make a new layer which can be done in two ways either by clicking on the ‘layer’ button on top of menu or by pressing down the alt key and clicking on the new layer at button of the layer palette. It will bring up the dialogue box. He named it “dodge and burn” and from the l...
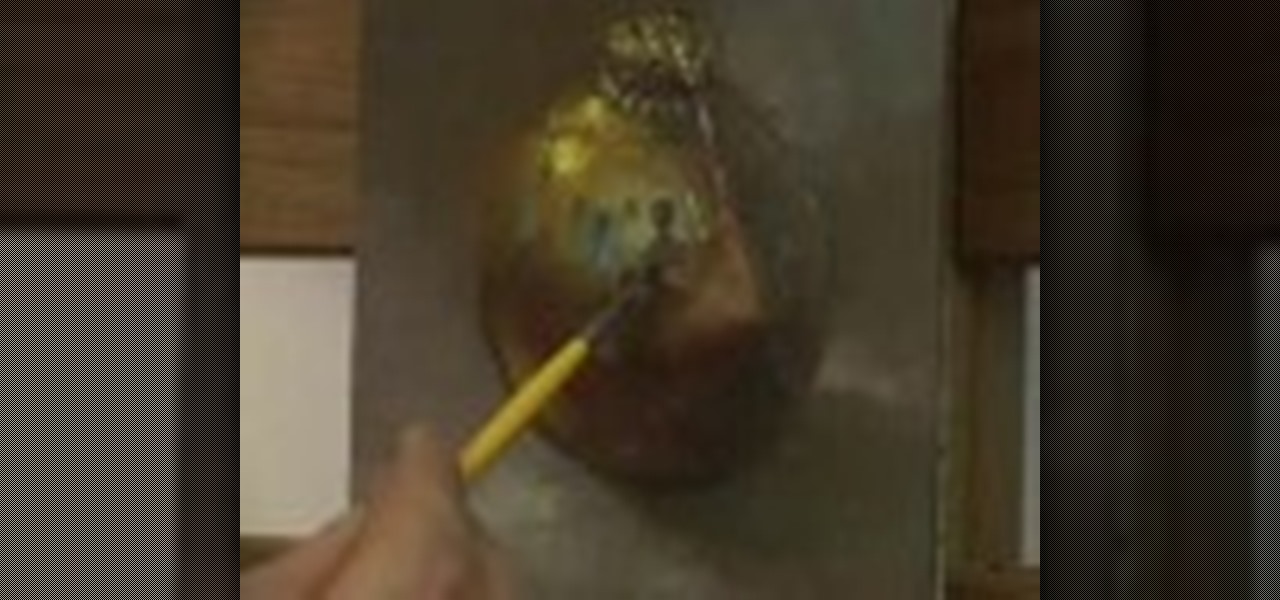
In this Painting Metallic Surfaces Hall video tutorial, learn how to paint metal objects with oil paint. This is a good tutorial to learn how to paint metal surfaces so that it looks like real metal. The examples used in this video is the painting of a pocket watch, ornament, teapot, martini glass, and more. To begin, evaluate the colors of the metal object you are painting. Make sure to pick up colors that are reflected and also make sure to pick up images that appear in the reflection of an...
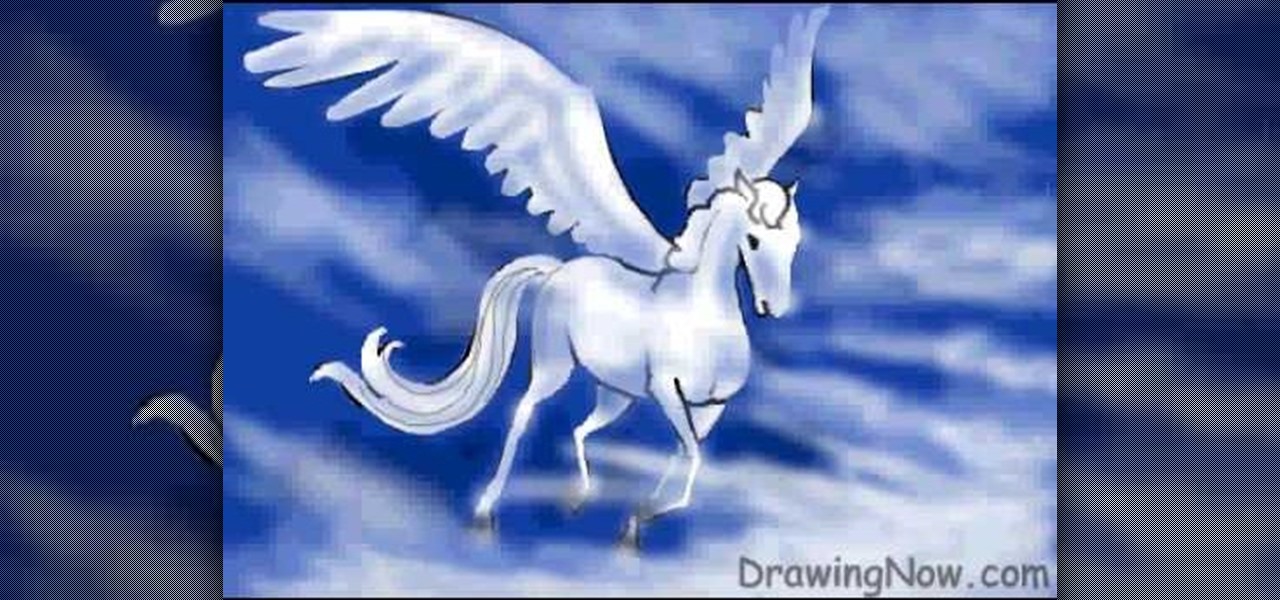
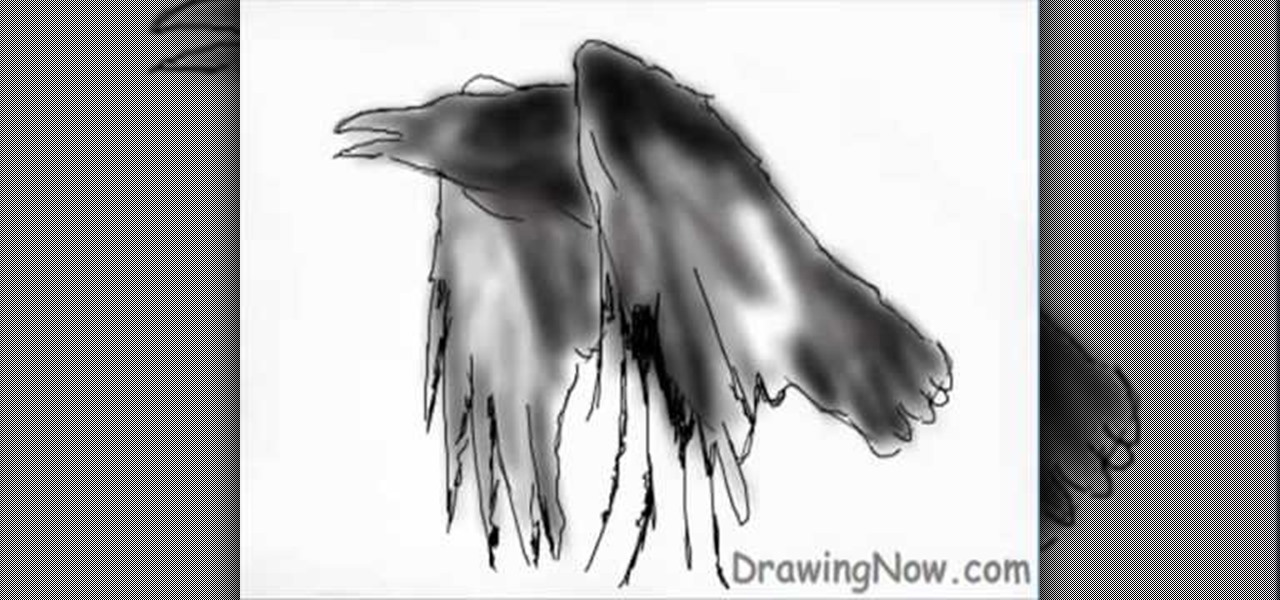
This video shows us how to draw a Pegasus, a fantasy horse with wings. Firstly draw the parts of the Pegasus roughly using light shades starting of with head, body, limbs, tail and wings. Then darken the parts previously drawn using darker shades and then add the feathers to the wings using the darker shades. Then after that erase the parts which were in lighter shade as it is considered as unwanted now. Then set the background by coloring it with blue color as the Pegasus will be usually see...
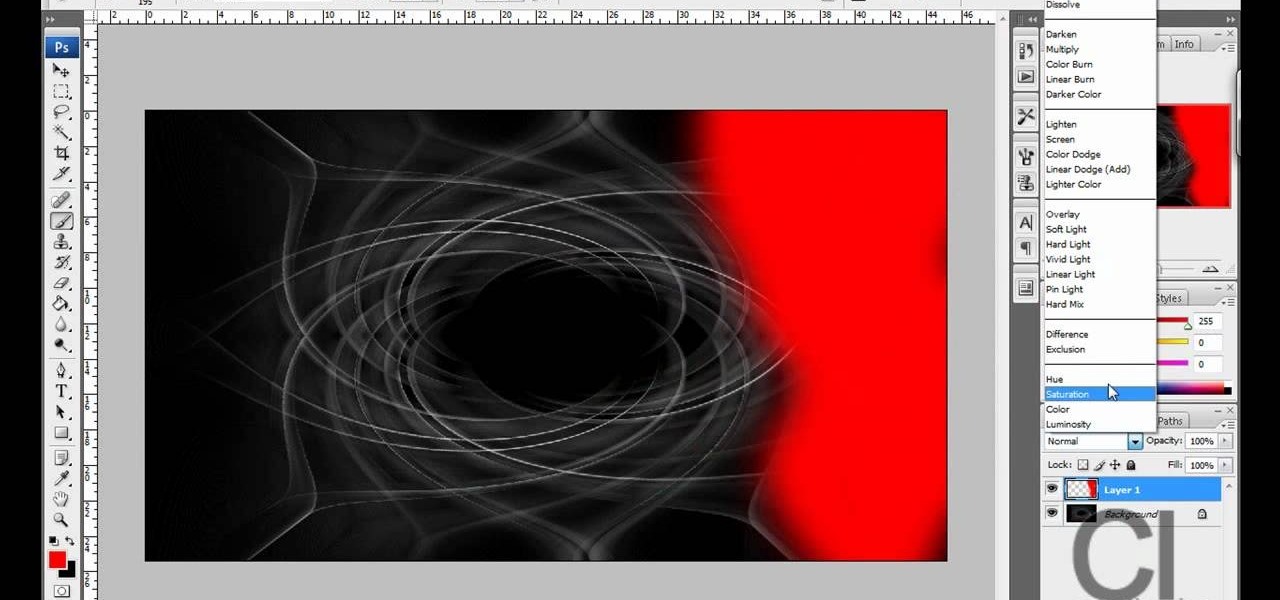
CreativeIceDesigns teaches you how to make a colorful abstract background using Adobe Photoshop. Go to File - New and make it 1280 x 720 pixels. Make the background black. Use the Lasso tool to make a star shape and fill it with white. Go to Filter - Blur - Radial Blur, amount 100%, zoom best. Go to Filter - Radial Blur. Then Filter - Stylize - Find Edges. Press CTRL + I to invert. Go to Filter - Distort - Twirl - 300 and press OK Duplicate this layer. Go to Filter - Distort - Twirl and choos...

Cross processing is a Photoshop version of slide processing. The result would be you get all these weird color shifts. For reasons best known to people who run the fashion magazines, this look became very popular in the 1990s. Start by adding in a curves layer. Add a new adjustment layer for curves. If you've never used curves before it is recommended that you take a curves tutorial first as for this effect we will need to adjust individual color channels. It is not difficult but if you don't...
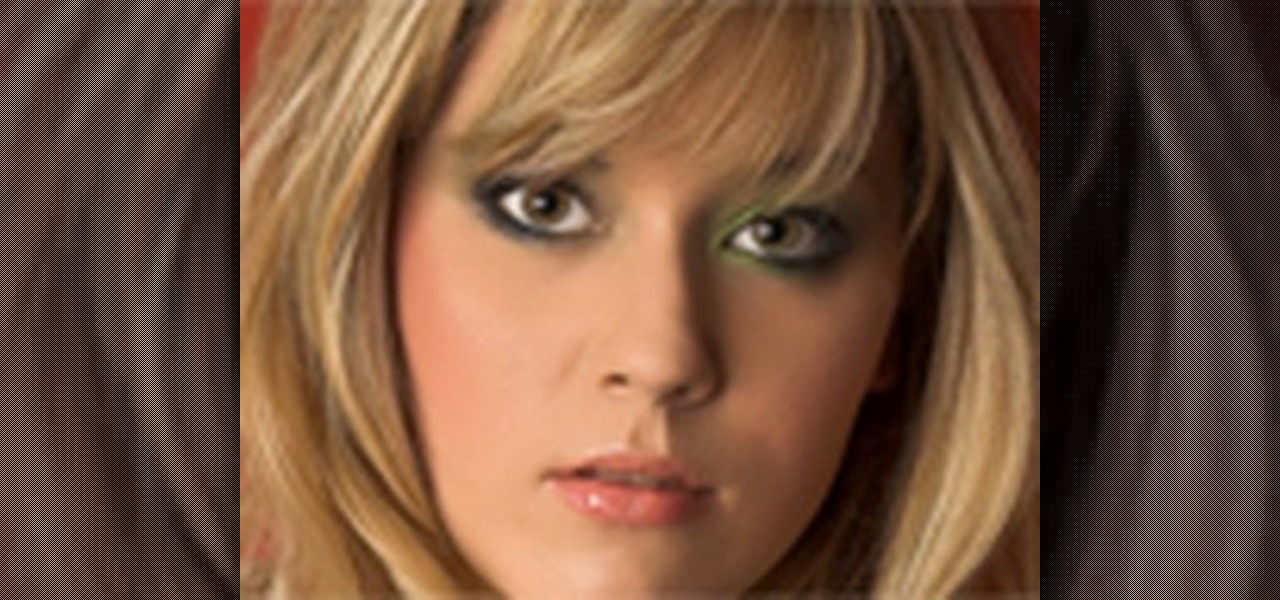
Make up artist Katie teaches viewers easy to follow techniques in achieving a Megan Fox make up look. Using a make up brush, apply concealer below the eyes and areas all over the face. Use a sponge to apply the foundation and gently blend it with the concealer to achieve a flawless look. To achieve a glow in your face, use a blush brush and apply blush on shade with a fine shimmer all over the face with emphasis on the cheeks and forehead. Perfect-shaped eye brows is achieved by applying blac...
This video tutorial is about removing makeup in a photo using Photoshop. To do this, first of all, open the photo. Then zoom in on the area where you want to remove the makeup. The tool that is to be used to remove makeup is the brush tool. It can be selected from the left pane. After that, on top there will be an option which says mode. Click on the option just near to that and a drop down menu appears. From that list, select the hue option or color option. Both the options serve the same pu...
This is one of the biggest mistakes women make when it comes to eyebrows. Many women become overly aggressive when it comes to plucking their brows and end up with thin or almost nonexistent brow hairs. Unfortunately, eyebrow hairs can take months to grow back and, in some cases, plucked eyebrow hairs may not grow back at all, particularly after years of over plucking. Stop plucking and give your eyebrows a chance to grow back to their natural state. In the meantime, you can use a soft eyebro...
This is a very interesting instructional video on how to draw a woman on the computer. First, you must draw the head, neck and shoulders. You can draw help lines. Now you should draw the eyes. Then you should draw nose and mouth. Draw the iris. Now you can take away the help lines. Now draw the eye brows and eyelids. You can pick another color and draw the hair. Erase the blue lines in the hair. Now you can pick another color and draw the sweater. Give black color to sweater. You can paint th...

Illustrator denotes how to create a road. First select the pen and draw a path. Now go to stroke. It depend 130. Deselect dash line. Now move our path a little bit upper. Now select our path. Now duplicate of our path several times. Now turn off the new layers. Focus on our first path. Turn on the second path. Change the stroke weight value to 125 and change the color to gray. Now go to the next path. Select our path and change the stroke weight value to 115 and leave the black color. Now go ...

Place slip knot on hook. Hold yarn taut with 2 sets of 2 of fingers placed about 1½” apart, with tail in other hand. Create loop that crosses over bottom of 1st strand with loop toward right side. Fold loop over main strand going past tail. Insert hook below at tail strand. Pull up a loop using main strand for this loop. Pull 2 ends of yarn taut while leaving slip knot on hook. In 1st chain work 1 single crochet. Skip 2 chains; work 1 double crochet in 4thchain. Picot stitch by chaining 3 & a...