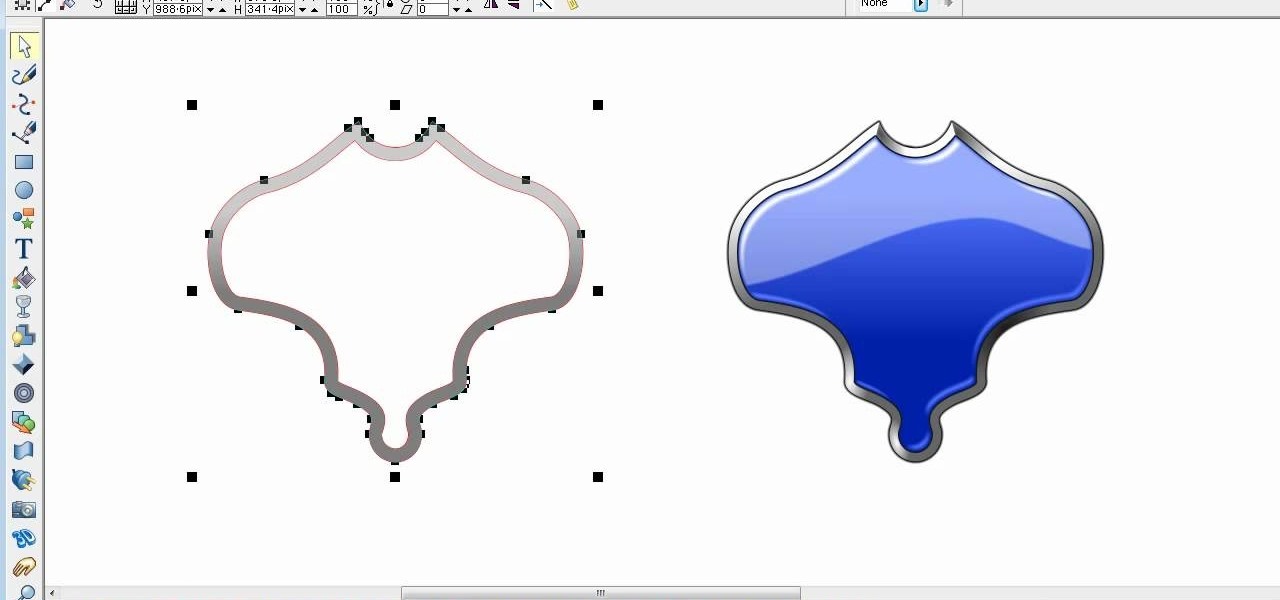
In this video, we learn how to create a glossy shield in Xara Xtreme. First, open up the program and then create the shield outline. After this, create another outline inside of it. Arrange these and then combine them together, adding in silver in between them. After this, you will add a light blue color to the top and then separate this with a dark blue color at the bottom. To make this appear shiny like a shield, you will add in white around the outline of the inner shape. Once finished, sa...
This video reveals how a magic trick which was performed by Criss Angel, in which your card deck appears to change colors. For this trick, you will need two decks of cards, one which is red and one which is blue. You then have to use double sided tape to tape a red card to a blue one, so that you appear to have a card which is red on one side and blue on the other. The rest of the cards will be from the blue deck. Place the double-sided red card on top of the deck so that it appears that the ...
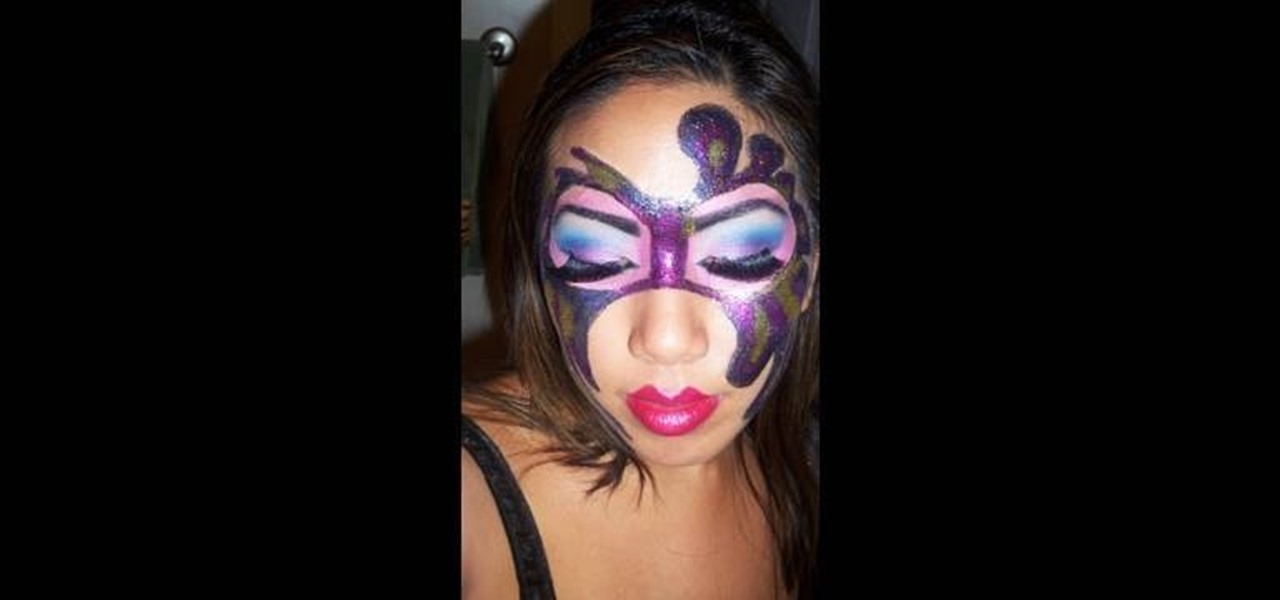
In this video, we learn how to apply a glitter makeup masquerade mask for Halloween. Start off by applying primer to the eyes, then a dark pink eyeshadow up to the crease. Next, apply purple to the lower lids, blue to the crease, and white underneath the eyebrow. After this, take a darker blue to the outside of the eye and blend together with the pink in the middle. Next, apply the blue shadow to the lower lash line, then apply eyeliner on the top and bottom of the eye in black. Now, you will...

In this tutorial, we learn how to make a stylish Halloween bag tag. You will need: ink blending tool in black soot color, black paint, orange paint, white card stock, stencils, cutters, scissors, and glue. First, place your white card stock underneath the stencil, then cut out the shape of a house. After this, mark lines in opposite directions onto the shape. After this, you should have the shape of a spider web. Next, add the ink pain on the top to highlight the spider web and you will be ab...
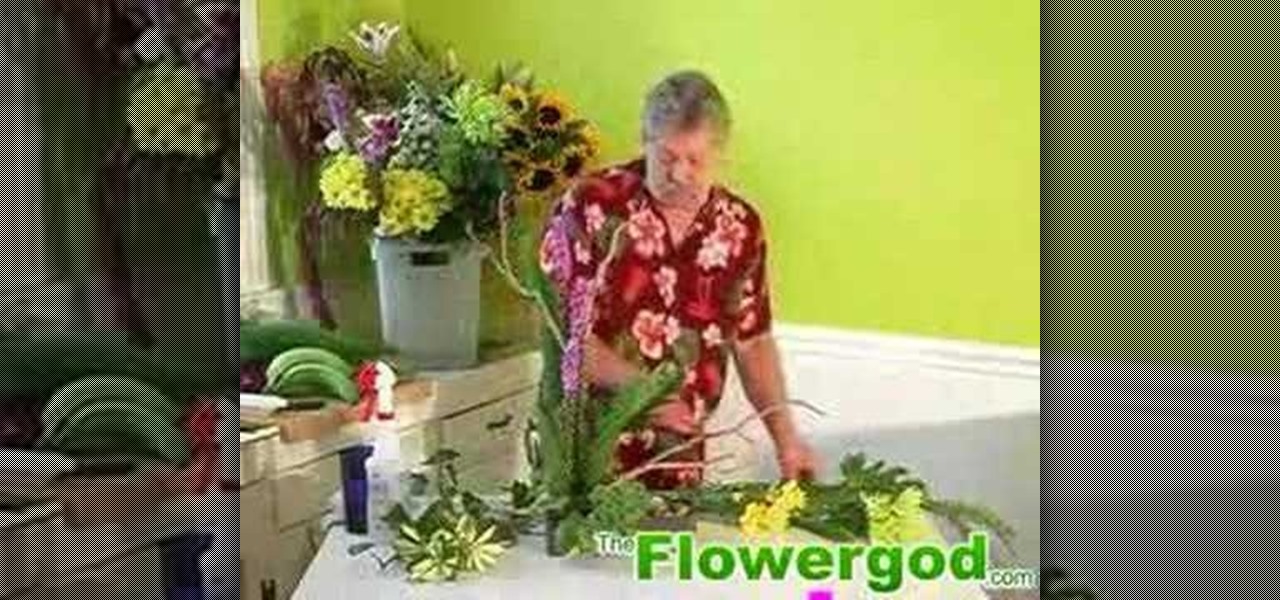
In this tutorial, we learn how to create a water garden arrangement. To start, have a box filled with foam and rocks, then place branches on the inside of the foam and rocks. Now, add in a few liatris branches at different sizes. Next, add in yellow daisies, green spider mums, foxtail ferns, ivy leaves, and any other plants and flowers you prefer. To give the arrangement a garden feel, make the plant out of order and make the plants and flowers at different levels and heights. Arrange the flo...

In order to make a pop up greeting card, you will need the following: 3D Maribu pens, a paintbrush, water, scrap paper, a pencil, a ruler, a cutting knife, eraser, 3 pieces of colored card stock, a white card, scissors, and a glue.

TutCast shows viewers how to create the blood spatter from Watchmen in Photoshop! First go to TutCast.com/watchmen and download the given file that will provide you with the layers needed for this project. First, click layer and click bevel and emboss. First, start with Inner Bevel, Keep it smooth and leave depth at 100. Direction is up and change the size to 8 and soften to 10. Now, set the angle to -70 and altitude to 30. Now, the gloss contour you should pick the fourth option and the high...
In this how-to video, you will learn how to make grain textures in Photoshop. First, click add layer mask to an open image. Add a filter to this mask and by going to the texturizer option. Adjust the settings to your liking. Click okay to continue. The mask will make the texture transparent. Go to image adjustments and levels to adjust the intensity of the grain. Click okay to save the settings. Select the layer and then choose the color you want the grain to be. Make sure to lock transparent...
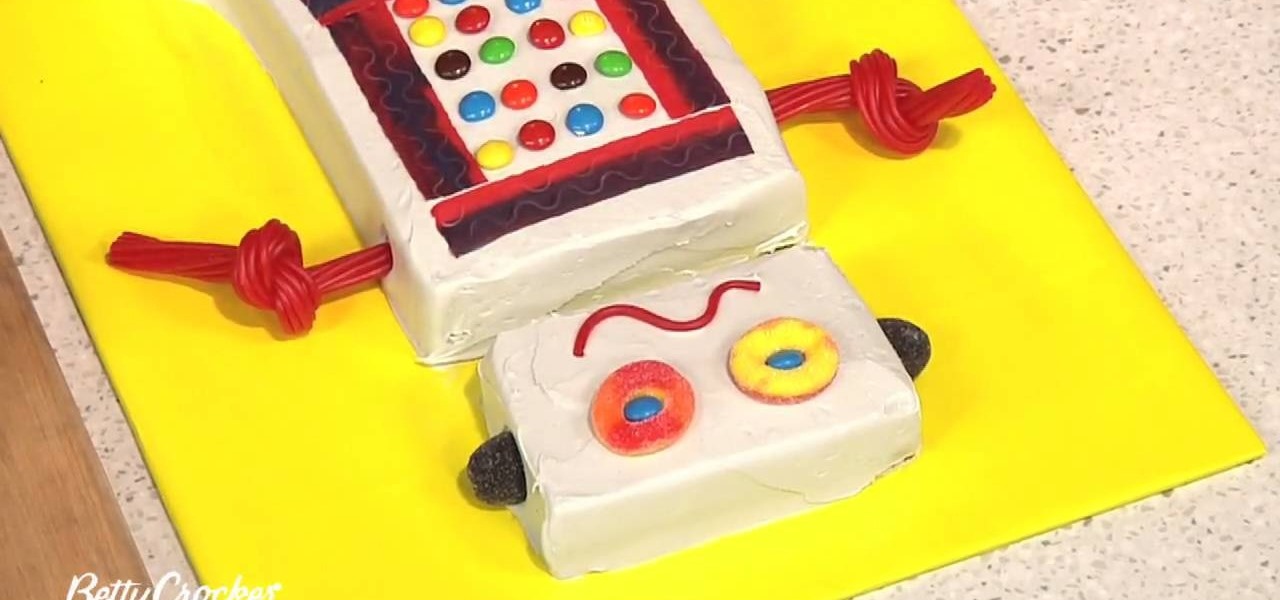
In order to make a Robot Cake, you will need the following: a 13 x 9” cake. Remove the top layer of the cake, by cutting it off evenly. Next cut off a 3” strip from the top and the bottom of the cake. Cut away 1/3 of one of the strips. Place your cakes on your serving platter or a cake board. Cut away from the lower level to bevel the edges.
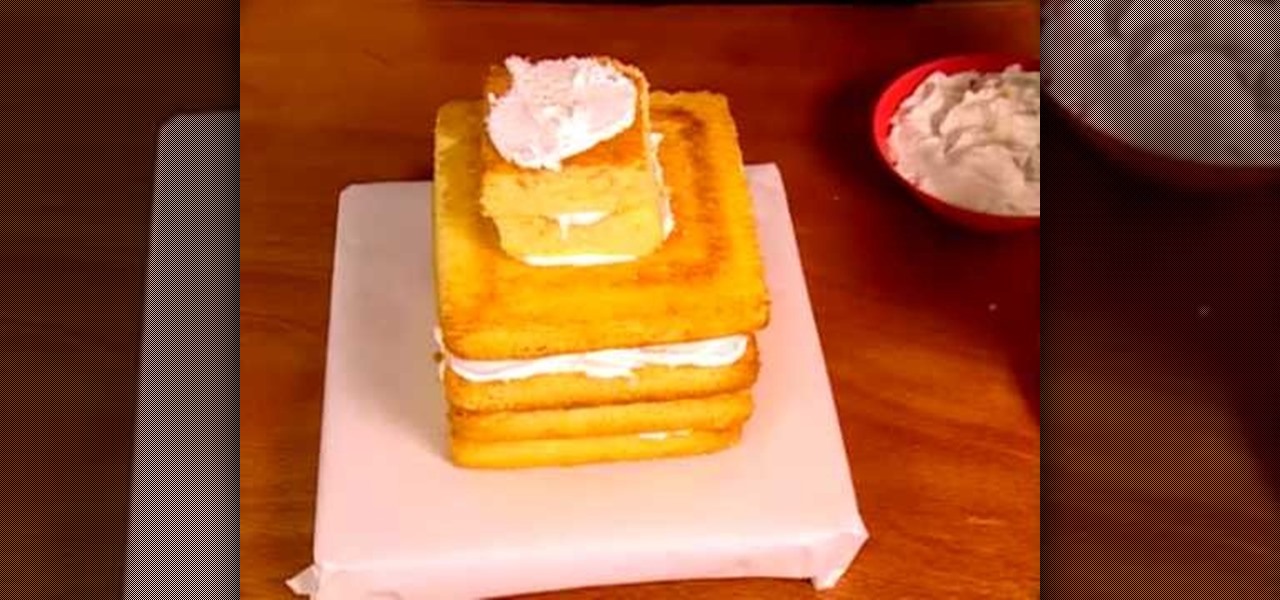
You'll need five baked eight inch square cakes, five - seven cups of white icing, five sugar cones, a little glitter, a little bit of pink icing, a pastry bag, silver non parils, gummy balls, candies, pink and red icing, mini canned hearts, red sprinkles, colored paper and tape and 5 toothpicks. Cut one cake into fourths and stack them one by one on top of a stack of the other four cakes, secured by white icing. Poke a hole in the tops of each of the cones, then sprinkle each one with edible ...
This video shows how to make a rotating SWF logo in Photoshop. Choose any desired logo that will be used later in the SWF file. Save the logo to the desktop. Use any kind of editing pogram. Make sure we only have what we want showing the area coloured with small squares is invisible. Open any version of Adobe Flash. Create a new "Actionscript 2" file. Then set workspace size to 240X320 and background color to match the picture we choose before. Make sure we select Flash Lite 2.0. Then go to F...
In order to make Cardstock roses, you will need the following: cardstock, stencils, scissors or cutting utensil, a cutting mat, color glimmer, a hole puncher, and acrylic paint.
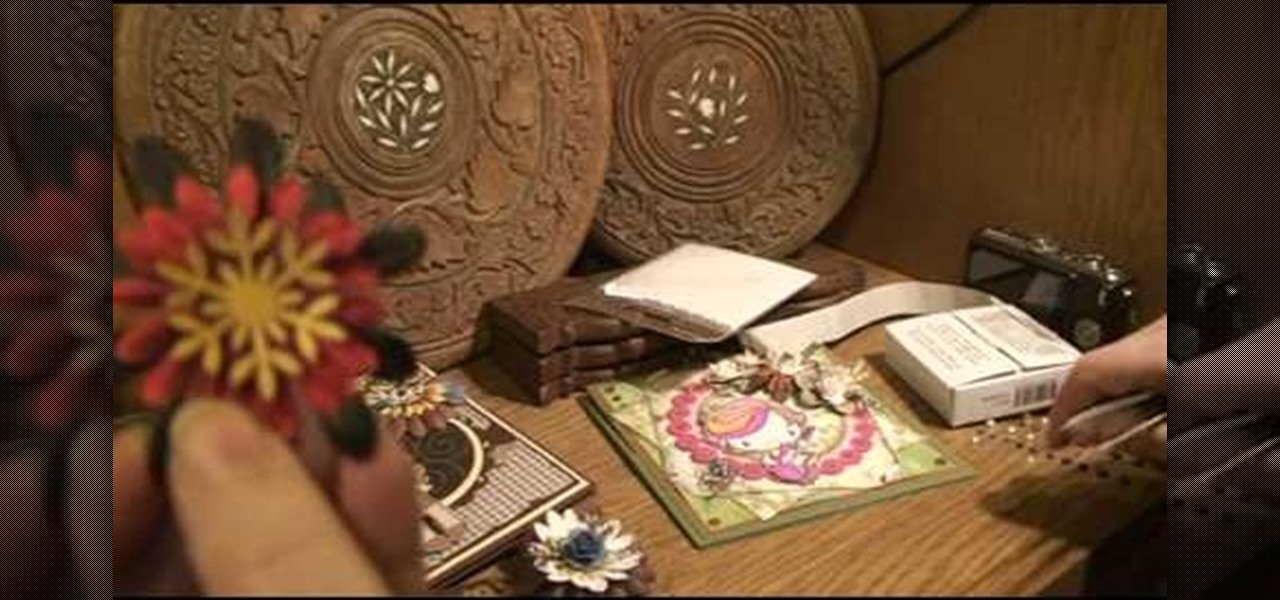
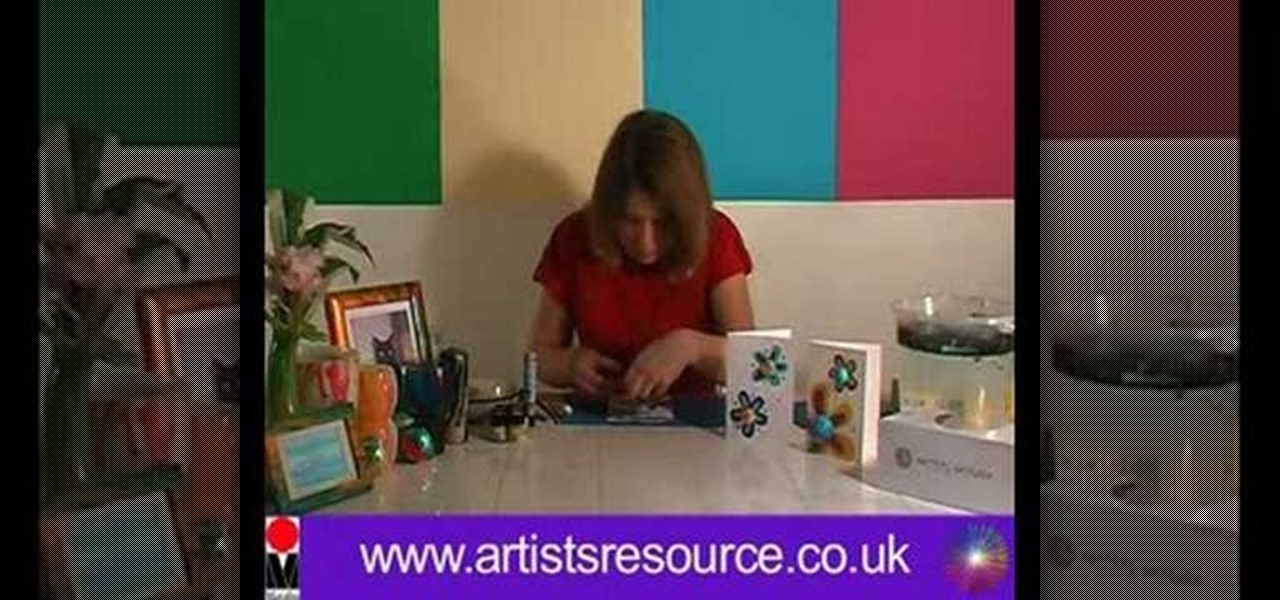
In this Arts & Crafts video tutorial you will learn how to make flower arrangements on a card. To make this you will need punched out pieces of flowers, snowflakes and leaves of different shapes, sizes and color. You will also need some small size paper flowers, glue dots and cards. To make flowers, you can take a rose and twist the wire stem around a paintbrush to give it a curly shape. Then put a glue dot below the rose and attach it to a punched out snowflake. Take some punched out branche...
If you want to get tiger style nails first you need to paint a clear base coat on your nails. Now, you should take a vinyl shine nail polish that is a gold-ish color and pant this on each nail as a single coat. You should try to get a nail polish that dries fast - so let this coat dry. Now, get an orange nail polish and dot this color on your nails in random spots. You do not have to do this in any particular design. Now let this dry. Next, with a black Art Deco nail polish, paint and draw th...
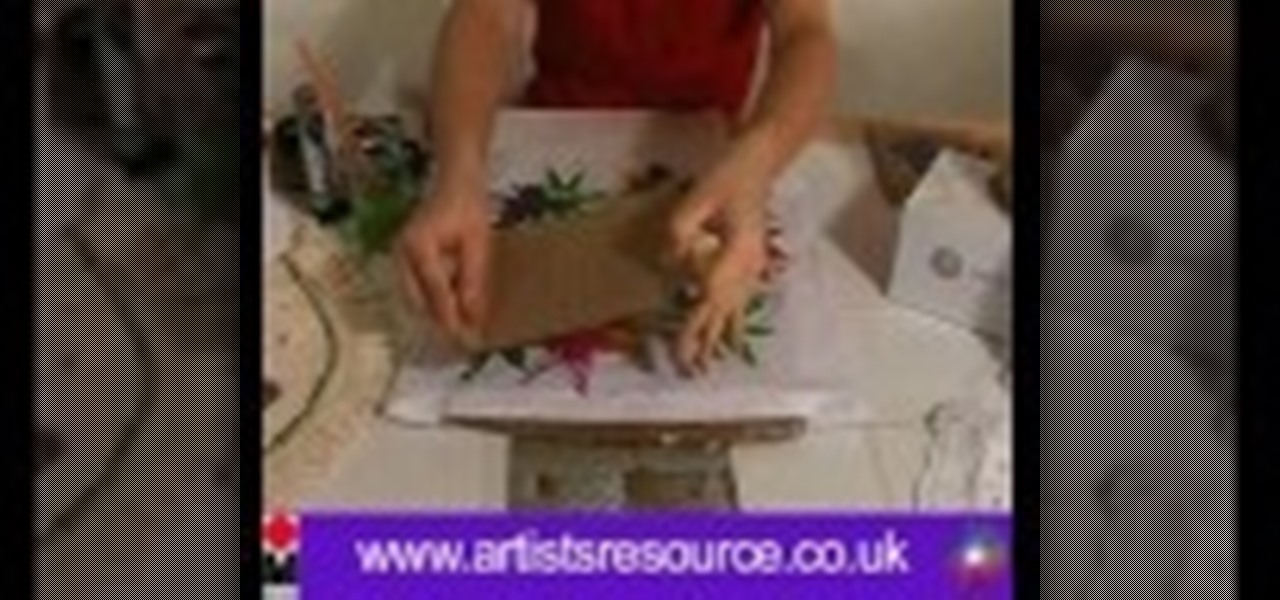
Leona from Artists Resource shows us how to decorate cushion covers with a beautiful multi-colored leaf design. You will need textile paint, metallic pens, scissors, glue, paintbrushes, masking tape, a marker pen, cardboard, scrap paper, and some cling film.
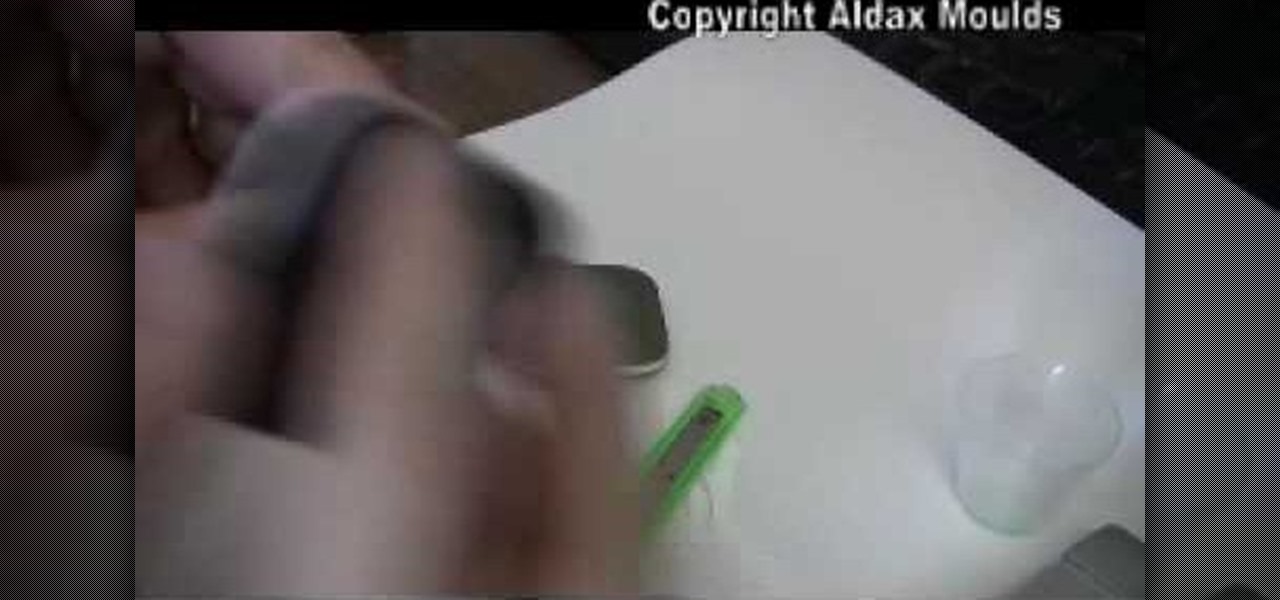
In order to make a Silicone Ring Mold you should first get a small plastic container. This will be your mold box. First, you should cut the bottom out of the container. Next, use double sided tape to stick the ring down to the base of this. Next, secure the mold walls to the base. Now, mix the silicone mix in a separate mixing cup. Make sure you mix this thoroughly until the color is uniform. Now pour the silicone into the mold in a fine stream on the side of the ring, this will help prevent ...
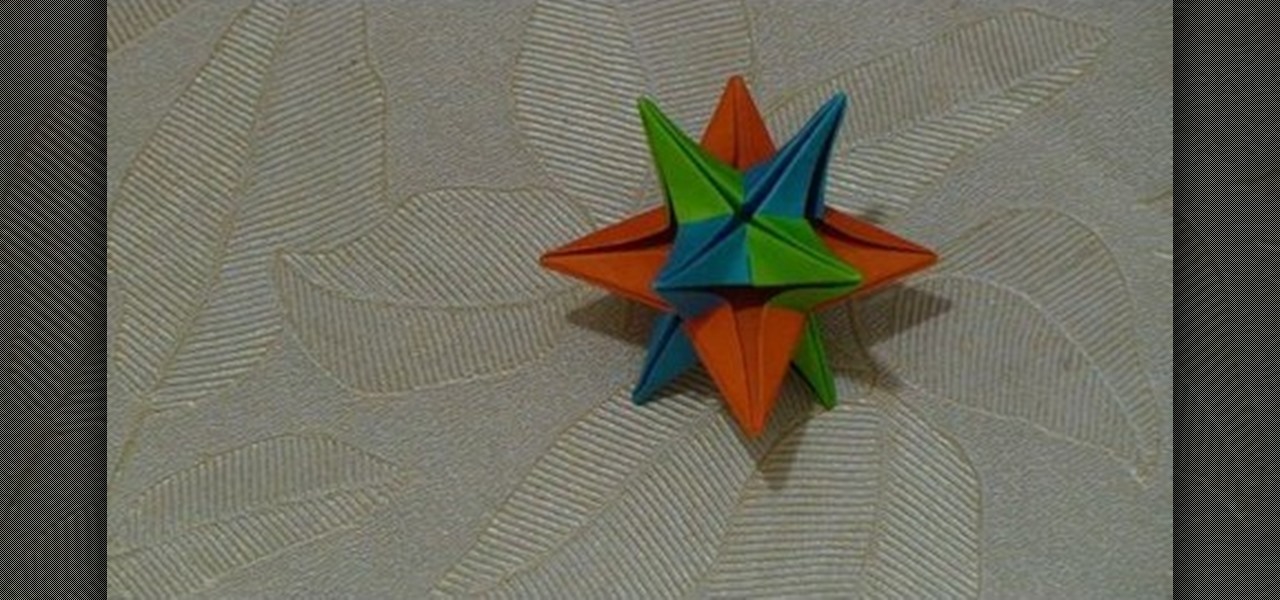
In this Arts & Crafts video tutorial you will learn how to make a six-sheet 3D paper star with origami. Take three pairs of paper; each pair of different color or take six pieces of paper of the same color. The paper should be square size. Fold the paper in half, open the fold and fold one half up to the center line. Repeat this step for the other side also. Open up the paper and repeat these steps by folding the paper in the other direction. This will divide the entire paper into 16 squares....
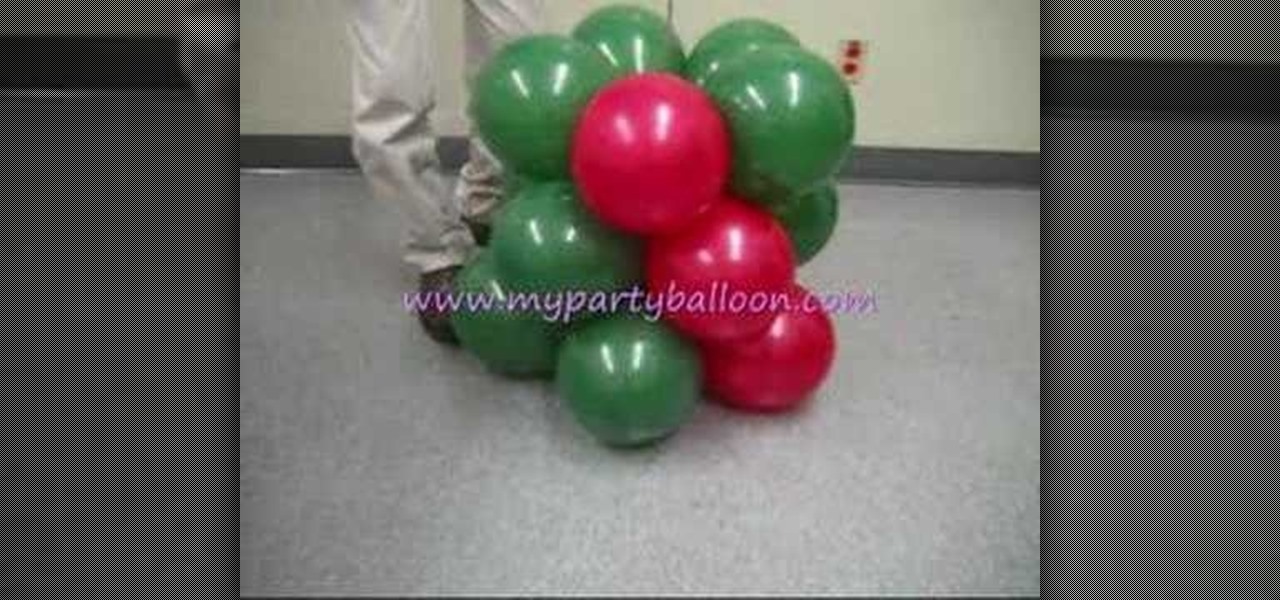
First of all you have to take a plane wooden board which is about one foot and square shape, and place it on the floor. There should be a holder in the middle for inserting the rod. Now take a rod which is about four feet in length, and then insert it in the holder. Now use a tape and stick the rod firmly to the holder. Take two red color balloons and two blue color balloons which are joined at their ends. Now pass over these balloons two or three times at the ends so that the red and blue ba...
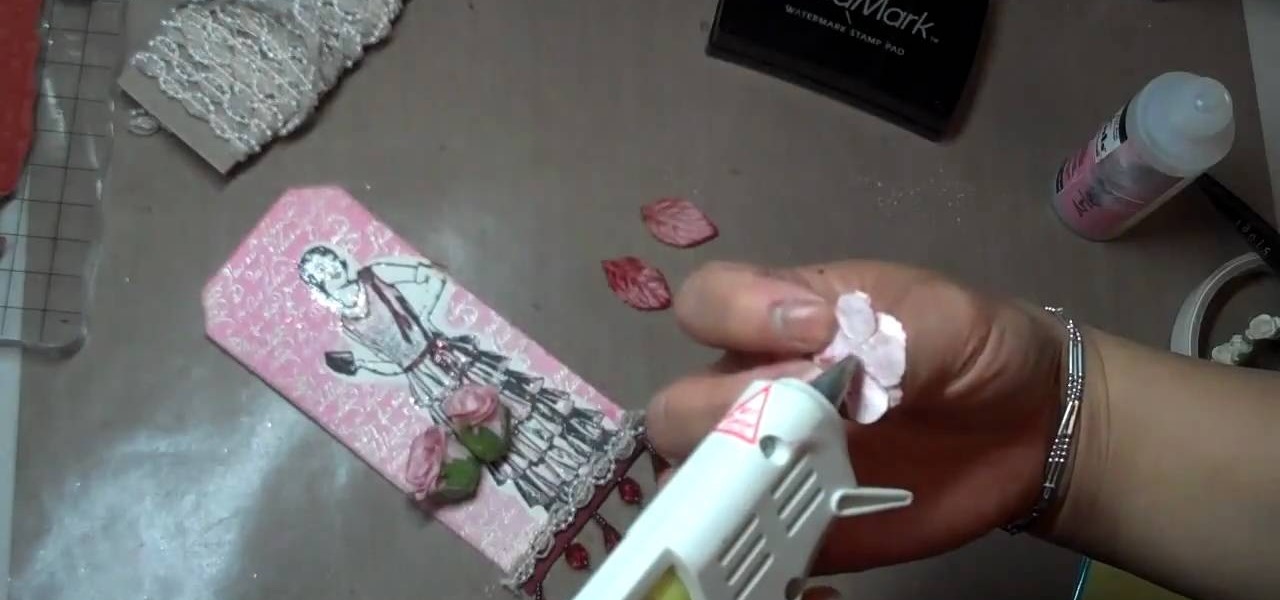
Mybutterflykisses12 shows viewers how to make a vintage lady tag! First, You will need a stampof a vintage lady and some cardstock. Dab your stamp with black ink and stamp it onto card stock that is shaped like a tag. Next, you can stamp on vanilla script above the figure. Next, apply clear embossing powder to the tag and then heat this with a heating gun so it can set. Next, place an opaque stamped image of the same woman over the original on the tag. Cover the stamped image before you apply...
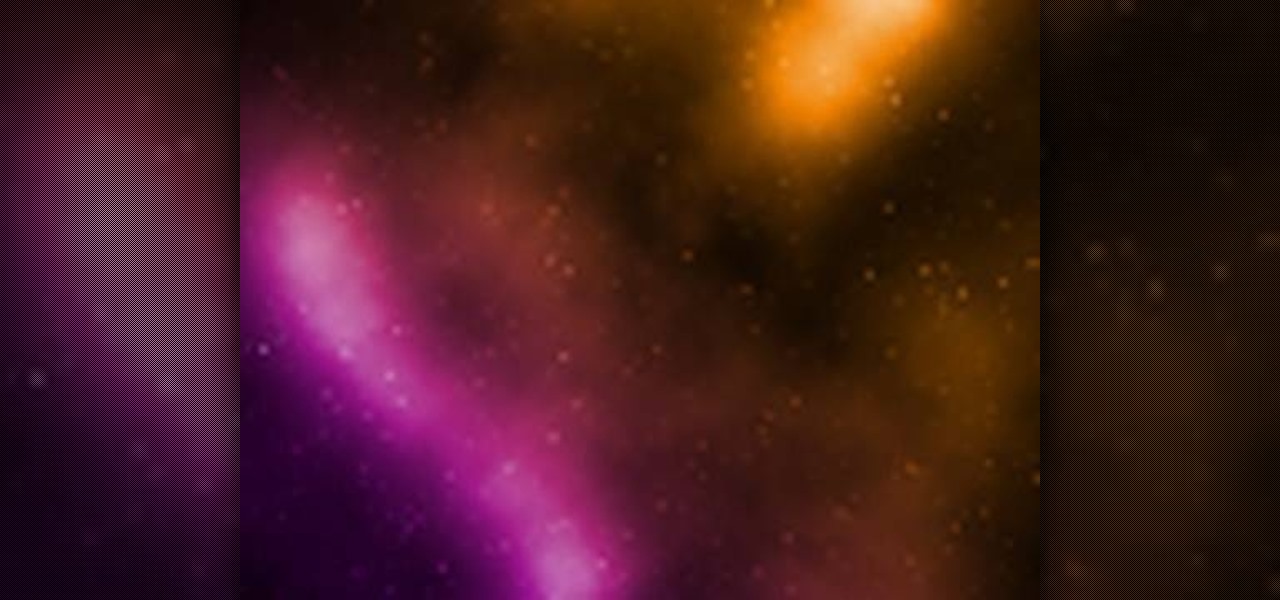
This how to video shows you how to create a nebula star scene in Photoshop. First, create a new image in Photoshop. Fill the background with black. Next, create a new layer and call it stars. Go to filter and select noise. Choose Gaussian and click monochromatic. Click okay to add the noise. Once that is done, go to adjustments and levels. Change the settings so that you have less clutter. Next, make a selection in the middle. Copy and paste it as a new layer. Go to edit and select free trans...
This video demonstrates how to emboss a button and then use it as an emblishment on a card. Start by covering your stamp with clear VersaMark Ink. Holding your button with pliers, carefully press your button onto the stamp. Next, take your embossing powder and sprinkle it on to the button. Then apply heat to the button. You are now ready to make your card. Ink your bird stamp using chestnut chalk ink. Place it at the bottom of your card stock. Using a blender pen, color in the bird and any ac...
In this how to video, you will learn how to make a stuffed animal in Girlsense. To do this, open the program and select a long dress. Make the dress black. Next, create an outline of the stuffed animal at the bottom of the dress. Next, erase the body and any excess areas of dress. Next, select the stamps and choose a circular shape. Increase the size so that it covers the interior of the stuffed animal shape. Choose the color you want. Next, select a triangular shape and choose a color for it...
Ever wonder how to get a flawless face? Kandee Johnson shows you how. After cleansing your face or getting out of the shower, use St. Tropez bronzer and then moisturize. After moisturizing, apply foundation using fingertips. Kandee uses Lauren Mercier Moisturizing Foundation in Golden Beige. Make sure to apply to eyelids so you won't see veins or redness. The next step is to use concealer. Kandee uses Lauren Mercier Two - Tone concealer. Use the Lighter color underneath the eyebrow and then a...
In this video we are shown an easy way to draw a fox using Photoshop. First, start with a rough sketch on a separate layer. Rough in the head, ears, snout, and eyes. Make a new layer and outline your previous drawing. In this layer put in more detail such as the jagged outline of the fur and the details of the face. To colorize your fox, put in a new layer under the outline layer. The fox should be colored a dull orange, with dark brown shadows for the ears and white under the muzzle and on t...
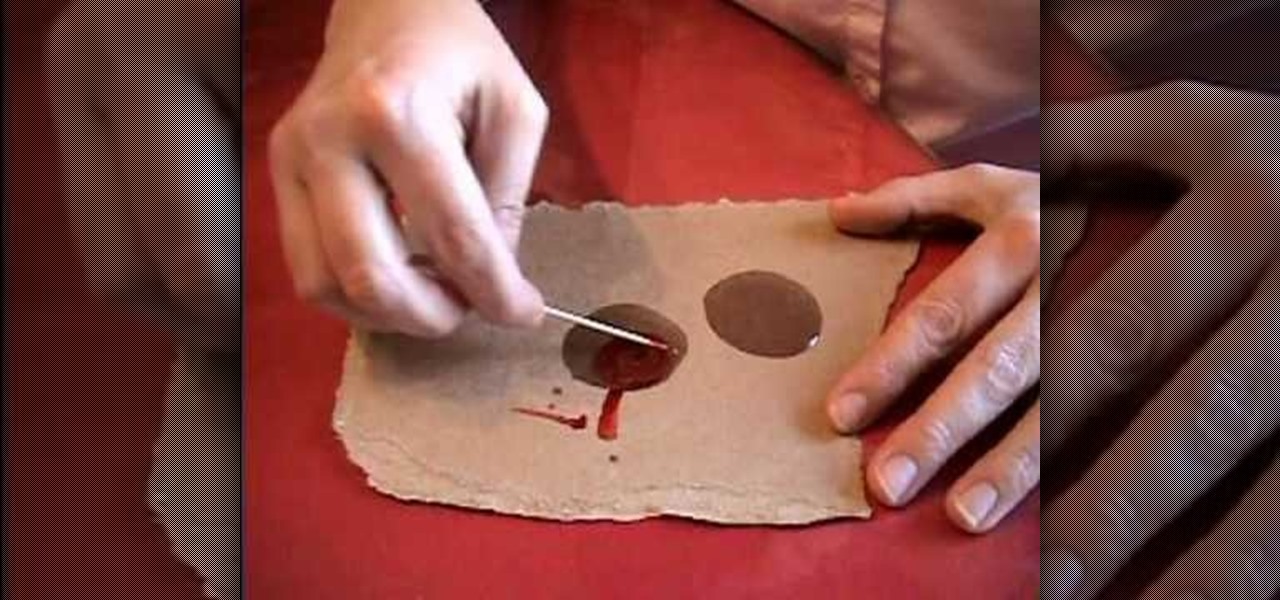
This video is about making a marble greeting card. The materials required for making them are marabu marble starter kit which consists of six marble paints,a marabu konturf paste, a polyester ball, a bowl, kebab sticks, a pencil, a cutting knife, a glue, sweat pieces of card, three cards of different colors and a bucket of water. The video starts by folding one piece of card into half and then cutting the ball into two pieces. Keeping the piece of ball as the center draw a flower around it on...
In the left side of your screen you can see the brown color bar which shows the different strings sections of the Uke Player. When a particular note has to be played that shall also be displayed by blue buttons on the screen. You have to watch these blue buttons and then follow it to pull the strings on your Uke Player. First you have to pull the second section of second string, third section of the third string and the second section of the fourth string. In the next note you have to pull th...
This video from Educational Art Institute shows us how to repurpose old CDs for use as Christmas ornaments. There are many different ways to do this. One idea is to use glue applied onto the CD in any pattern or design and add one or more colors of glitter. If you don't like the mess of glitter, then glitter glue is a great alternative. They come in many different colors and are easy to apply. In both of the above cases you can also add sequins for more decoration. If you are going to decorat...
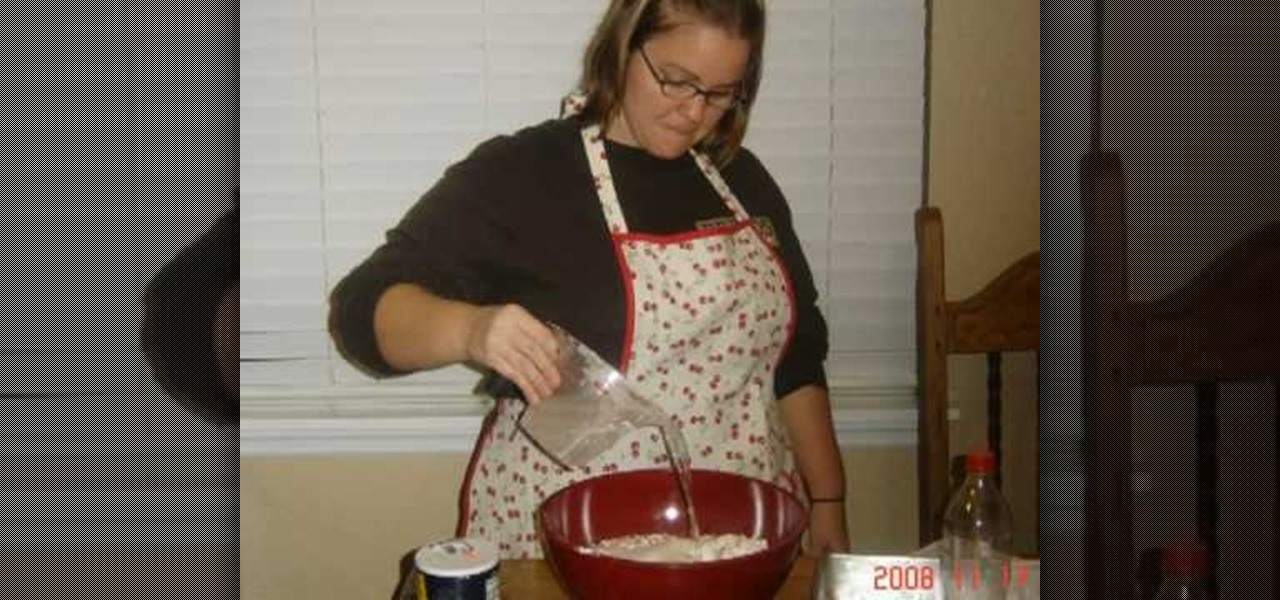
In this video, we learn how to make a homemade volcano. You will need: 6 cups of all purpose flour, 2 cups of salt, 4 tablespoons of cooking oil, an empty plastic soda bottle, dish washing liquid, food coloring (optional), vinegar, 2 tablespoons of baking soda, a cooking pan, a mixing bowl and spoon, 2 cups of warm water, plastic container. First, add 6 cups of water to large mixing bowl. Now, add 2 cups of salt, 2 cups of water and 4 tablespoons of cooking oil. Mix this together with your sp...
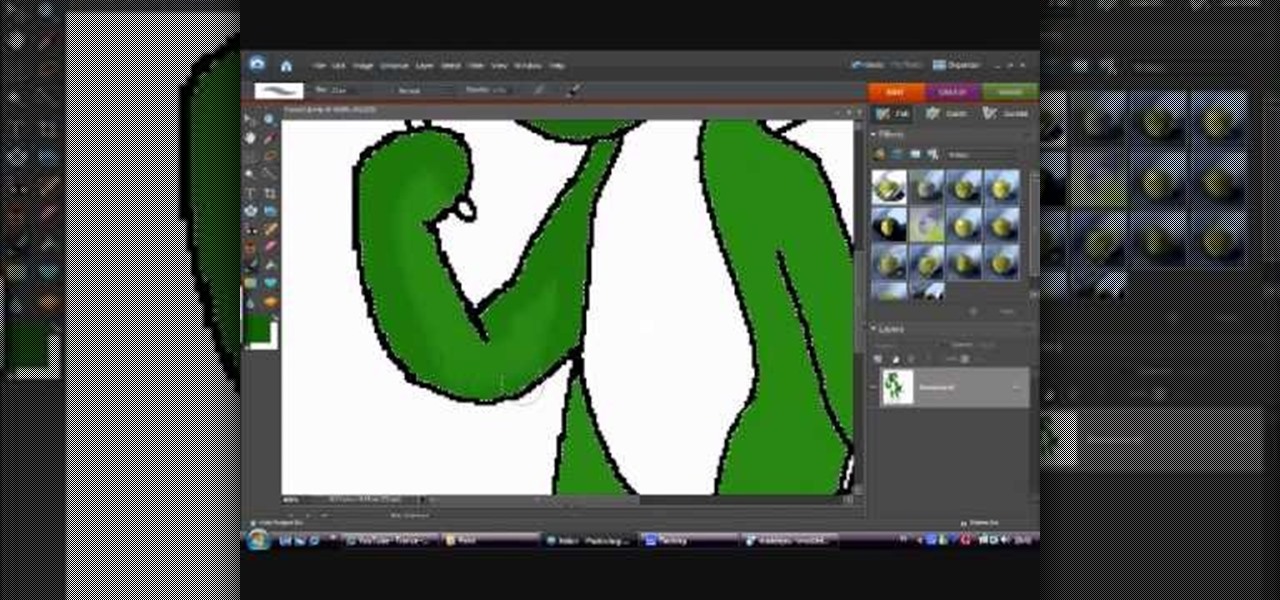
In this how-to video, you will learn how to draw Yoshi from the Mario Brothers universe using MSPaint. First, have a reference photo ready. Open the program and use the line, curved line, and freehand tools to draw the outline. Start off with the face. Outline the body, and then move on to the eyes and mouth. Move on to the outline of the body. Just as with the head, move on to the interior details of the body. Once the outline is finished, fill in the basic green color of the body. You can a...
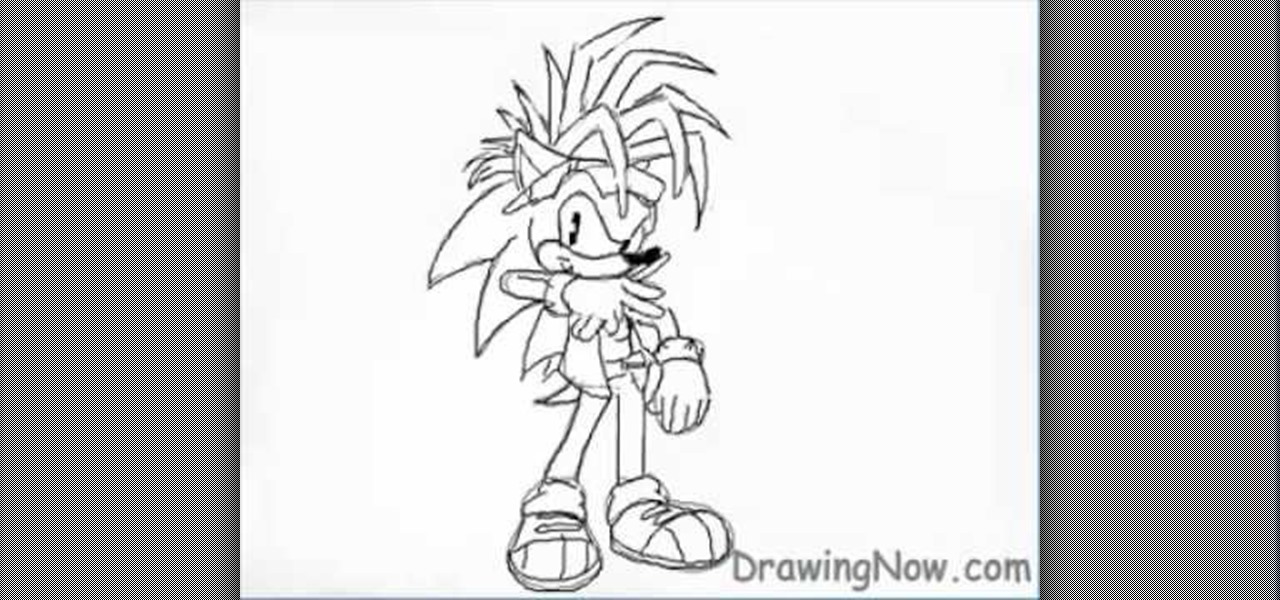
To draw Manic the Hedgehog, you should start by sketching a rough outline of the body, including Manic's hair. Once you have your sketch outline, start drawing over the outline with a darker line, including details like the eyes, nose, mouth, arms, hands, clothes and shoes. Once you have your final outline, go back and erase your initial rough sketch, so that your line drawing looks clean. Now that your line drawing is ready, you can start filling in with color! Start with Manic's green areas...
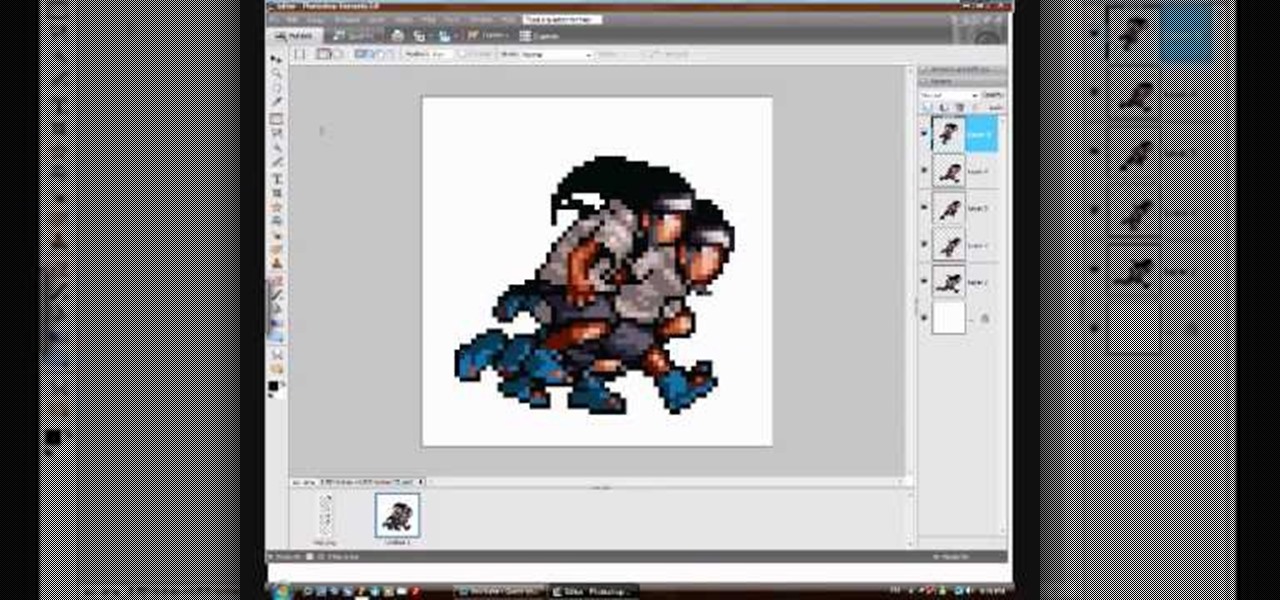
Steps to make Sprite animation in Photoshop are:1. Open a spreadsheet of your own choice; in this case we are going to take running animation.2. Once your spreadsheet is loaded, zoom-in until you get a four page, for ease of use.3. Zoom-in to the required movement, after zoom, select the image and open File and from that click New File and click OK (Dialog Box), and you will get a work space to work on with your selected image. The feature makes it simple for one character animation (work).4....
Ready to rock and roll? You don't have to listen to music through those teeny tiny computer speakers anymore! Check out this cool tutorial, and learn how to connect stereo speakers to your laptop or PC and get the most out of your music.
This works well for short hair. First of all you need to have artificial hair extensions of golden color or any other color of your choice. You also need a glue gun and hair clips to hold these extensions to your real hair. You can choose to fix these extensions on the left side of your head, just below the hair. Lift your hair at the left sides, add some glue using the glue gun and place the extension. Now add clips to fix it on your hair. Carefully conceal it below your real hair. Take care...
This video demonstrates how to stitch a blind hem. A blind hem does not show stitching on the outer side of the garment, like a pair of pants or a shirt. If you turn the garment you do see the stitching. The reason you don't see the stitching on the outside of the garment is that it's not complete stitching. Depending on your machine it is actually a half of a zigzag stitch and then 3 or 4 strait stitches repeated down the seam. The only stitch that shows is the half a zigzag stitch. Before y...
Lifestyle expert Clinton Kelly demonstrates how to throw a fabulous party. With great food, alcohol, and atmosphere you must also have fresh flowers to add ambiance. Big floral centerpieces overtake the room and have to be removed from the table when dining so that guests can see one another. Clinton recommends a low long floral arrangement that will not block guests. Staying in the same color family when choosing flowers is recommended. Start with small low container with room temperature wa...
SomeFamousProduction here has come with a new avatar of James Bond on Xbox. First we start off with his hair. Well, we need to keep it simple, yet spy-like and somewhat blackish in color, not too light, neither too dark. Next we move to the chin or jaw. Keep it sharp but not protruding. Lips can be curvy but not too fancy, because James Bond seldom smiles. The nose can be a bit tapering at the end, again not too fancy and loud, more spy-like if you ask me. Next are the eyebrows, you can keep ...
Decorating using tissue paper is an inexpensive and it is much prettier than streamers. To make tissue paper flower, all that you need is tissue paper of your color. Have two shades of color for contrast to make it more attractive. Cut the tissue paper into half. Take eight sheets and cut them half which gives you sixteen sheets. Take six to eight of those and lay them on top of each other and make corners match up. Now take the tissue paper and fold it over half inch to one inch and then fol...
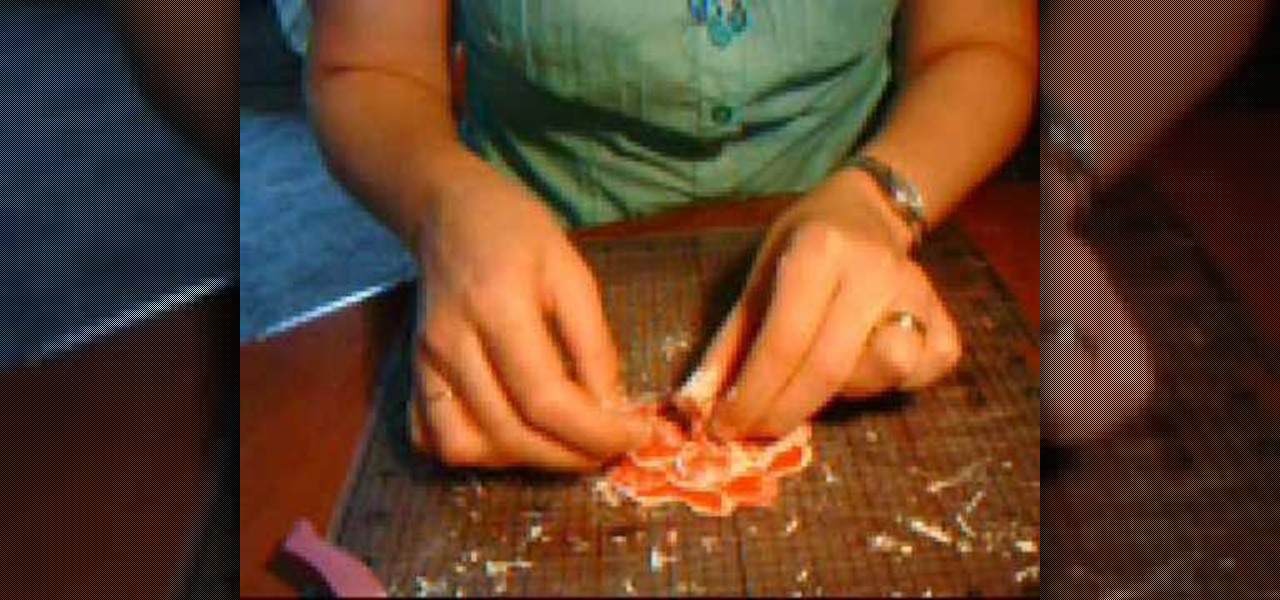
MsKreant teaches viewers how to create cute radish earrings with polymer clay! Use Sculpey baked clay in red, white, and two different greens for the leaves. Roll each color into tiny balls. First, take the red ball of clay and put the white ball of clay next to it. Put them together and pull together. Make the white part pointy. Next, make and indent at the top for the leaves with a bamboo skewer. Next roll your two colors of green into long spaghetti strips. Put the two together and flatten...
This video shows you how to make a miniature Jell-O mold, for display in a dollhouse. In advance, you will need to make a Jell-O mold out of polymer clay. You will need to shape it into a conventional form for Jell-O molds.
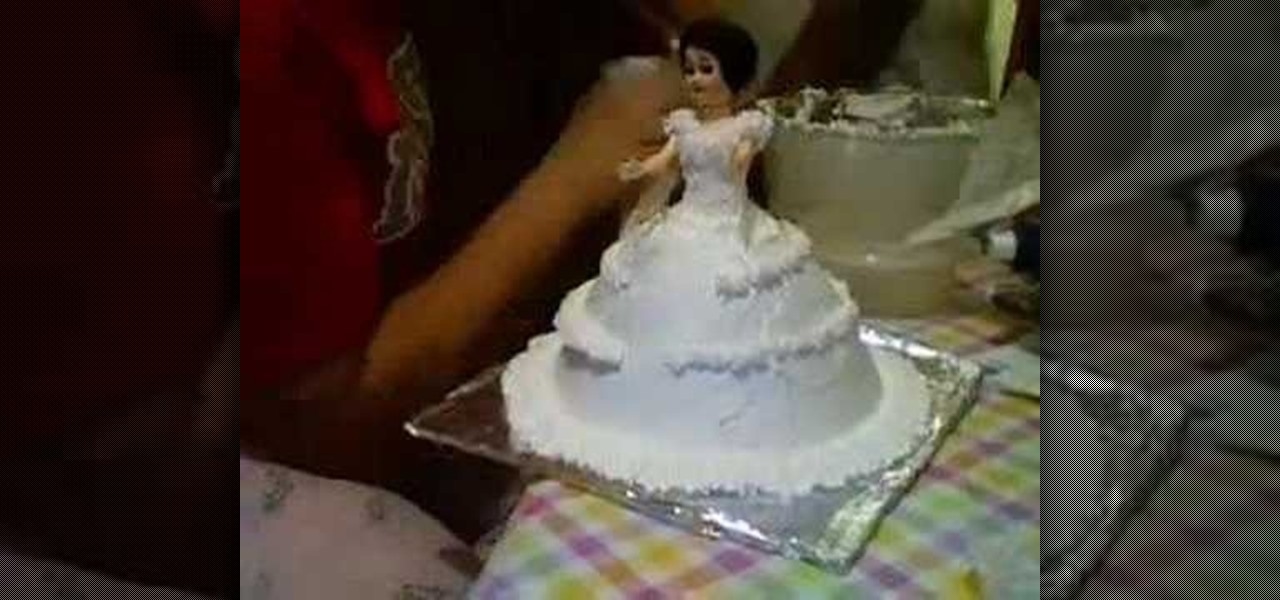
In this video you can see Goth Girl 4Eve completing a frosted doll cake. She begins with a base cake in the shape of a lampshade or angel food style pan with a small plastic doll inserted in the top (or doll top half). A creamy white frosting is smoothed over the bottom with a spatula, then more frosting is added to the midriff of the doll with a pastry bag and rosettes (decorating tip). More rosettes form the cap sleeves and enhance the waist, the hem and the skirt. For the skirt, go around ...