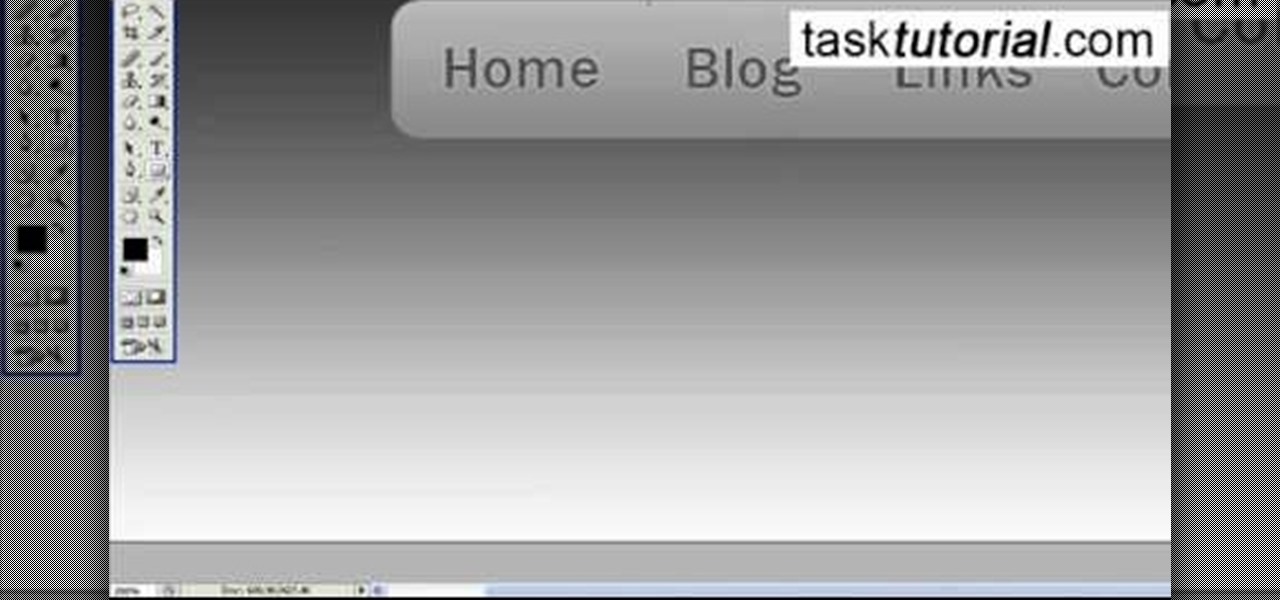
In this video tutorial, viewers will learn how to create a navigation bar, using Adobe Photoshop. Adobe Photoshop is a graphics editing program. Viewers will learn how to use multiple layers, layer effects, gradient options and drawing tools. Viewers will be able to customize their own color and designs. This video provides voice narration and a visual demonstration that allows viewers to easily understand and follow along. This video will benefit those viewers who design websites and web pages.
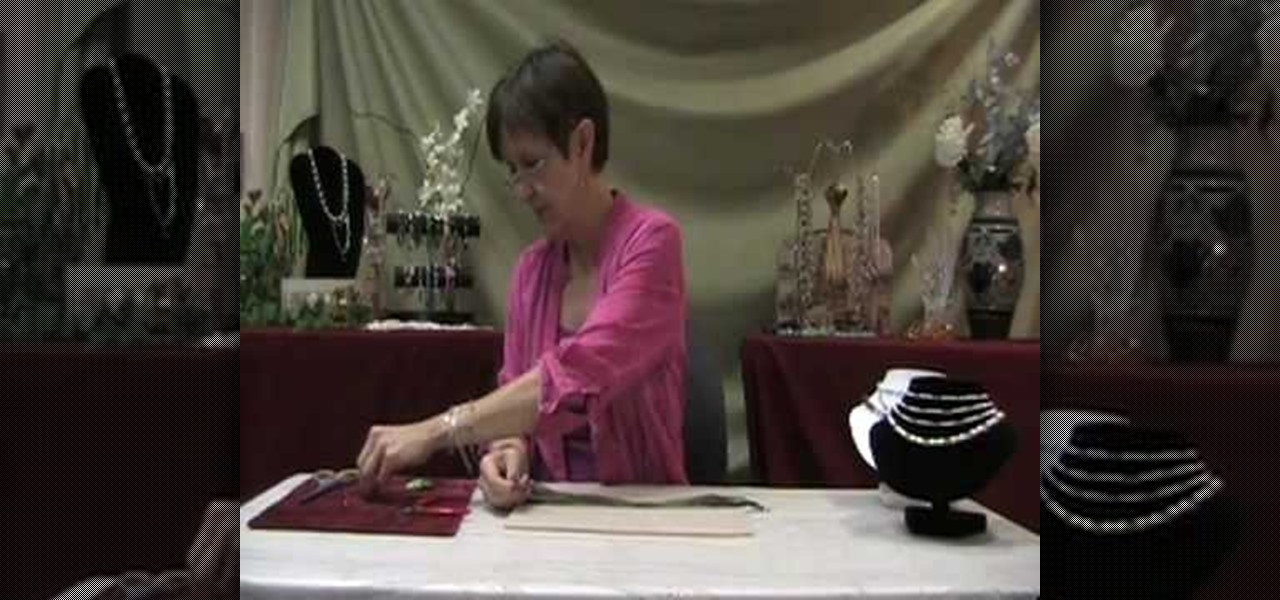
Crafter Brenda from Brightlings shows viewers how to make a mermaid wave necklace at home. This project will include certain tools and supplies which are further explained in the video. Any variation of colors can be used but the ones shown in the video give the necklace more of a mermaid ocean type look. This necklace is great for pairing up with your favorite bathing suit for a stroll along the beach or just to wear around the house while you daydream about swimming with the fish.

This video shows you how to draw graffiti in Photoshop. The information relates to Illustrator and Adobe Photoshop CS2 or later. The presenter started in Illustrator and started to draw using the draw tool, created three letters, adjusted the thickness of the line, copied and pasted the letters to create a shadow effect. The presenter then used Photoshop. He used at least 3 layers to create the background and highlights. Three types of brushes and at five different colors (White, Black, and a...

This video demonstrates how to draw eyelashes using Adobe Photoshop and a graphics tablet. You need three tools to draw eyelashes: Soft Round Brush, Smudge Tool, and Eraser. Create a new layer. On the upper eyelid, draw each eyelash with Soft Round Brush (color: black, width 17px, opacity 100%). Use Smudge Tool (width 45 and straight 25%) on the eyelashes to straighten them. Use Eraser (width 65 and opacity 100%) if necessary. Create a new layer and use the same tools for the bottom of the ey...
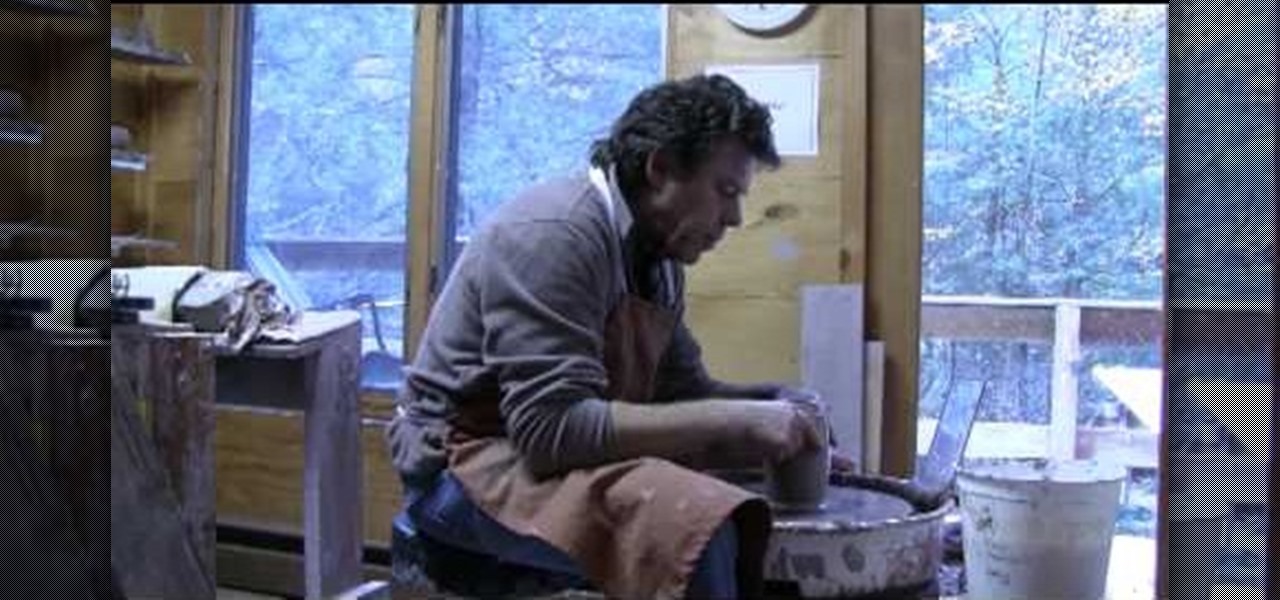
This video shows how to collar a cylinder. The collar of a cylinder is a plate or ring used under the head of the cylinder for a lock. Put the clay on the spinner. Mold the clay while spinning the spinner. Mold it first to the shape you want. Tighten the neck of the vase that you are molding. By tightening the neck of the vase, you are now shaping the collar of the vase. Shape it to the size and design you want. Enjoy making your own vase with the color you want.

Egg Bram teaches you how to create a cut text effect in Xara Extreme. Create a simple colored rectangle and add some text on top. Then select these two objects and go to Arrange - Combine Shapes - Subtract Shapes. Now the two objects have combined into one. Although the text appears to be white now, if you move another object underneath you will notice that the text is transparent. You can also add effects to this new objects, like a contour or a shadow.

In this video Dionne from the Gadget show explains how to improve your digital photos easily using widely available free software. The first thing she instructs us to do is to download and install Google's free photo editing software Picasa. Next, once Picasa is installed you can use it's one click settings to easily remove red eyes from photographs or increase the brightness of a photo. The next thing we learn to do is to adjust the white balance of a photograph. This makes the photo appear ...
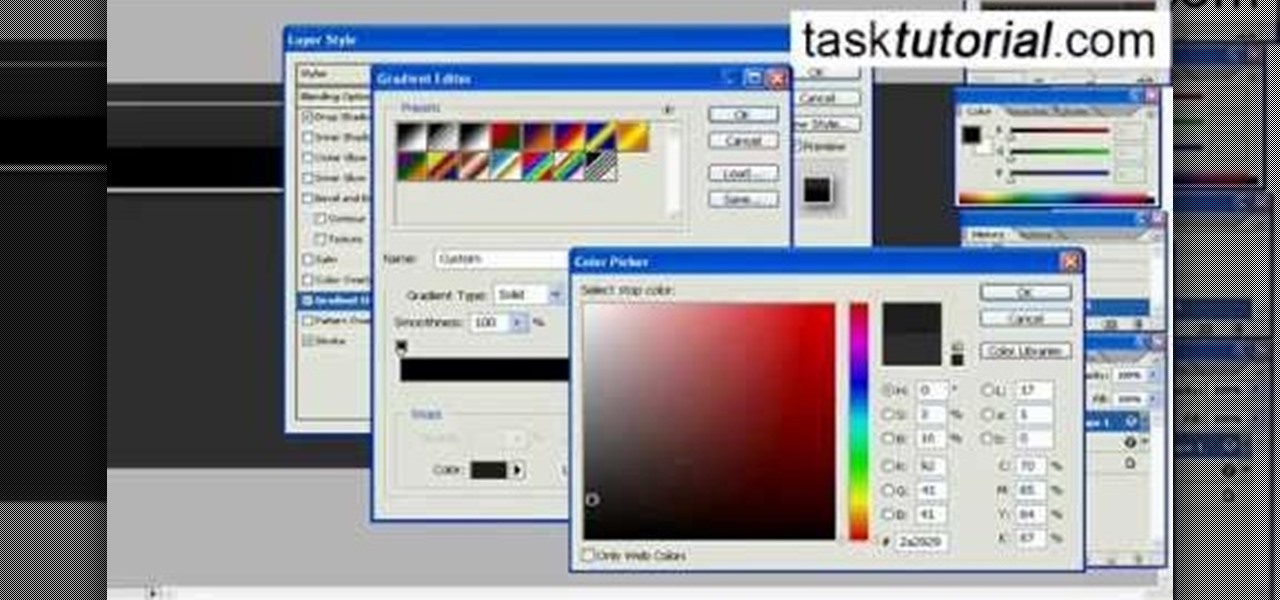
This video instructs you on how to make a stylish bar with metallic text in Photoshop. First, you create a rectangular bar. Then create a layer with a stroke size of two pixels and a white color. Using the drop shadow on the menu, you set the opacity to sixty percent, distance to five pixels and size to about fifteen pixels. You will select gradient and create a gradient overlay. Then adjust your gradient and the text. Move it to the place you like best and you will have a bar with metallic t...
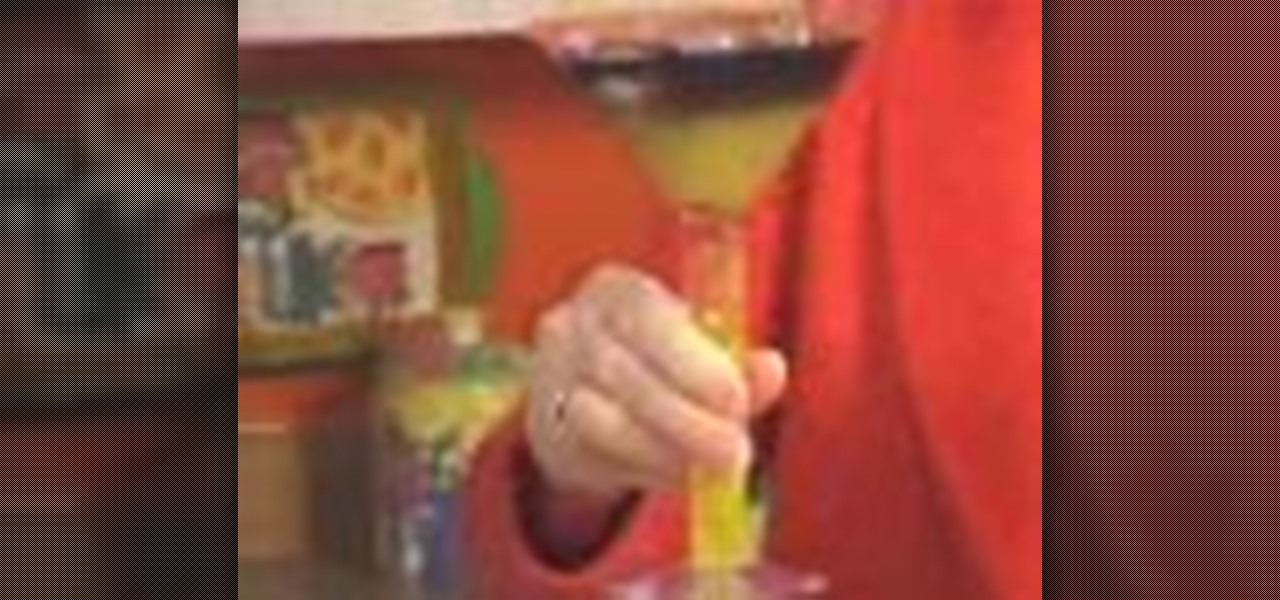
You will need some vodka and orange juice. Take your shaker and fill with ice. Add the orange juice to the ice. Set aside to chill. Next pour off the right amount of vodka you will need. Mix a teaspoon each of green and red food coloring. Add it to the vodka and stir. This should make your vodka appear black. Pour some sugar on a plate and take your martini glass, place it upside down in the sugar, and spin it so the rim of the glass is covered. Put some ice in the glass and fill half the gla...
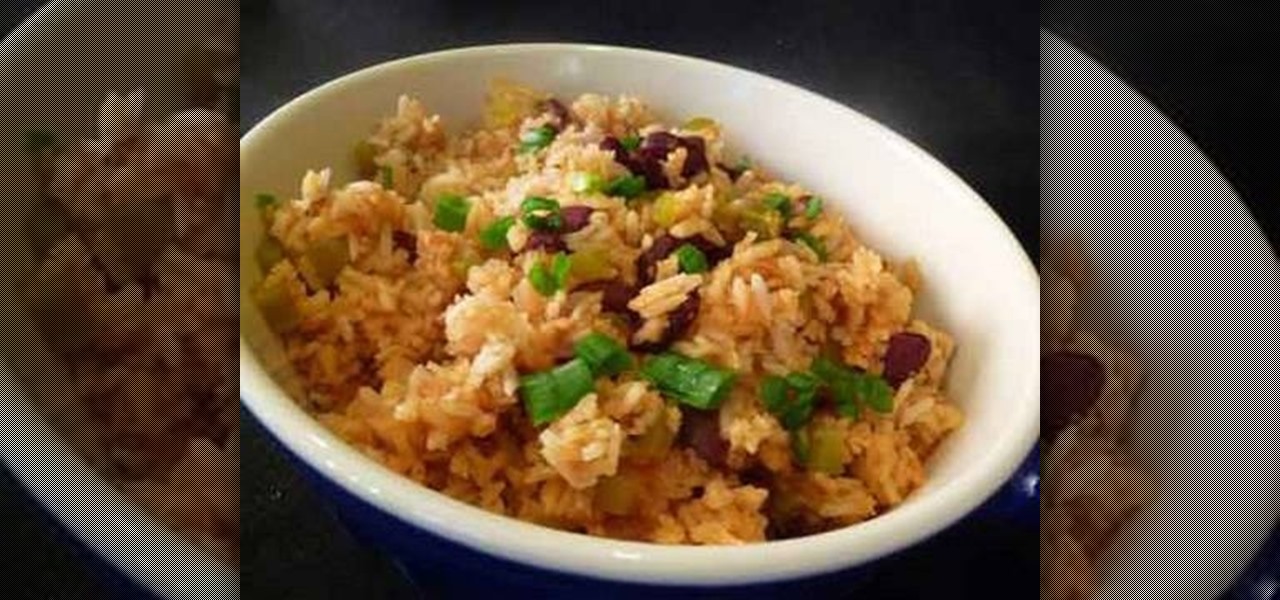
This video shows you how easy it is to make Mexican (Spanish) rice. You start with a pan on medium heat.1 tablespoon of oil, 2 cups of long grain rice. Long grain rice because it’s good for this type of meal. You can get the rice in packets that you won't have to wash the rice. You want a to cook the rice until it gets a little color. Then add 1/2 cup of chopped large onions for 1 minute, 1 can of kidney beans washed and drained, 1 medium bell pepper chopped, and 1/2 teaspoon garlic powder, 1...
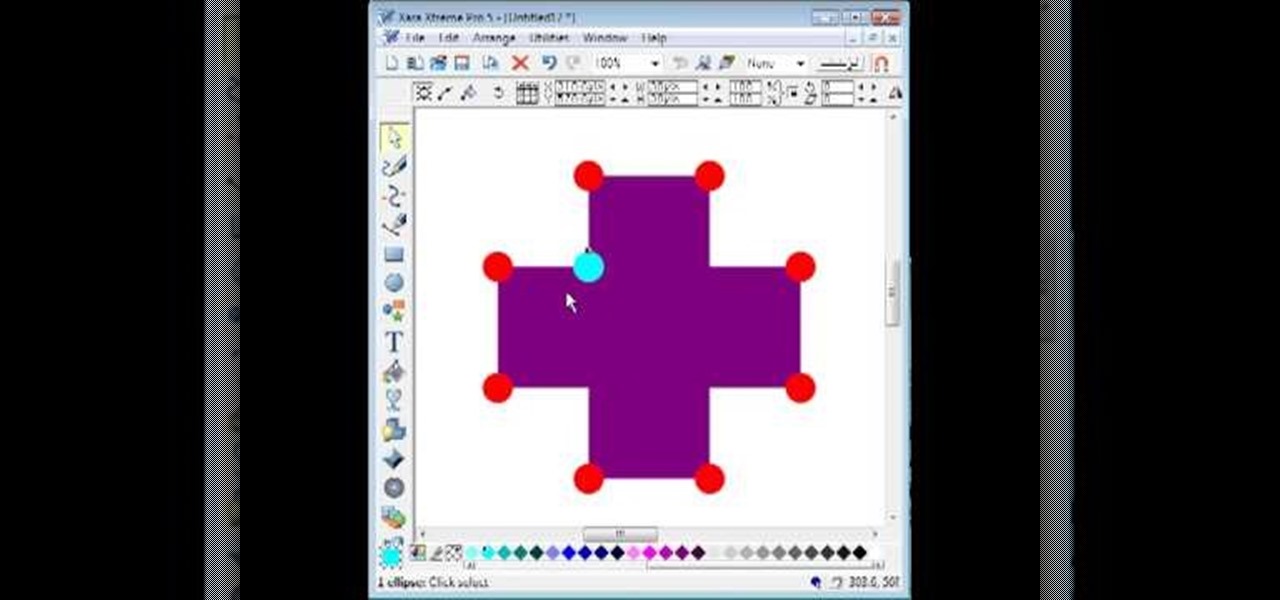
By utilizing the click and drag features of Xara Xtreme, users can take shapes and duplicate them for quick work (ctrl K). Further by identifying them by colors and other subsets, users can add or delete with just a button push, or (use the add shapes, subtract shapes options.) All this is done in the event for the sake of convenience; eliminating the tediousness of creating shapes one by one, and using them as plot points on a map to create projects within record times.
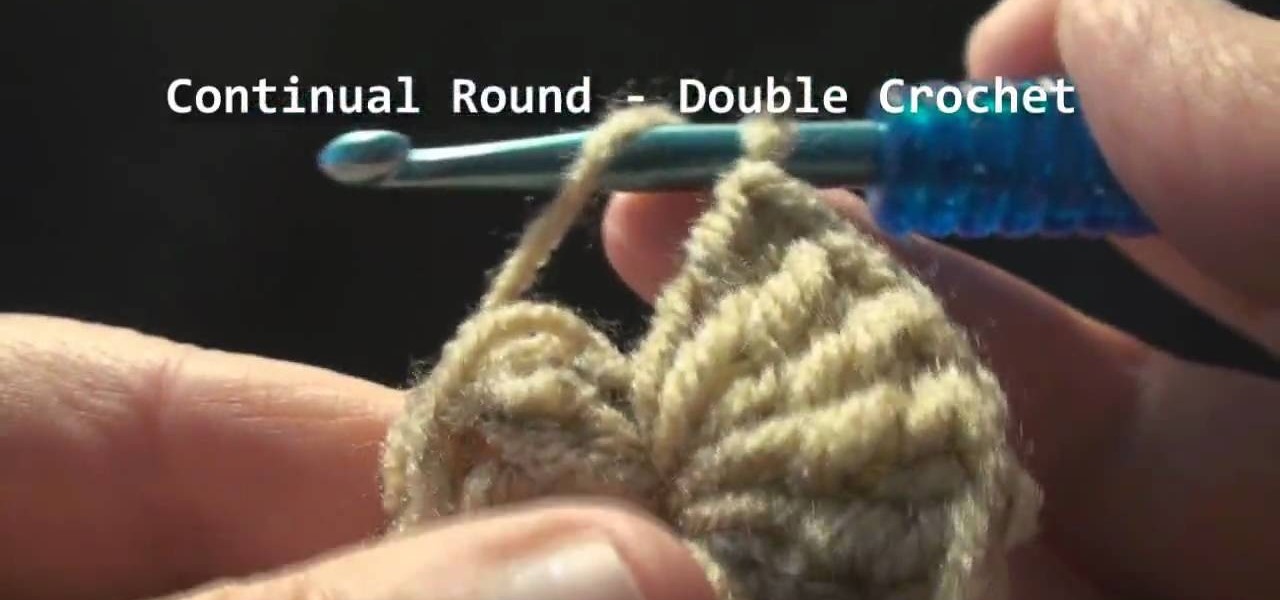
This video shows how to start a continual round in single crochet, half-double crochet and double crochet. The photography on this video allows you to see the motion of the crochet hook and the thread and really see observe the techniques as they are explained. Techniques are explained for starting and ending the continual round. This continual round technique including transitions between single, half-double, and double crochet allows you to crochet projects like skullcaps and hats using one...
A PDF Portfolio is a bundled collection of content compressed into one PDF file. Watch this 5 minute overview and learn how you can bundle documents, e-mail, drawings, flash presentations and even video into one sleek package that can be used for presentations or project management for your organization. Your portfolio can include introductory text and sets of data that can be sorted geographically by being linked to clickable maps. Not only can the entire portfolio be branded with your logo ...
Metacafe user bigcaj0nes shows you several easy steps to making a neon sign simply using Adobe Photoshop. Whether you want to use the sign to display for business or just for fun, this video guides you step by step on how to make a neon sign. He shows you how to change your text, how to change the way the text bends, the glow and color or the sign, and the various effects that you can use on the sign. This sign will attract people in a matter of minutes.
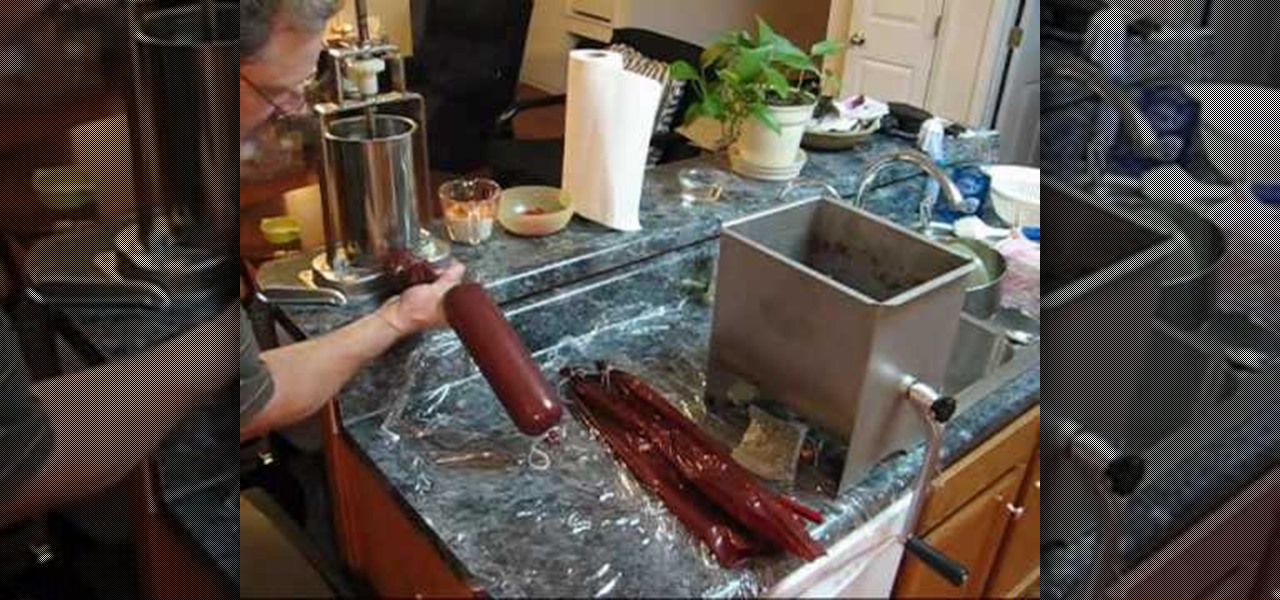
Turn up the heat, and learn how to make hot summer sausage sure to spice up any meal! Hot summer sausage is nothing without peppers. You'll need Red Serrano peppers for color and Habaneras for the heat! Deseed and dice the Red Serrano peppers and finely mince the habaneras in a food processor. Add these freshly chopped and minced peppers to your meat and spice mix. After combining these ingredients well, put the sausage mixture into the hopper and dispense the mixture into the sausage casing....
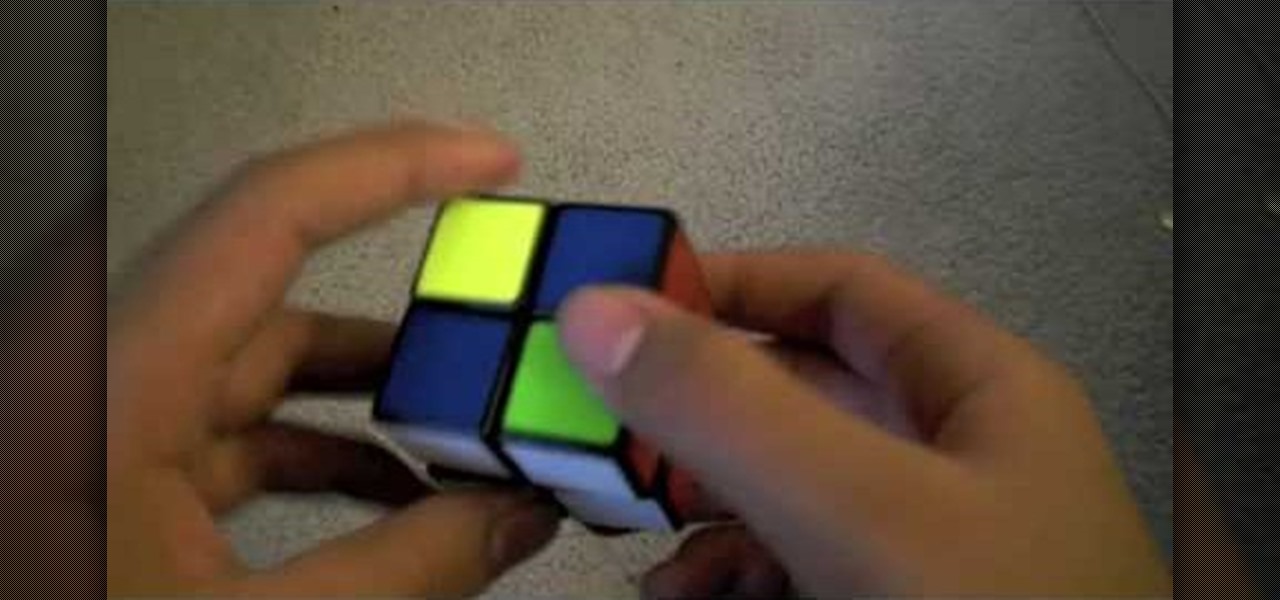
This is a video tutorial on how to solve a 2x2 Rubik's cube using the Ortega method. The tip from the author is to go for the color whose maximum squares are already together. It is also pointed out that not only does the Ortega method involve three steps, which is time consuming, people using it also tend to take pauses in-between, drastically reducing one's solving speed. This tutorial provides tips on how to reduce and eliminate such time consuming pauses.
Emerald City Elegance Paper Crafting with Joann is really very interesting to watch. It takes us through the process of making a beautiful paper cup mini album. It explains us to properly cut the edges of the paper cup, to stick first the color page in the folded paper cup, making ready the plain album pages and punching it altogether. Finally embellishments are also done to add beauty to the mini album. Now the album is ready. After watching this video, any viewer develops the art of creativ...
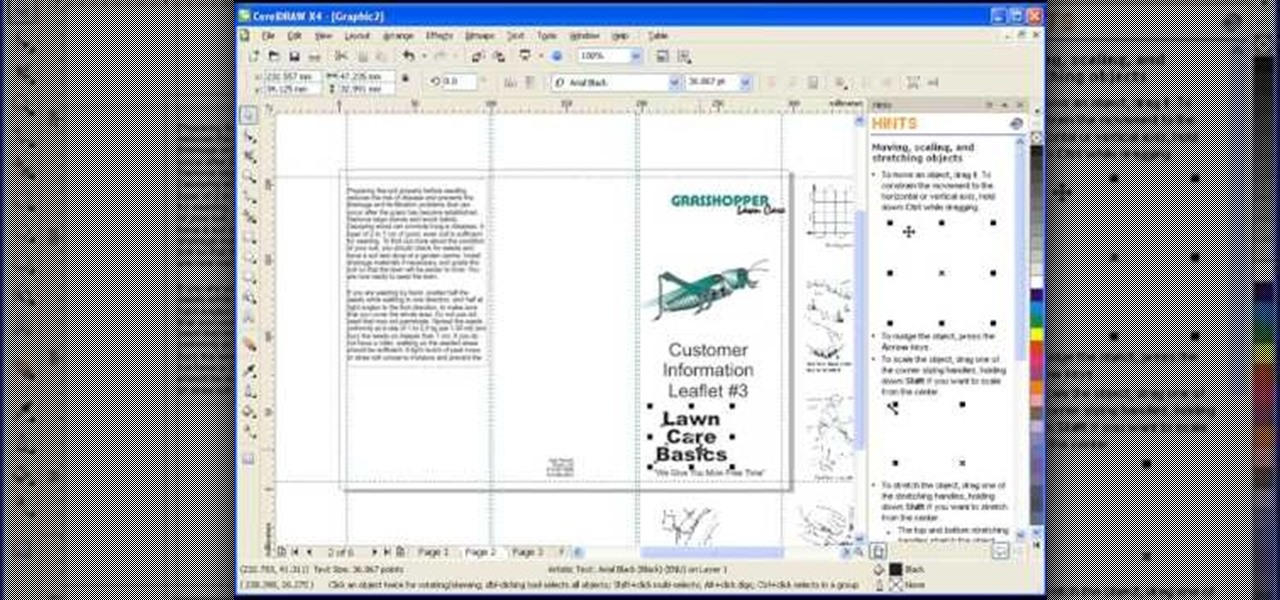
Roger Wam will show you how to creating a brochure in CorelDRAW graphics suite X4. Begin by changing your page to A4 and the view to landscape. Create a page frame and then divide it to thirds. Add a second page for a double sided print job. Remember to number pages. Cleaner brochures look better, don't change fonts all over page, and use color. Import your file to CorelDraw. After files are imported start laying them out on your brochure. Just by using a few simple tools you have created a b...
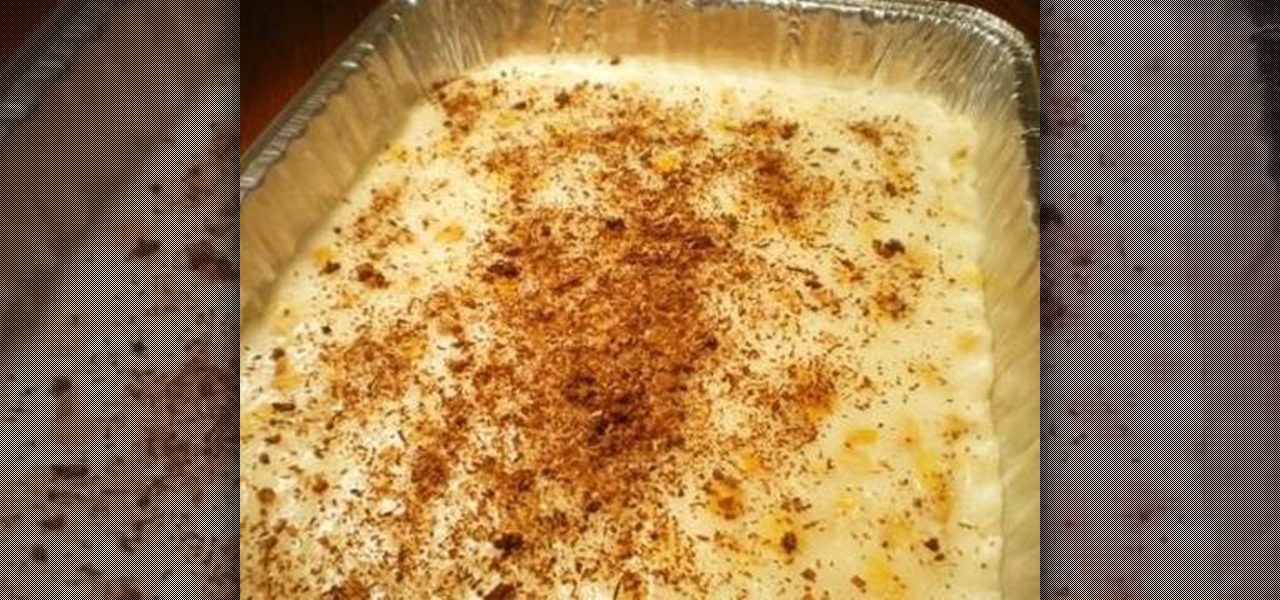
Lightly grease the bottom of a baking dish with corn oil. Set aside. In a mixing bowl, throw in cornstarch, sugar, water and coconut milk. Stir the mixture until the ingredients are blended well.
This video demonstrates very clearly and hence you can easily learn the method quickly. The materials needed for making rose bouquet are a square paper and glue. The square paper should be pink in color. Now fold a triangle and then fold in 2 outer edges. Create a petal fold and paste the two sides together. Now you need to repeat this process six times so that you will get six petals. Now paste the six petals and make a bouquet.
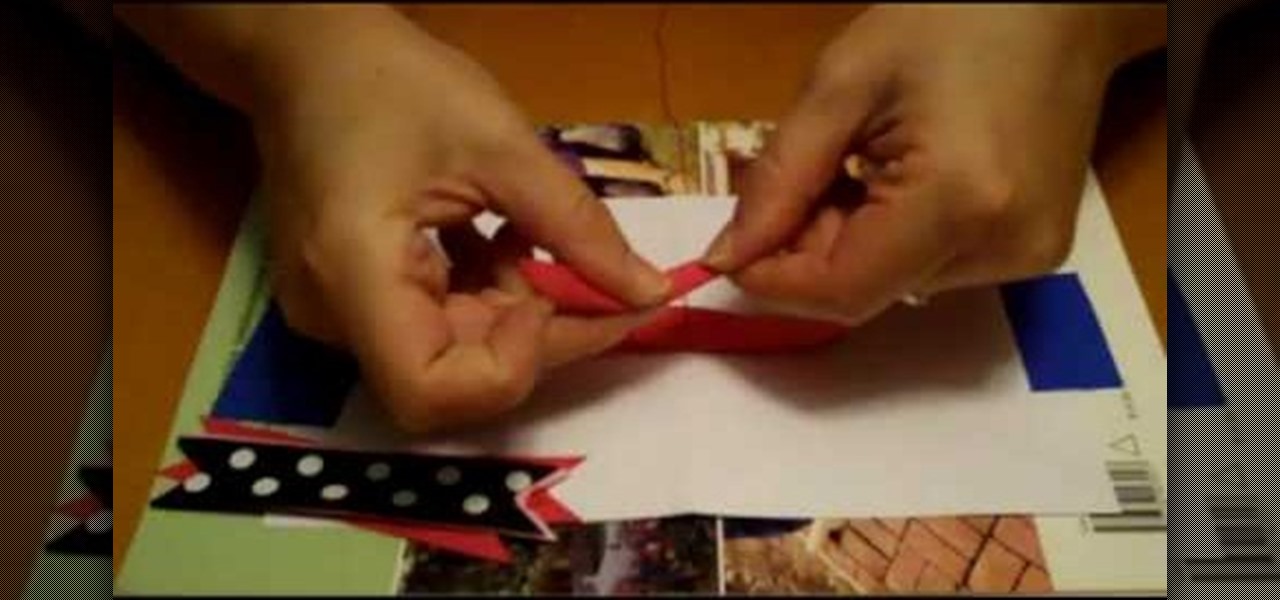
Kristina tells us the key steps to making a cheerleader styled hair bow. All you need is one simple thin strip of material, of whatever color or pattern you might want, there being a huge variety to choose from, thread and a needle, and the hair tie that you will then be attaching the created bow to. You make a simple "breast cancer sign" with the material, then further twist it into a bow, then thread the center to hold it together. The last step, of course, being to glue the aforementioned ...
Hair bows are adorable for all ages, and in this simple, easy tutorial, our hostess gives us first the materials we will need to construct our own. A piece of cardboard, a sewing needle and thread, a rubber band, and of course the little fabric pieces referred to as "spikes," to complete the creation. From there, we are taught that the cardboard is our stabilizer, through which the needle will go, and that we will then be constructing the fabric into shapes upon that needle, layering the fabr...
MotionTraining gives an overview for using Microsoft Excel for beginners in this video. This video gives a rundown and overview of the basics of this spreadsheet program: from typing in the columns and rows, adding dollar signs to data, and how to make basic calculations. MotionTraining will show how to make text stand out with bold and italics, adding colors to your data, and how to make a grid appear during the printing process. Creating various charts of the data in the spreadsheet is also...
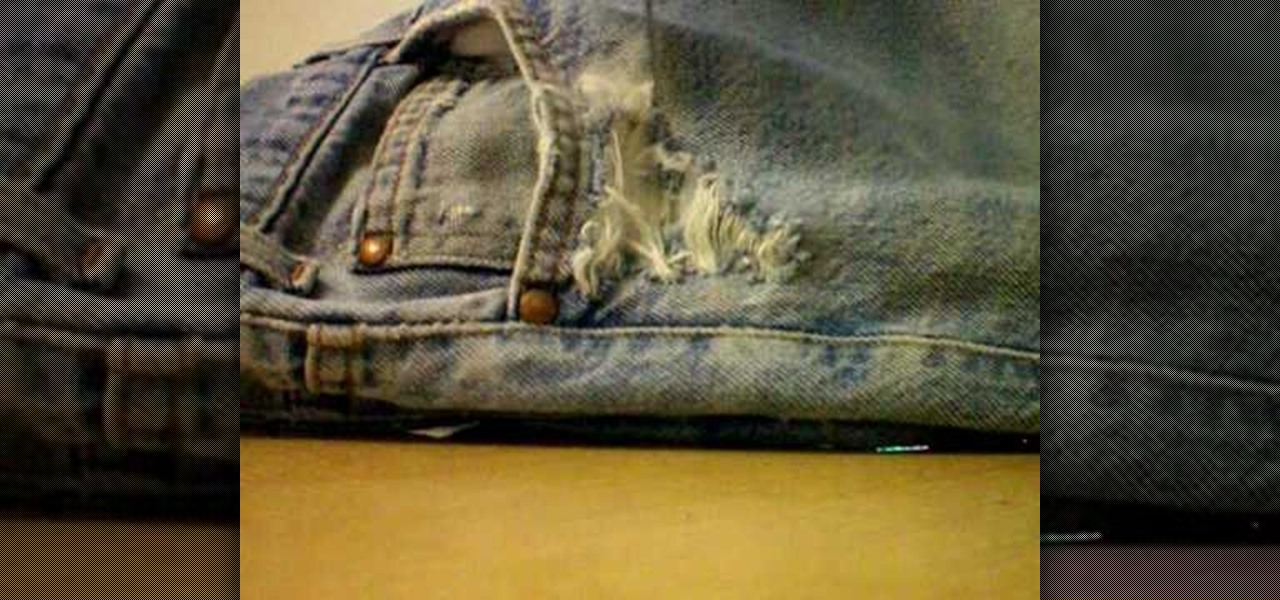
Everyone wants trendy custom looking destroyed jeans and this video teaches us the best, and most practical way to destroy them yourself at home, avoiding the often huge markups stores can apply to these sorts of items. Taking the jeans that you intend to alter, you take a simple razor to the area you wish to rip, and lightly, in a sort of tapping motion, slash at it until you expose a whitish color in the material. Go all the way through if you wish to expose skin, but be careful where you d...
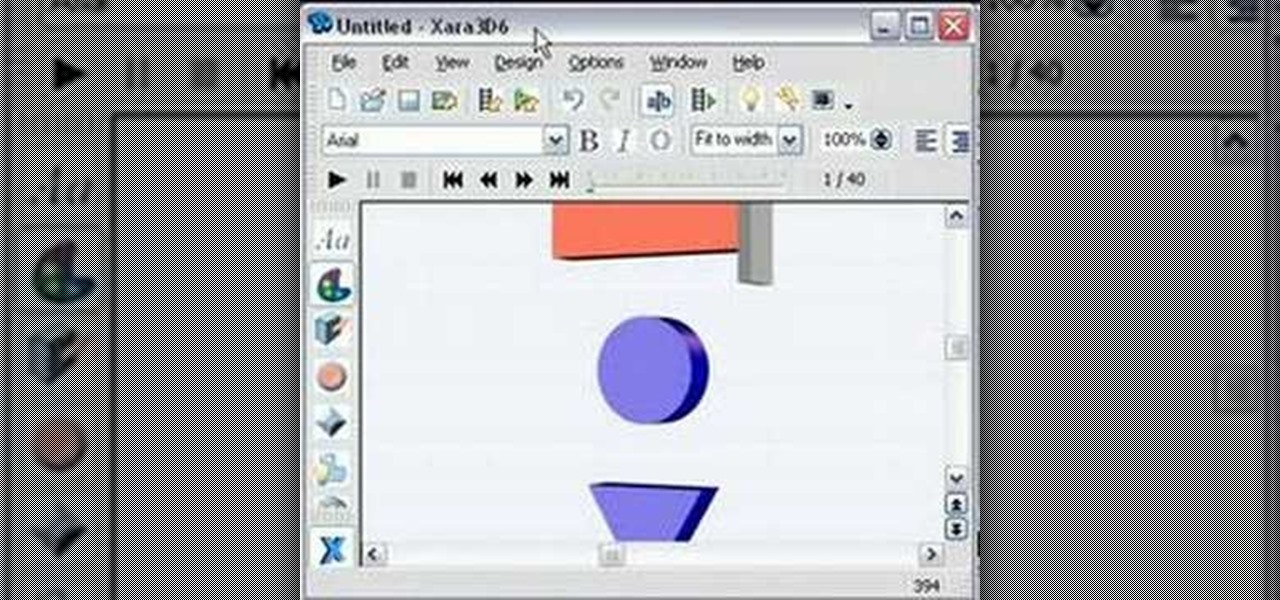
This video shows how to make simple 2D shapes into 3D. The video starts out making three different 2D shapes, and copy and pasting them into the Xera 3D program. The shapes can then be moved so that they are on top of one another, and different colors. When finished one of the 3D shapes looks as though the other two are inside of this shape, yet all of the shapes are 3D. This is very interesting, and would be very useful for many people. One example is someone making a PowerPoint presentation...
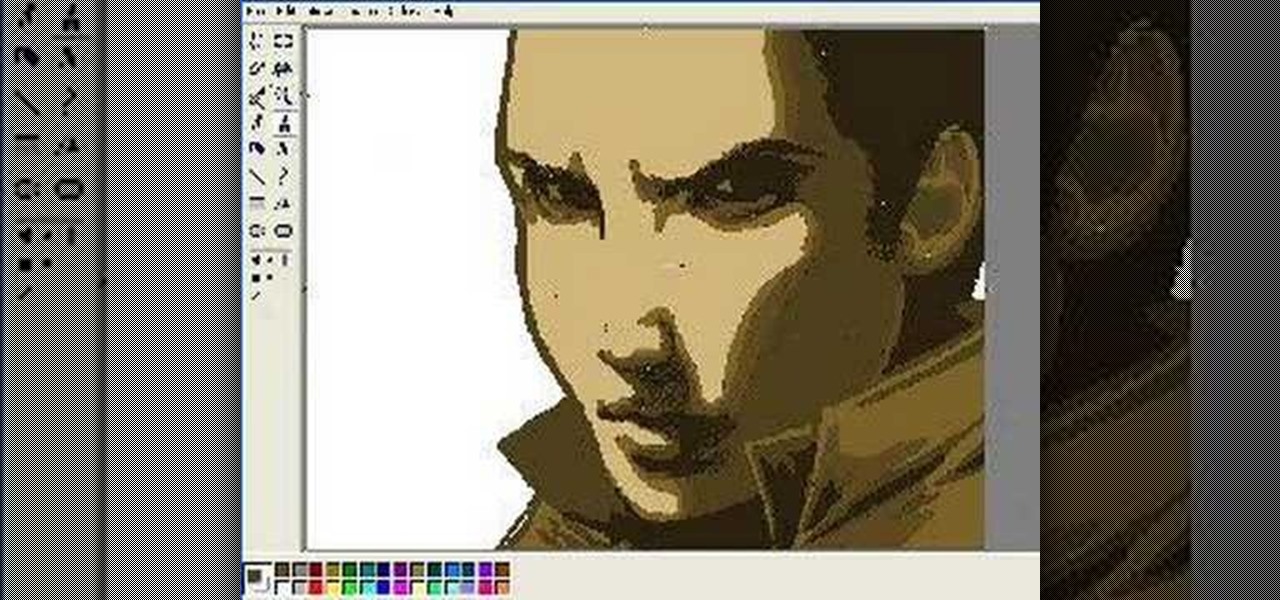
How to draw a face in MS Paint. The video is obviously made by a professional, it shows a sped up replay of a man using MS Paint to draw a very well done face. He starts with the basic outlines, then moves into coloration and shading. Notice all of the shading is done in unison and correlates with a particular direction that remains the same with all shading properties. Also take note of the fact, that the colors and lines are blending together, that the detail isn't as sharp as a high resolu...
For women who have short legs or who are pear shaped, Anna Saccone provides some tips on how to make those legs appear longer. For example, nude shoes which are the same color as your legs will make your legs appear longer, and avoid wearing shoes that have straps at the ankles. If you are short or have short legs, it is beneficial to wear high heels or platforms if you prefer them. Hot pants are discouraged and when possible, wear shorts that have a turned up hem. For any girls who would lik...
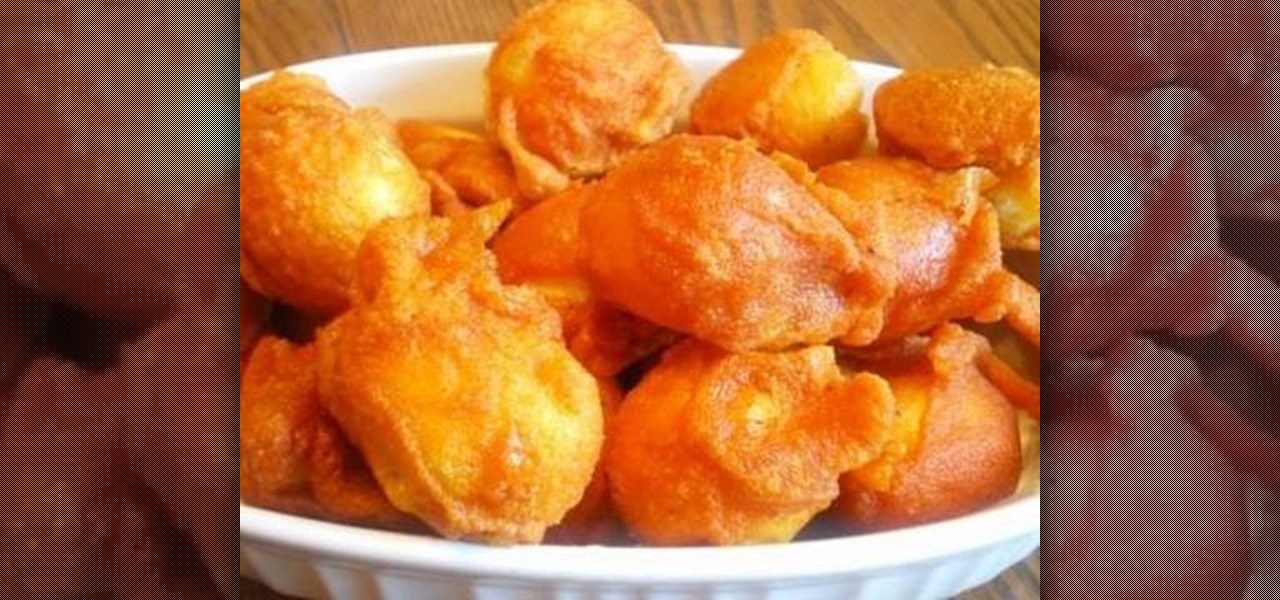
This is the video that explains the making of Filipino kwek-kwek or simply the boiled chicken eggs. It is a very easy made snake and tasty also. The main ingredients used in kwek-kwek are iodized salt, corn starch, black pepper, the red color chili, boiled egg, flour and oil. First take a mixing bowl. In that bowl take some corn starch and oil and mix it well and put the boiled eggs onto it. Take another bowl in it take the flour put some salt and the red powder is put onto it. Mix it well us...
Fry the tofu until the color turns golden brown, then set aside (slice the tofu into small squares).
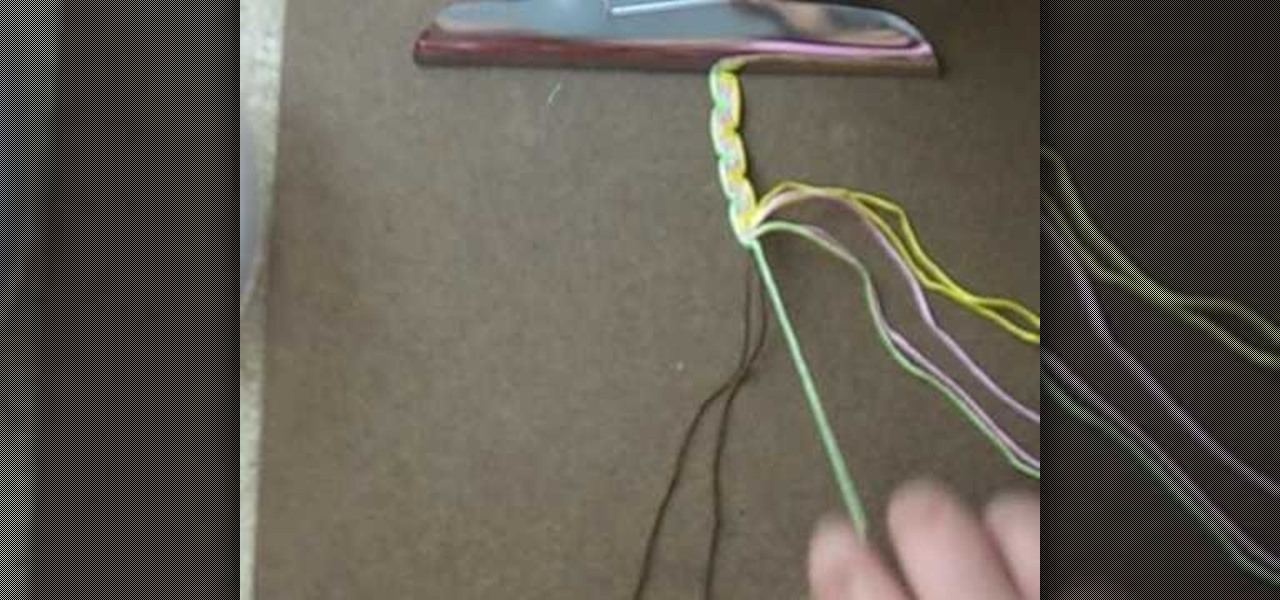
A strong and genuine relationship is something that should be cherished at all times. Learn how to make a wave friendship bracelet to give to your best friend as a gift. Wave friendship bracelets are not only simple to make, but they are absolutely beautiful to look at. Before you begin making your bracelet, be sure to choose the colors of yarn you would like to use in advance. Also, you'll want to follow the video's instructions completely to ensure that it turns out right. This friendship b...
Monster.co.uk, a job site, and Color Me Beautiful bring you these tips to dress for a job interview. An important part of landing a job is how you present your self in an interview, so after you practice some interview questions and get your resume ready, you need to start thinking about what to wear.
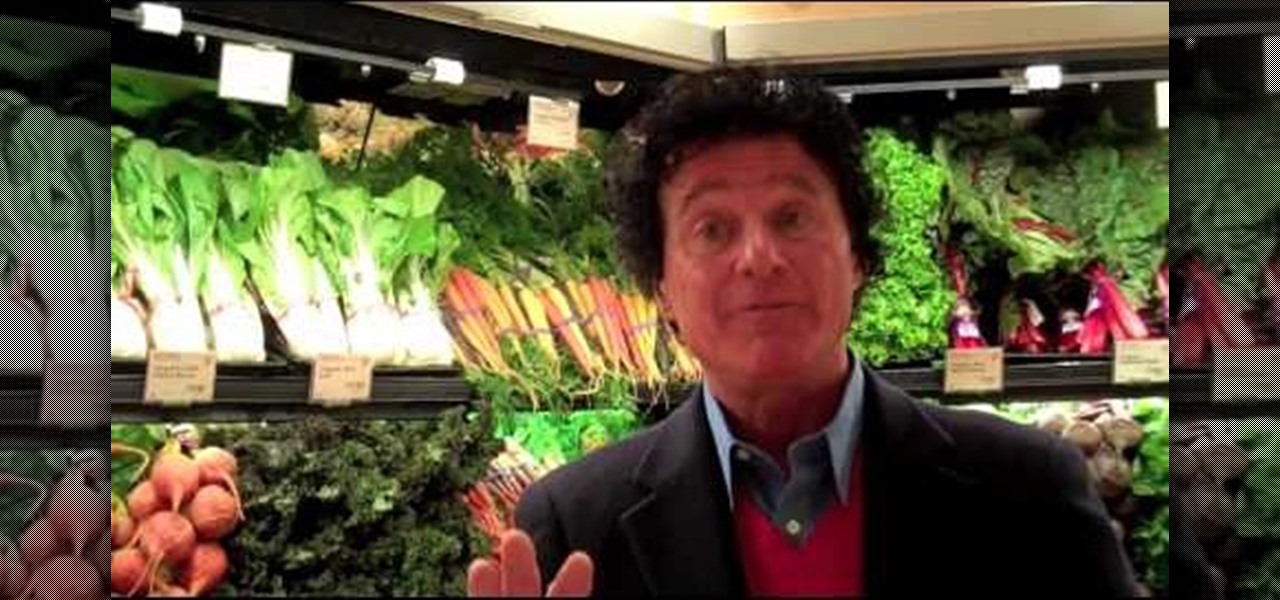
Sam Graci tells you how to maintain your PH balance by eating healthier. He talks about maintaining alkaline balance by eating vegetables and eliminating processed foods as much as possible. You should include two healthy snacks a day like carrots or any vegetables. Vegetables and foods with color are very important in maintaining your alkaline balance and PH level. Frozen bananas, kiwis, and strawberries are great for desserts. You can blend them together in a blender and freeze them for later.
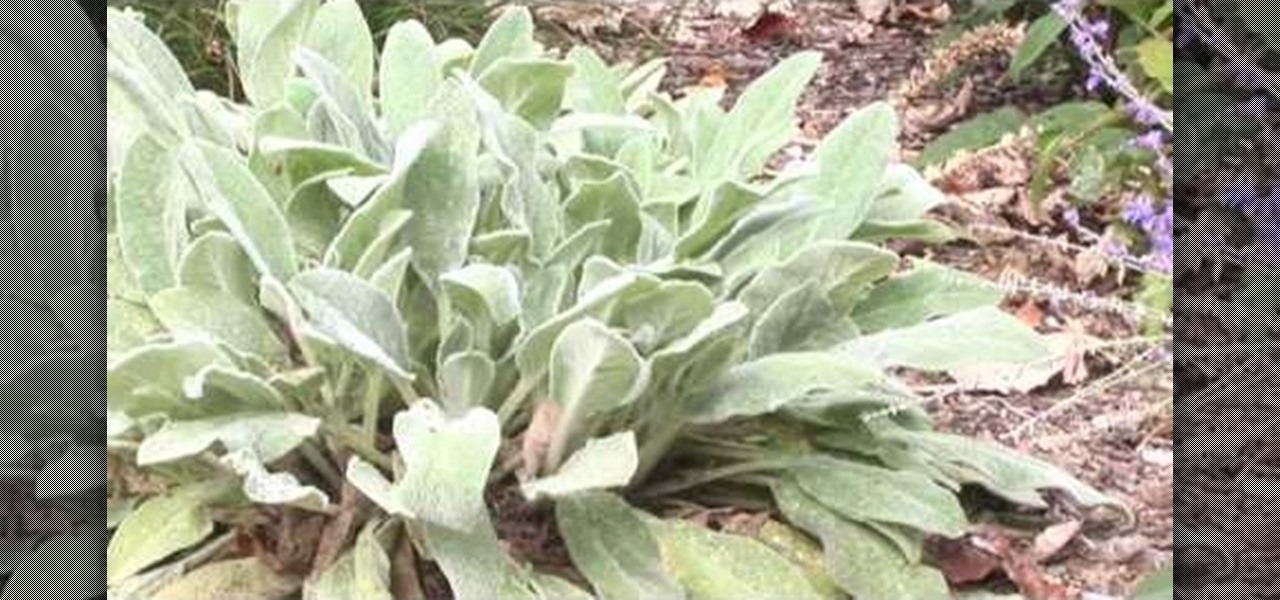
When watching this video, you will realize why Lamb's Ear, or stachys byzantin, may be a perfect choice of plant to set in front of your other plants. With a sea green color and low profile, it will set the rest of the garden off beautifully. Place it along borders of the garden or even along your driveway. Lamb's Ear is a hardy, drought resistant plant that is easy to care for and will do well in sunny areas. It does shoot up and grow a large flower later in the season. This would be your op...
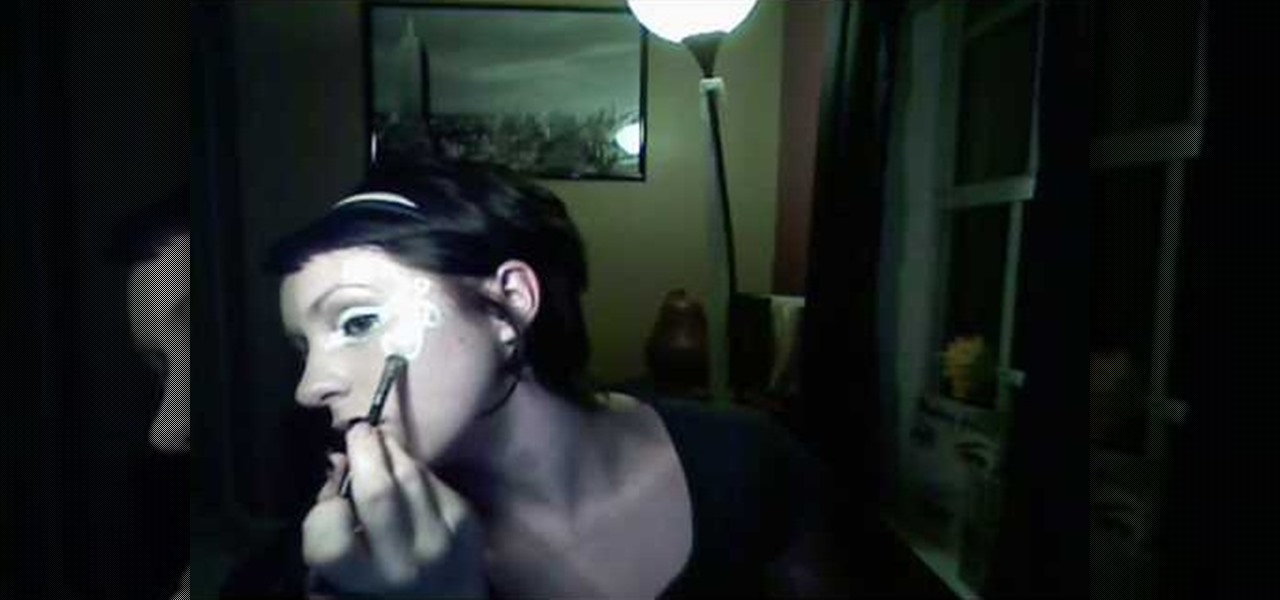
This is a great tutorial about how to apply fairy style makeup. The green color used is called Sea Dragon and the white is NYX white pencil Milk. First apply the white pencil on the side next to your eye making swirls and designs with it and also lining the bottom and top lash lines. Now using Frost Pigment by MAC apply it all over the swirls you just created. Then take Sea Dragon and apply it all above the white that you added. Fill in the spaces in between the swirls with the Sea Dragon. Al...
MJ shows how to do a "sexy smoky sultry eye" through steps and techniques on how to apply different layers of makeup. This video is helpful for anyone looking for new and fresh ways to apply makeup in a creative manner. The steps in this video are thorough and clearly demonstrated. Besides advice on the makeup techniques, MJ also gives tips on color choice and other things. If you pay attention and follow MJ's steps you will have "sexy smoky smoldering" eyes and maybe even a new video channel...
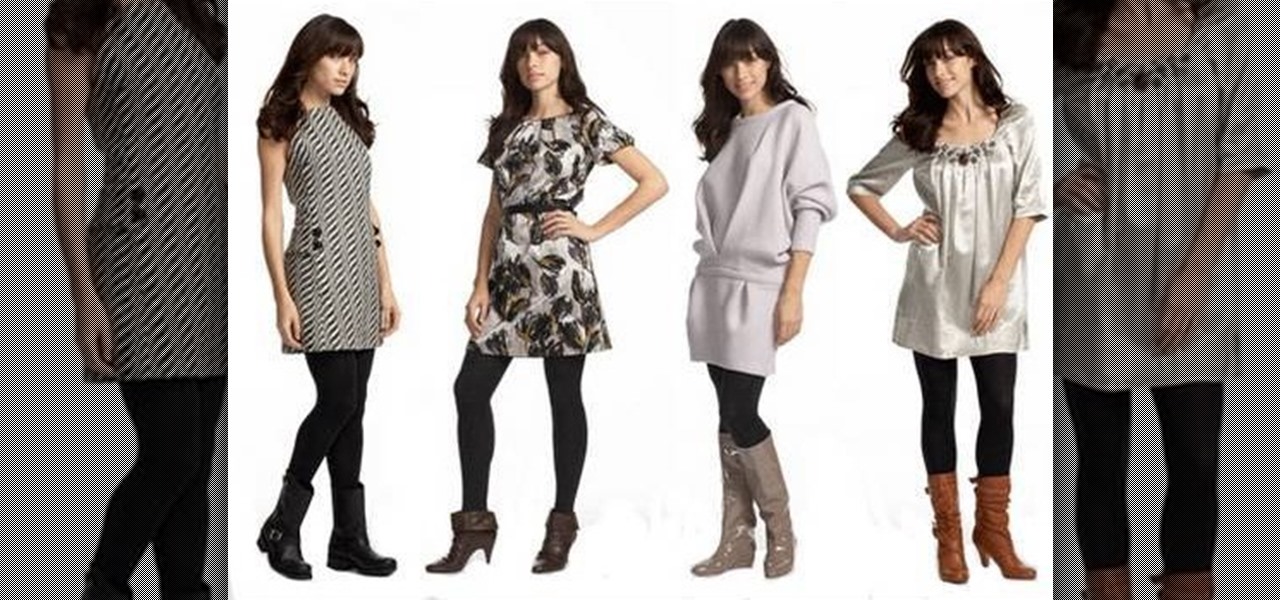
This tutorial is about how to properly wear leggings. They come in all kinds of colors and some even have lace at the bottom. You can wear them as an accessory instead of in place of pants. You're using them to dress up your outfits. Tunics are a great clothing item to wear them with. It's important to wear them with a longer top because they aren't pants. If you have a dress that is a little too short leggings are a perfect way to feel more comfortable. As a winter tip, you can also wear the...
This video will teach you how to make a white board at half the cost and a better quality than you can buy and it will last a lot longer. You start with an 8x10 piece of Plexiglass with only surface scratches and spray paint. Try not to touch the side that you're going to paint. Remove only one side of the Plexiglass protecting plastic. Sand any sharp areas and paint in a well-vented area or outside. Paint lightly with the color of your choice and let it dry before adding a second coat. You c...
Headline: Make an astrojax Description: Here you can make an astrojax which is a cross between juggling and a yo-yo.
Optical illusions don't require fancy techniques; this one relies entirely in the details. Gather up a pen/pencil, paper, and a pair of scissors. Draw a parallelogram to be used as the template for both tabletops in this sketch. By varied angling, leg lengths, and color, the table top takes on a different appearance. Watch this video drawing tutorial and learn how to recreate this cool, artistic optical illusion.
Bucky from The New Boston serves up this CSS video tutorial on how to use direct and indirect selectors with CSS web development. You can make stunning websites with CSS and XHTML.