In this video Tanky shows you how to make a LEGO bookcase. He details each step of how to create a small LEGO bookcase, starting from the base and building one level at a time. He Suggests connecting all parts in the final step in order to ensure the bookcase does not fall apart. He then inserts books into each shelf to create a filled bookcase that displays twenty books on two levels of shelf. The LEGO books fit in well. If you follow the steps in this video you will have a realistic LEGO bo...
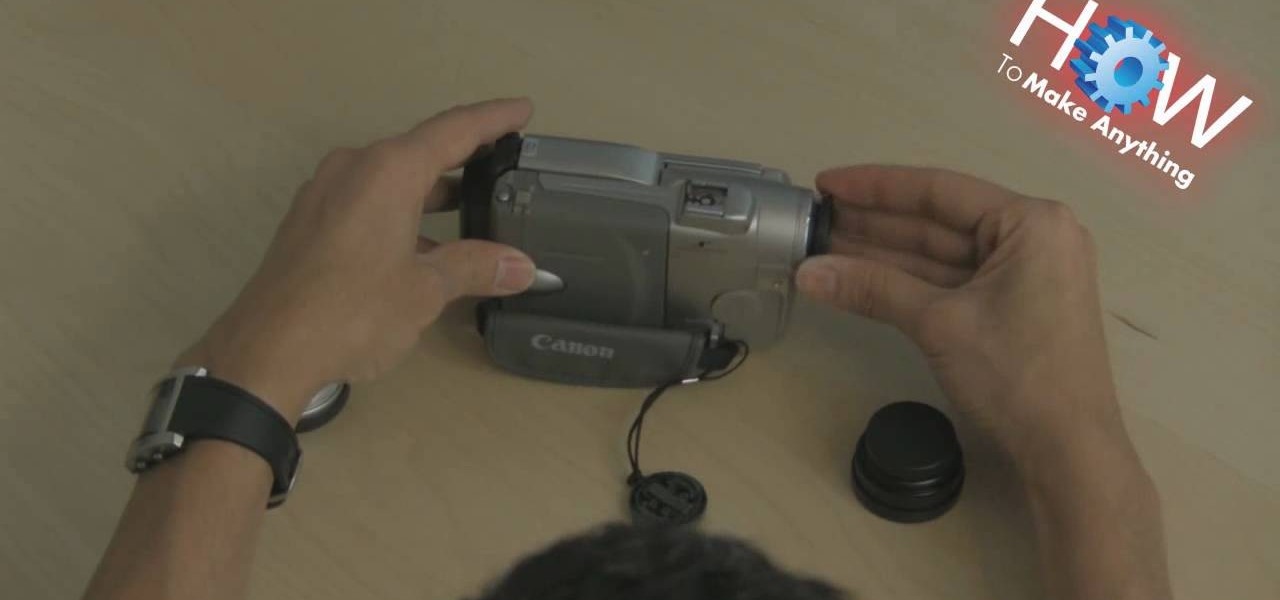
Make sure you have the appropriate lens for your digital camera. Look for markers on the lens that correspond with any mark on the camera body. Different brands have different markers. Some have square dots while some have red dots. Line these marks In one hand, hold your camera body firmly pointing to you. While holding it, push the lens button. Firmly hold the bottom of the lens (where the lens meets the camera body), and twist. Some cameras let you twist clockwise, others counterclockwise....
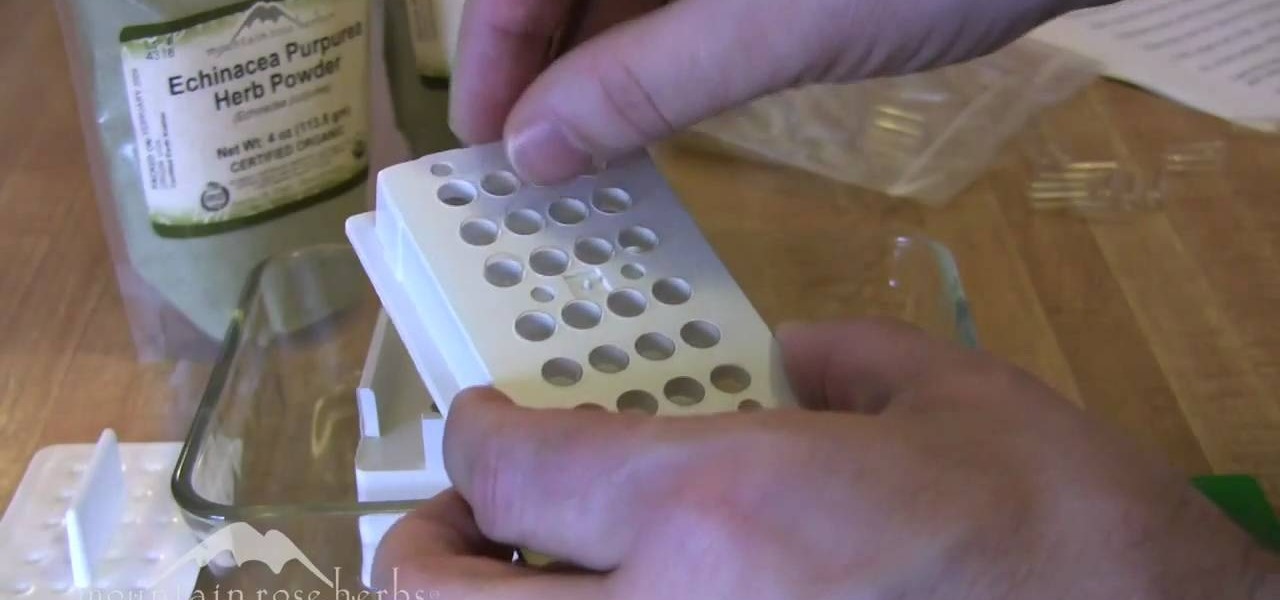
Mountain Rose Herbs John Gallagher shows us how to make our own quality powdered herb capsules using a machine in this video. You will need three things to do this, your powdered herbs, zero size capsules and a zero size capsule machine. He shows us the parts of the capsule machine so we can follow his instructions. Find a container to put the base of the machine in, pull apart the capsules, putting the bottom part in the bottom of the machine and the top in the top part of the machine, filli...
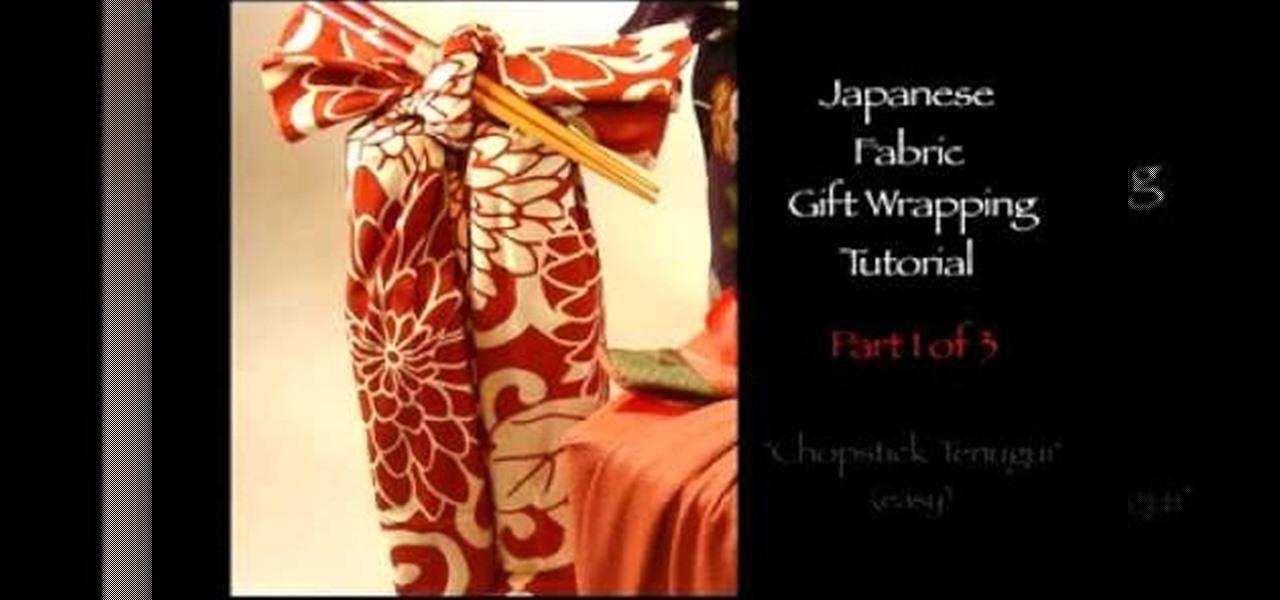
In this video tutorial, viewers learn how to gift wrap two bottles using the chopstick tenugui wrap technique. Tenugui is a thin Japanese hand towel made of cotton. The materials needed for this gift wrap are: a tenugui, chopsticks and two small bottles. Begin by laying the bottles horizontally as the bottom bases touch on the tenugui. Roll the tenugui and fold it up. Tie the ends with a double cross and add the chopsticks in the knot. This video will benefit those viewers who are planning to...
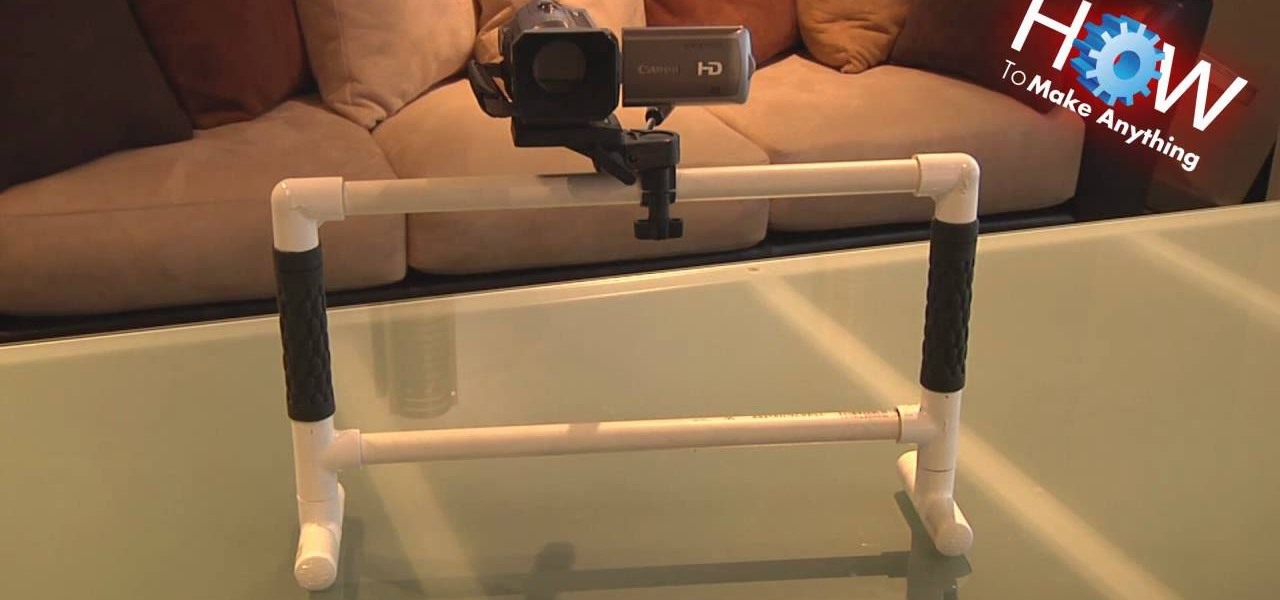
This video tutorial is going to show you how to steady your shots with a homemade fig rig. The camera is mounted right in the middle of the top bar and it uses the iron as the balancing mechanism. The official fig rig is about $300. But, the one shown in the video will cost you around $10. Cut a PVC pipe about 2 feet in length and glue on two T joints on either end parallel to each other. Now fix the two feet into the T joints as shown in the video. The larger the camera, the longer will be t...

In Bachata dancing, there are many turns one must learn in order to master this Dominican Republic based dance. In this video, learn how to do outside turns by starting in an open position with the ladies hands on top of the gentleman's hands. Follow the steps in this video to perfect outside turns with help from a professional dance instructor.

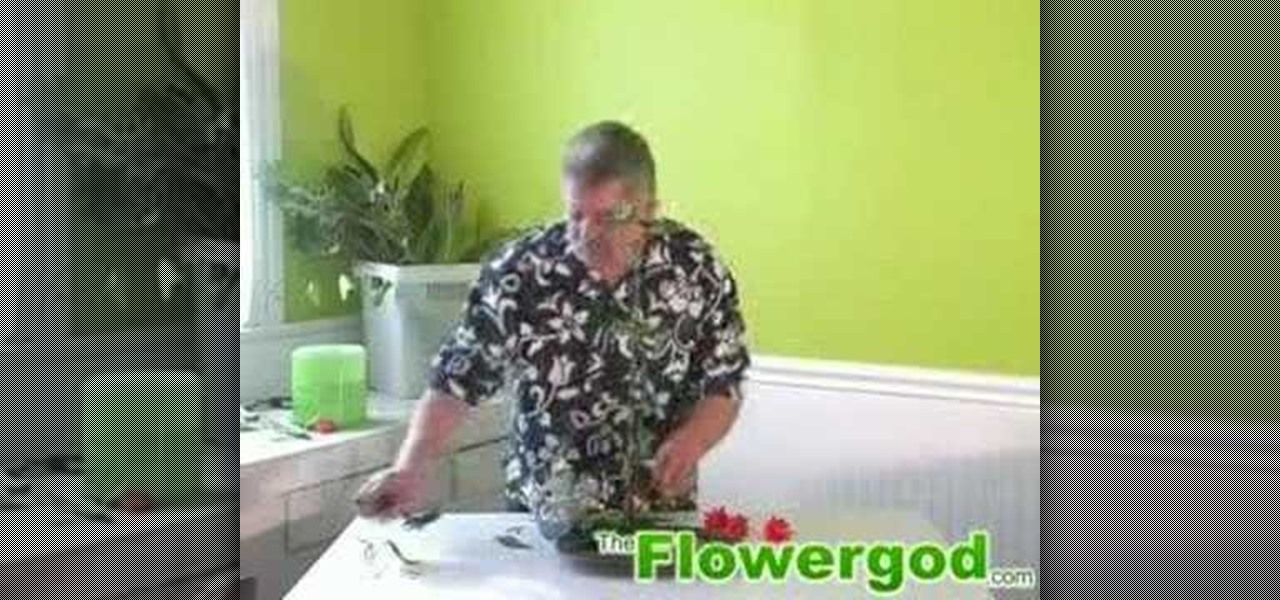
The Flower god gets us all ready for the Chinese New year with a quick and very simple flower arrangement for a table centerpiece. You'll need some good luck bamboo, some ivy, little pieces of ginger and some passion flowers to accent the green. Take some of the ivy leaves and cover the centerpiece base. Cut them short at a sharp angle to cover everything. Next use the good luck bamboo to add height. Cut these at a sharp angle as well so that they will stay secure. The angles help it work as ...

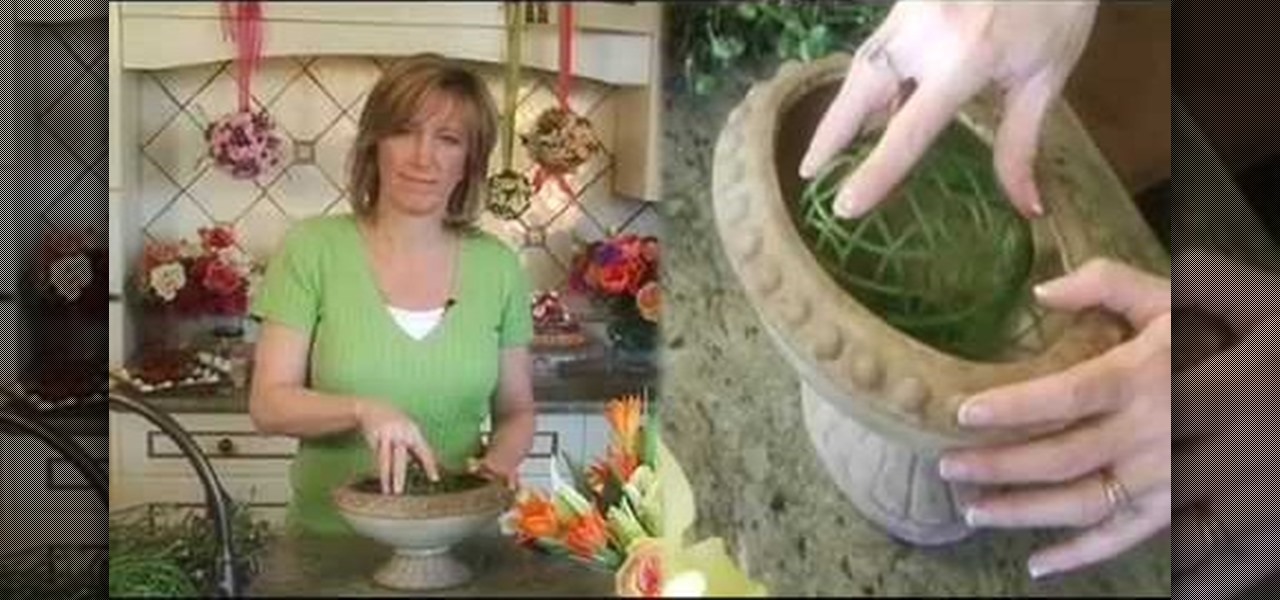
A wedding budget can quickly get out of hand as your planning progresses. Things like centerpieces are a major cause of skyrocketing wedding costs. If you have a little time and want to easily trim down the cost of your wedding, think about making your own floral centerpieces. You'll learn how to with this simple tutorial from EZ Bouquet. You'll soon see how easy it is to make a beautiful floral arrangement in an open container and how to secure the arrangement in the base of the container. A...

Darin Steen from Major League Health and Fat Loss Lifestyle demonstrates how to work out at home to get rock hard buns and glutes. You will need a wood floor or a ceramic tile floor that's nice and slick to do the exercises. Lie down on your back on the floor and extend your arms so you have a nice shoulder base. Then, point your toes up, dig your heels in and drive your hips up towards the ceiling. Squeeze your buns and hamstrings for 10 repetitions. On your last repetition, straighten out y...

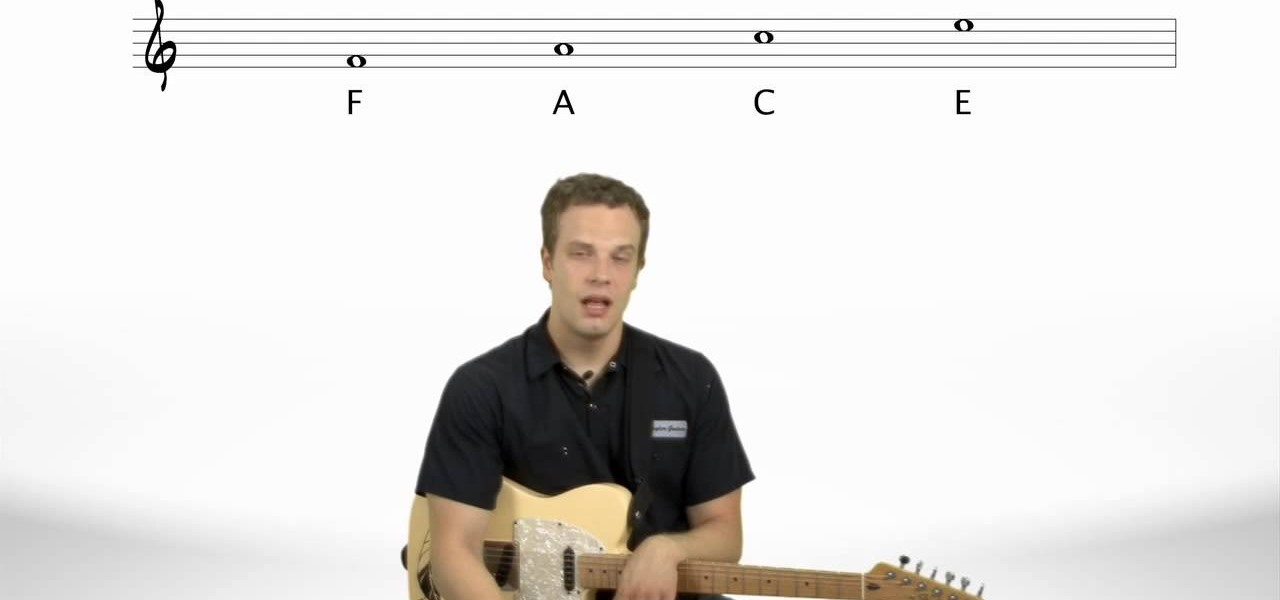
Follow along as Nate Savage teaches us to read sheet music for the guitar. -The first thing you are going to need to know are the names of lines and spaces on a staff.

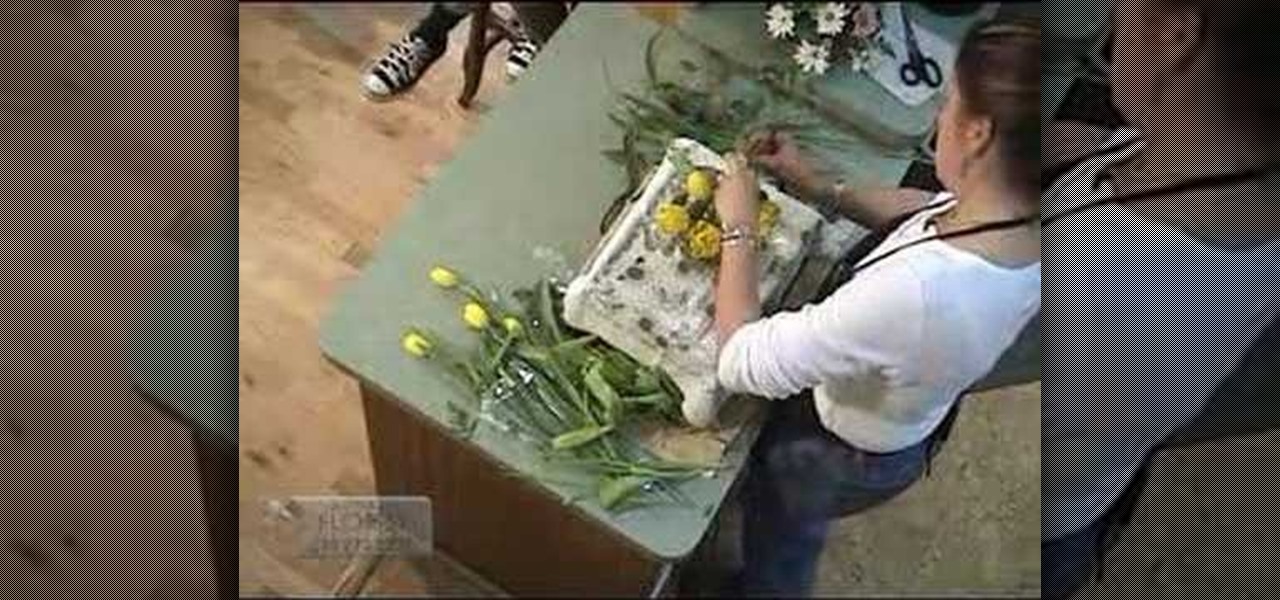
In this video it is demonstrated how to make a simple spring bouquet with tulips and daisies. First take a transparent glass pot and fill it with water. Take some green soft thin stem, roll it and put it into the pot to make a base for the bouquet. Take some yellow tulips and put them into the pot in a clockwise manner and put some seeders in between the tulips. Add some lily grass to it so that the bouquet looks bigger. Now add a dragon fly floating at the top. As time goes by, the tulips wi...

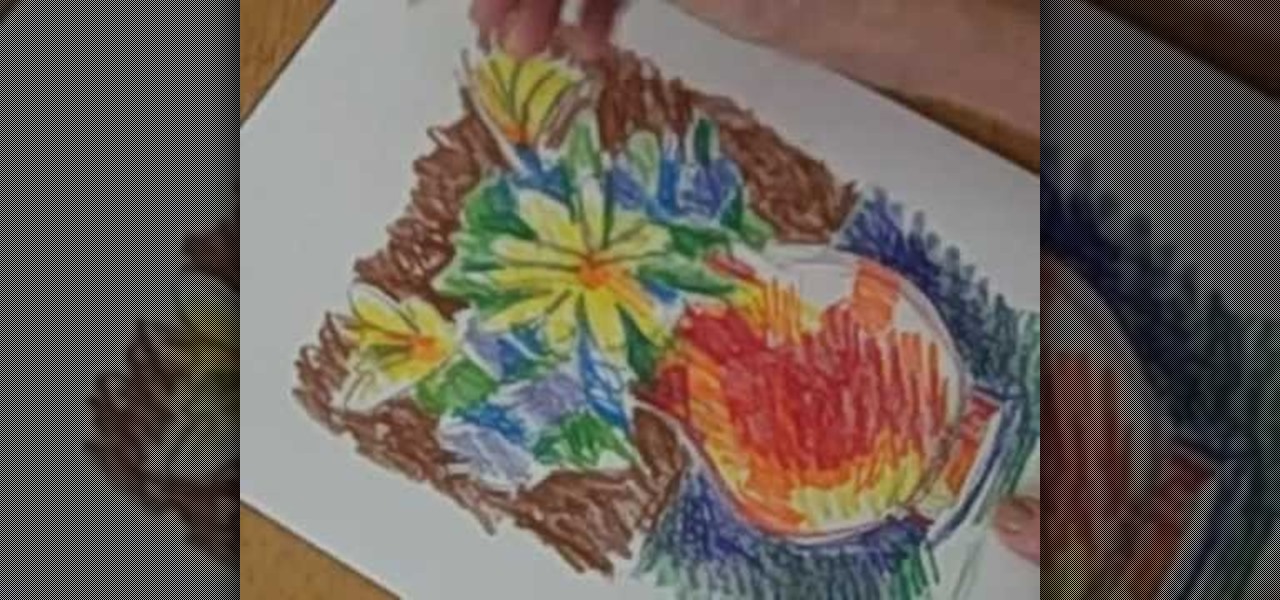
Swirloflight teaches you how to draw a vase with flowers using a colored pencil. Start with a regular black pencil to sketch the flowers and base. You want to start off with basic shape and draw only what you need. You will now go to the next part, using the colored pencils. Don't go into great detail and don't be afraid of going outside of the lines while coloring in. The colored pencils are good for creating rich areas of color. After you're done with the vase and flowers, create a blended ...

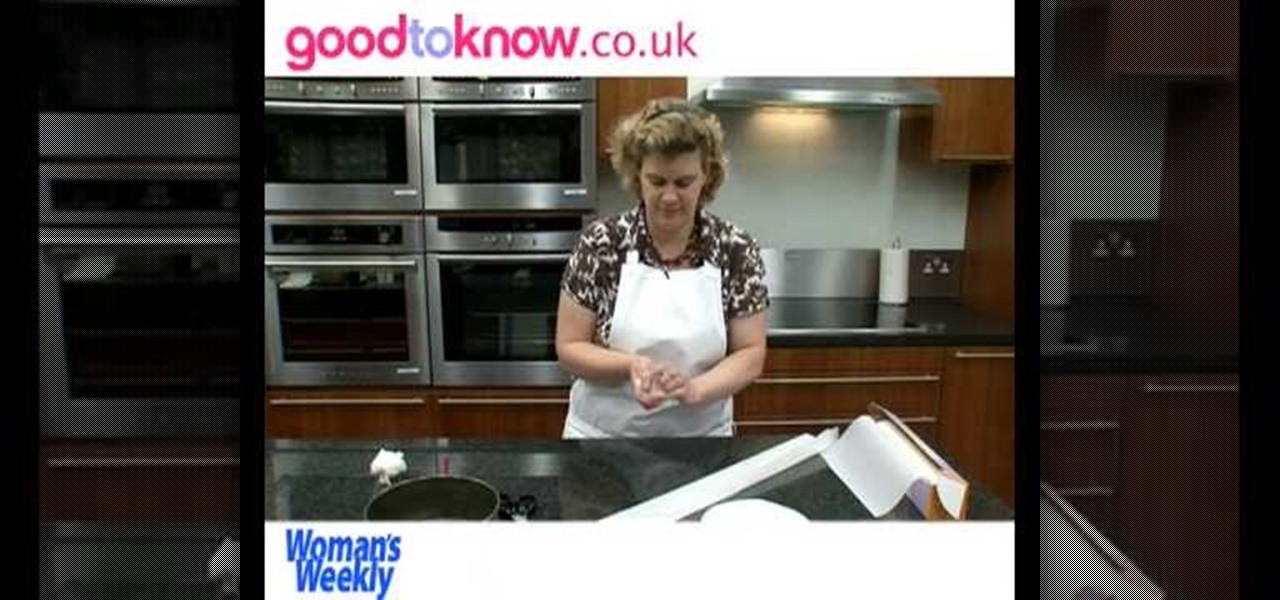
This film from Woman's Weekly shows you how to line a round cake tin. First you take non stick baking parchment. Fold the paper to double thickness, then rest the tin on top and draw around it with a pencil. After that, then cut just inside the pencil line to compensate for the thickness of the tin. For the sides, you roll the tin on its edge, allowing some extra for overlap and a little extra height above the tin. Make a fold a couple of centimeters from the top and then make some cuts from ...

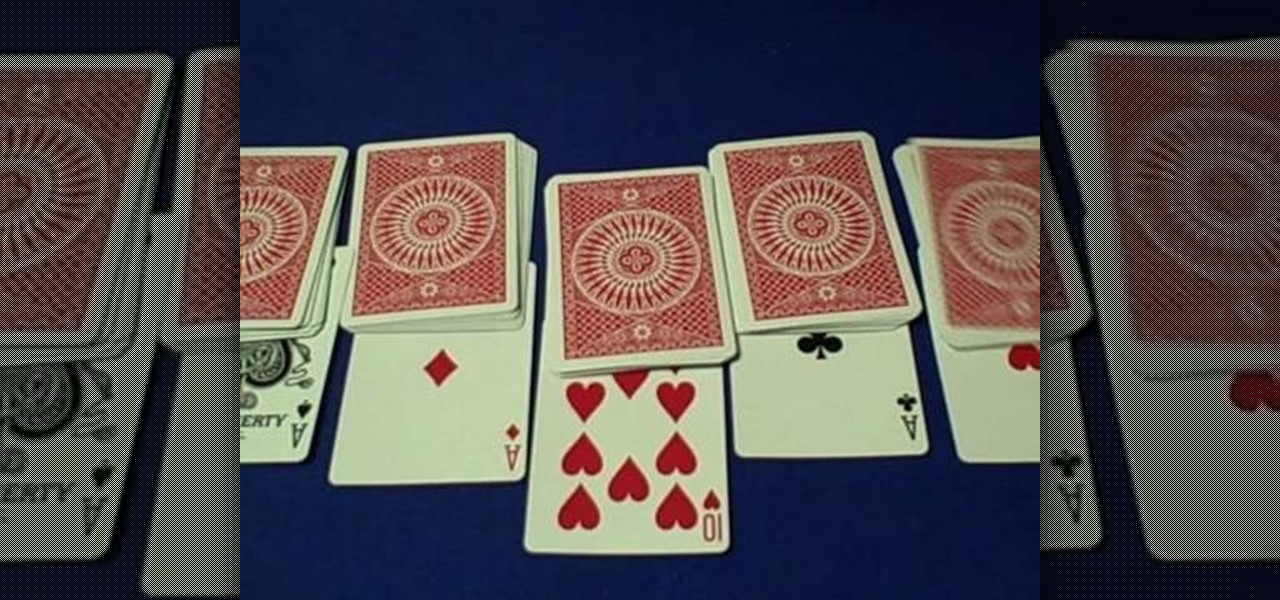
This video shows you how to perform the magic card trick "The Kicker". In poker when you have four of a kind, the fifth card in your hand is called the Kicker card. It's usually meaningless unless you have a tie where it is used to determine the winner. In this trick you learn how to use the kicker card, in this case a 10 of hearts, to find the four aces inside a deck of cards as if by magic. This trick is based on math rather than sleight of hand, once you arrange the deck as you learn in th...

This video demonstrates how to design drum and bass lines in a Reason 4 program. This video does not have a speaker rather it shows you on the computer how you would make these lines. Music plays at sometimes but mostly it is various screens and demonstrations of making the base lines. There is text to help you out on the screen. If you follow the steps in this video, you'll be able to create a basic drum line using Reason 4.

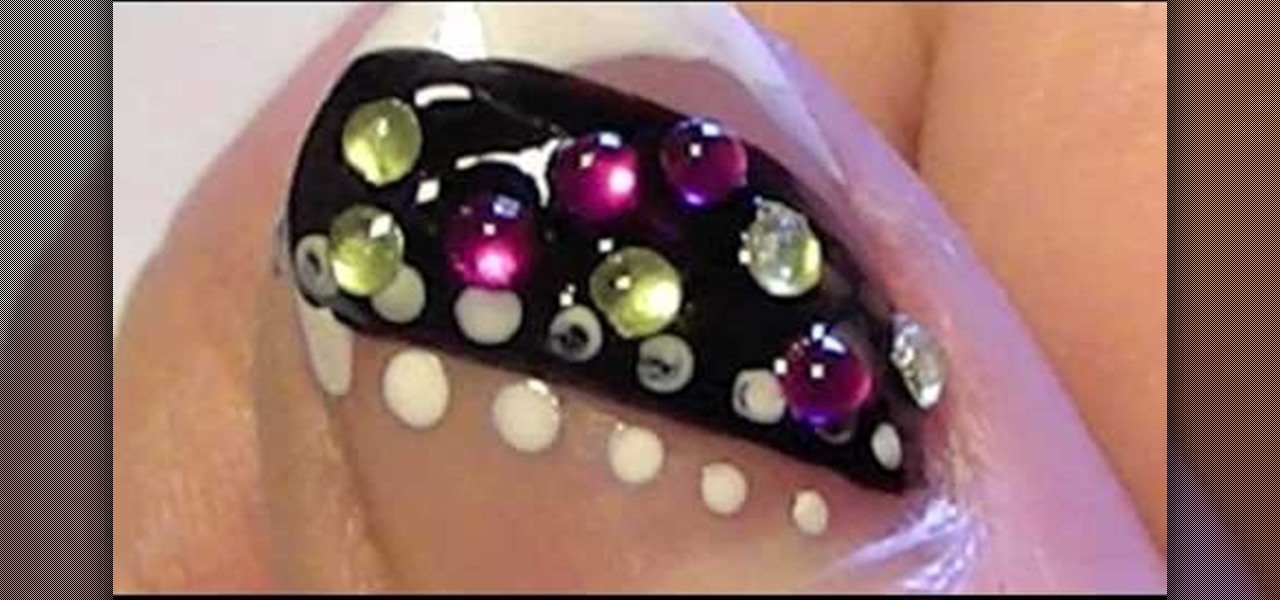
The rhinestone studded nails will be more attractive. To make your nails a perfect complement to any acrylic or polished nails use your wildest imagination to make it more attractive. The following steps will help to make beautiful, rocker rhinestone studded nails. The first step is to clean the nail surface where you want the stickers to be placed. The second step is to apply a base coat, and the third step is to apply nail polish color. The fourth step is to peel off the stickers carefully ...

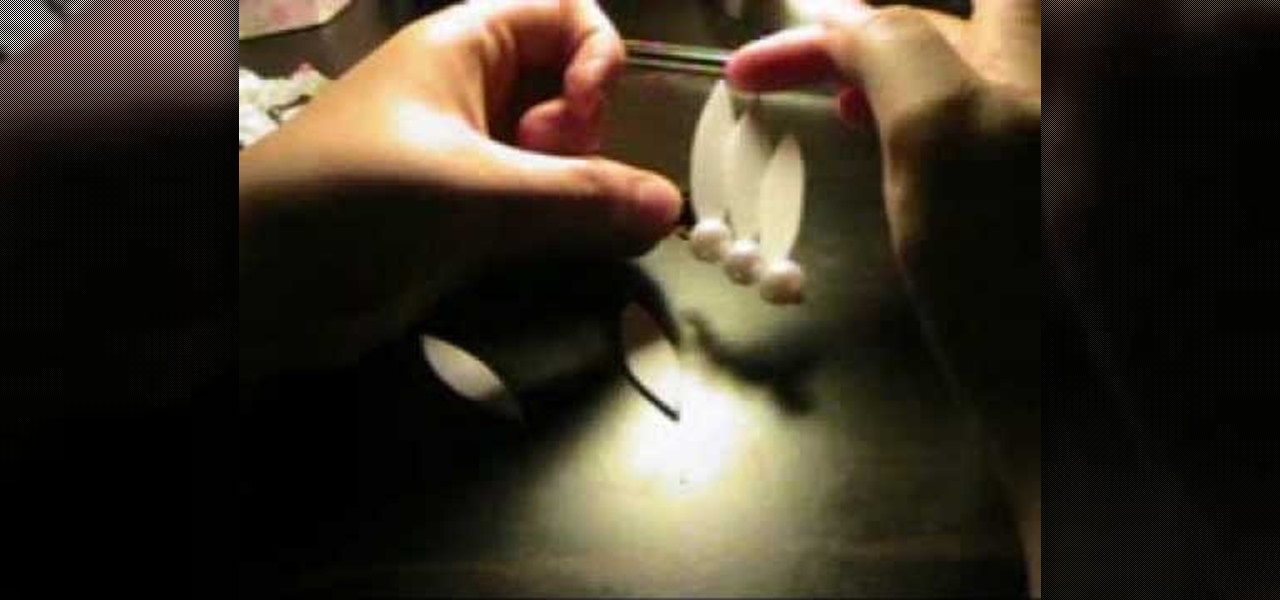
This video is a demonstration of how to make Sailor Moon style hair clips. Start with two alligator clips, six half pearls, craft foam, glue, a pencil and scissors. Draw an outline of a feather shape on the craft foam and cut it out. Trace around the cut-out to make several more and cut them out. Spread some glue on the top of an alligator clip and stick the feathers shapes on in an overlapping design. Put some glue on the back of each half pearl and stick it to the clip at the base of each f...

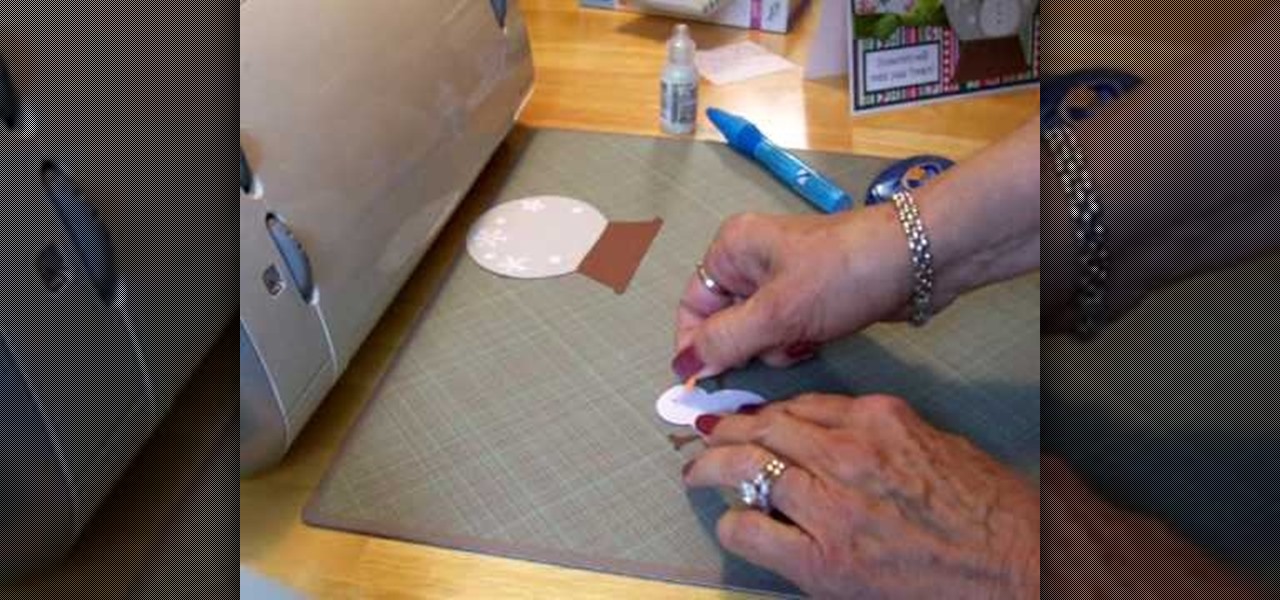
Cardcrazy09 teaches us how to make a Cricut snow globe card. You cut the base of the snow globe in brown cardboard. You then add a layer of white with dots and snow flakes on top. The snowman is done using the same technique - black cardboard and then a white layer on top of it. You add the carrot nose by sticking it on. When all is dry, add the snowman on top of the snow globe, in the middle of it. You add the acetate layer on top of them. The end result looks like the class on a real snow g...

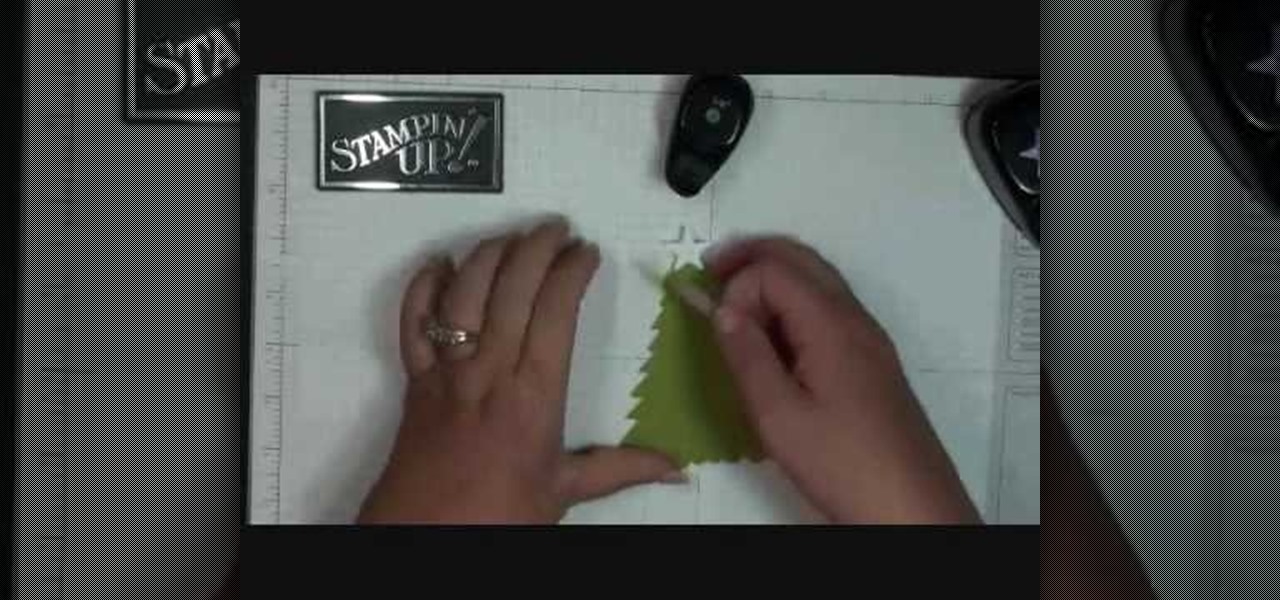
Dawn from "Stampin' Up" shows how to make an adorable Christmas card. She uses cardstock and several shapes to create this cute Christmas tree. A scallop circle hole-punch makes this craft a breeze - you could easily make enough of these cards for everyone on your list. A triangular base and six or seven scallop punches cut into quarters are all that is needed for the body of the tree. A star punch and some small circle punches bring this little tree to life. Your friends and family will want...

This video shows you how to safely use an extension ladder. To put the ladder up put the bottom against the wall and walk it hand by hand until the top is against the ladder. Then grab the bottom and pull it out. To make sure the ladder is at the correct angle and stand with your toes against the base of the ladder and stretch your arms out straight. You should be able to grasp a rod. If you can't reach it you should readjust it. Avoid over reaching to the sides.

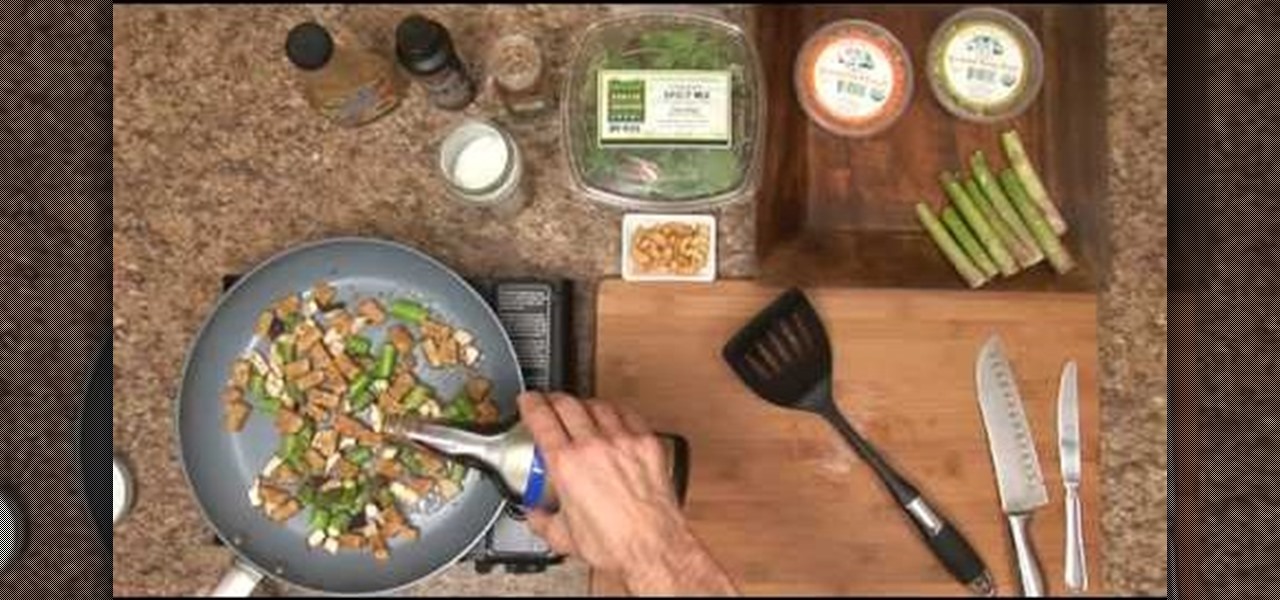
Larry Cook gives the low-down on how to make a nutritious Tempeh and Shiitake Mushroom Stir-fry. Tempeh is an Indonesian based dish made out of slightly fermented soybeans that are shaped into a patty. It can be used as a meat substitute and the mushrooms and asparagus add antioxidants to your meal. You can add extra spices and liquid marinades as shown to jazz up the taste of the Tempeh. Larry also demonstrates how to make a healthy salad that pairs perfectly with the stir fry.

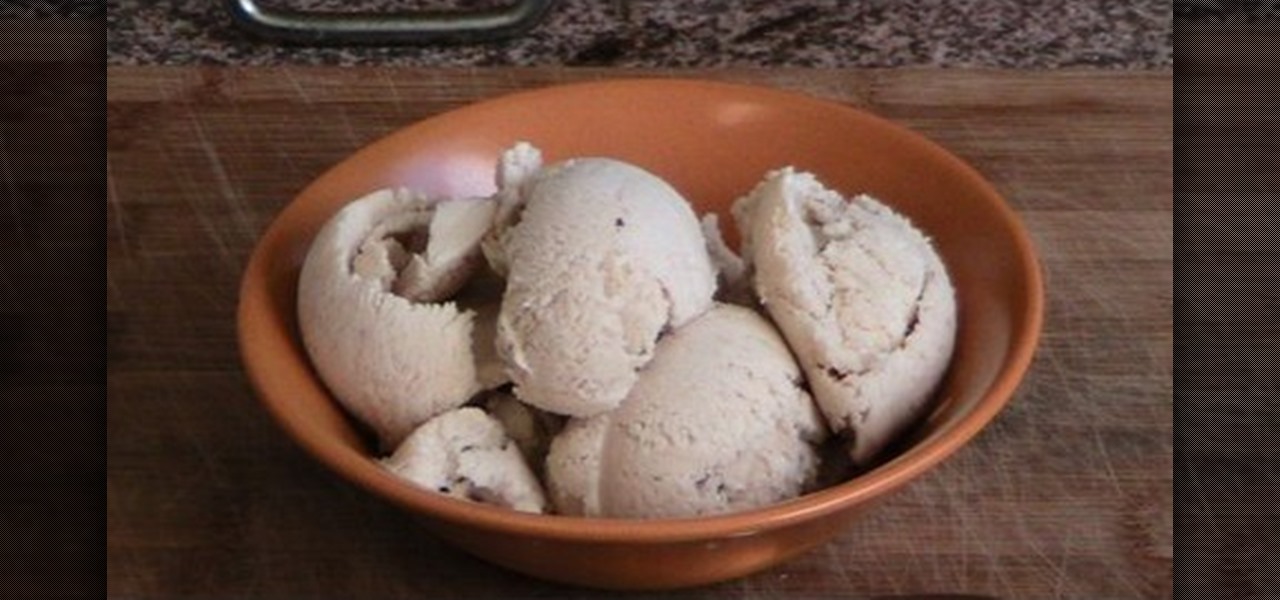
This how to video describes how to create tasty ice cream in a home blender! First you gather your ingredients including anything you want in your ice cream. The video suggests you use: 2 cups of cream, 2 cups of milk, some vanilla, and half a cup of sugar. Using this base you can create a tasty vanilla ice cream! After that you simply blend it up for two minuets then stick it in the freezer and you are left with tasty delicious ice cream.

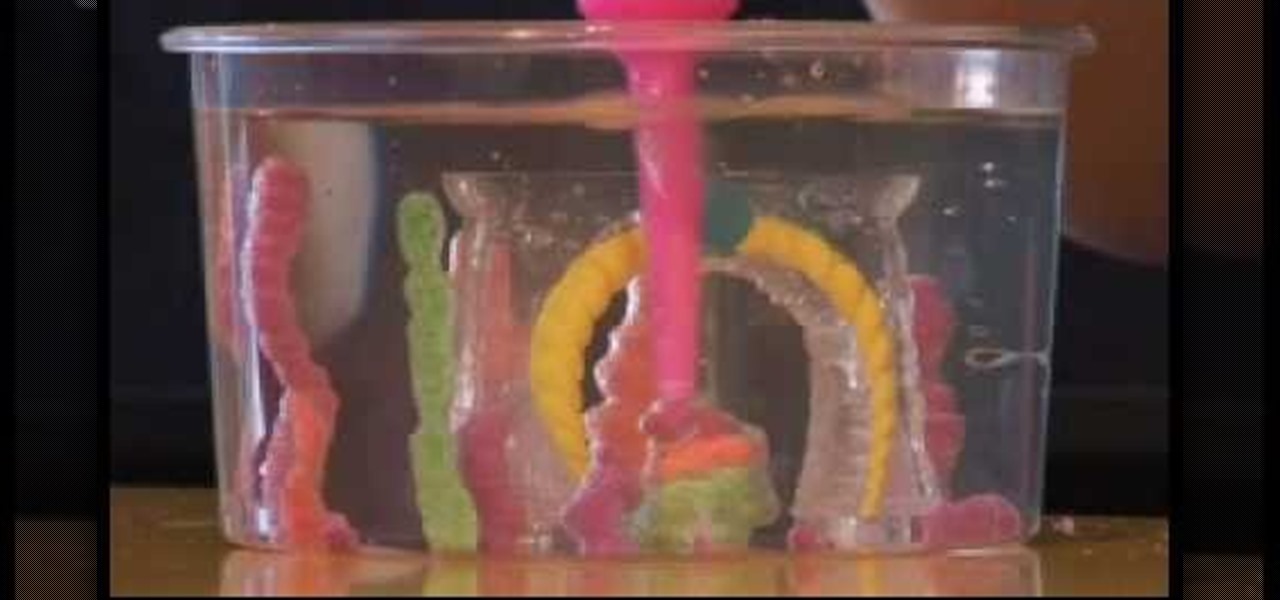
This video explains how to set up an Aqua Sand gift box. The first step is to place the mold into the tank, and then fill with water. With a half-full bottle of Aqua Sand, by placing the nozzle face-down to the bottom of the tank and lifting upwards, you are able to create colorful towers. You can create multi-colored towers by starting with a wide base, then changing colors as many times as you wish while you move upwards. Users can also fill the mold with various colors of Aqua Sand, add de...

Grab your bass and get ready to learn some beginner songs, specifically "Brown Eye Girl" by Van Morrison. This two-part video will teach you through playing songs, not learning scales.

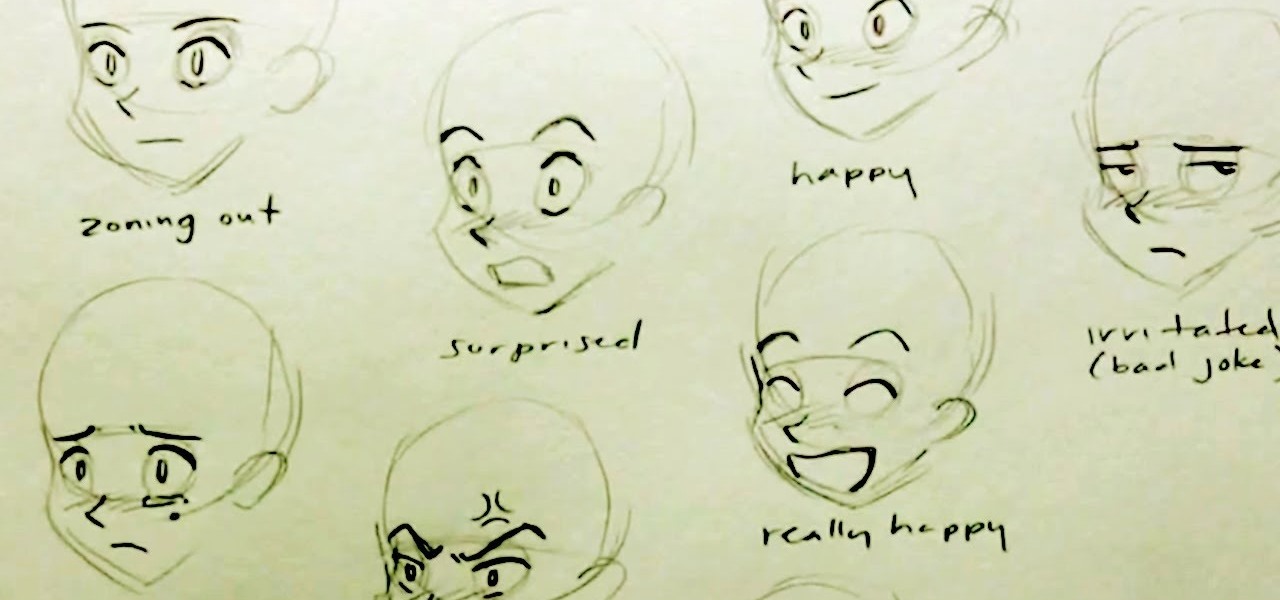
Koizu brings you another lesson in how to draw manga. He describes how he begins with the eyes as guidelines that are used as the base for each facial expression. This immediately begins to capture and illustrate the specific expression for which you are going. Multiple facial features are illustrated in the manga style of drawing and range anywhere from angry to happy and beyond. This video will definitely either teach you how to draw the facial expressions using simple features or help you ...

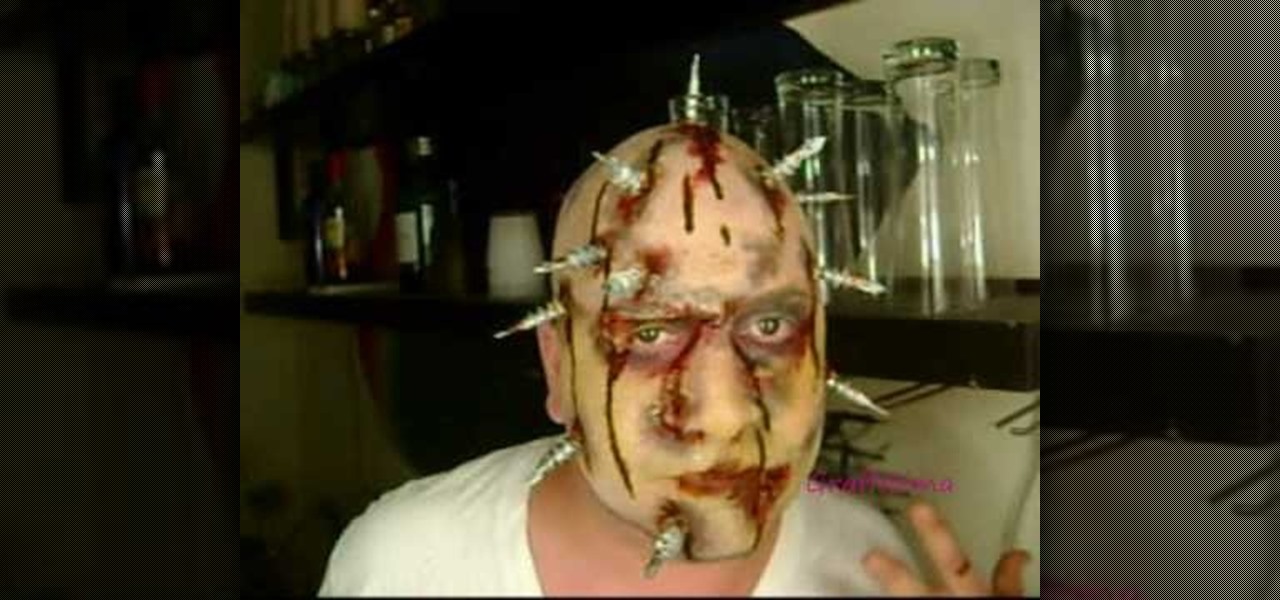
This fantastic Halloween special effect makeup tutorial teaches you how to create a bloody bolt look using mostly MAC products. The artists teaches you how to create texture and create a distressed look with the base and color makeup. He applies the adhesive and attached the scar effects and adds the "bolt props" with the adhesive. He uses a purple and yellow pigments to distress the skin further. He then takes fire red to create the blood. He also shows you how to make realistic blood with s...

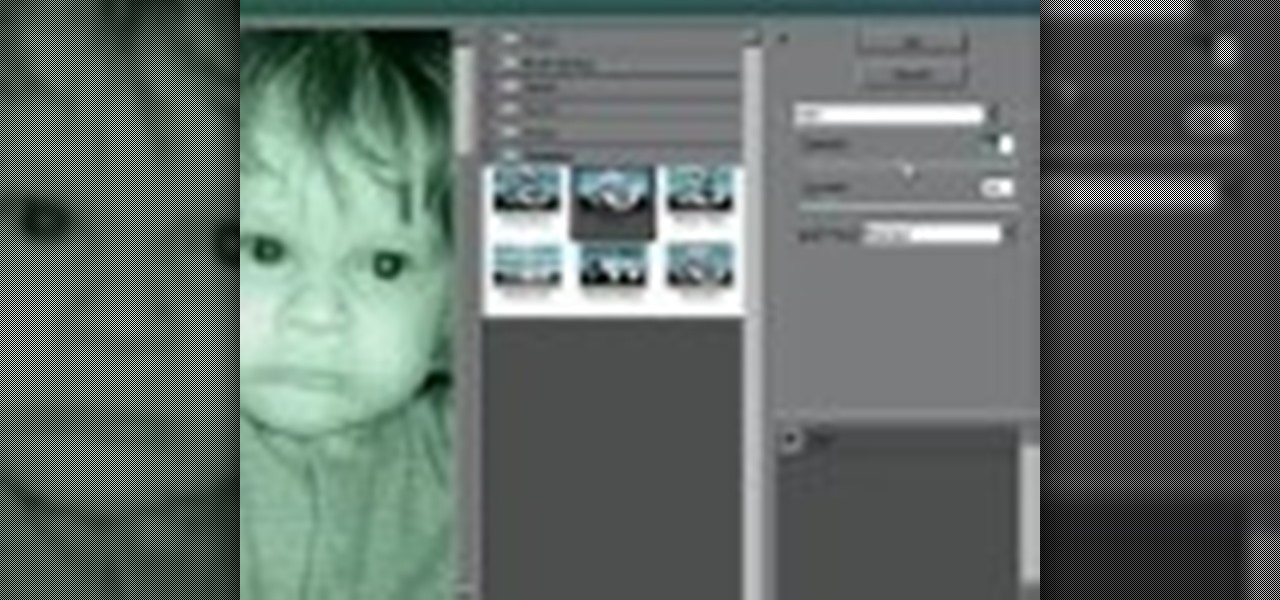
Don't know how to create the night vision effect using Photoshop? Well, this video is the solution for you. First of all, select the image that you want to create the effect on. Then you need to open up a new black and white adjustment layer. In the setting box that pops up, go under the preset drop down box and select red filter. Next, go down and check the tint box. After wards, the viewers can set their own photo and saturation base on their own preference.

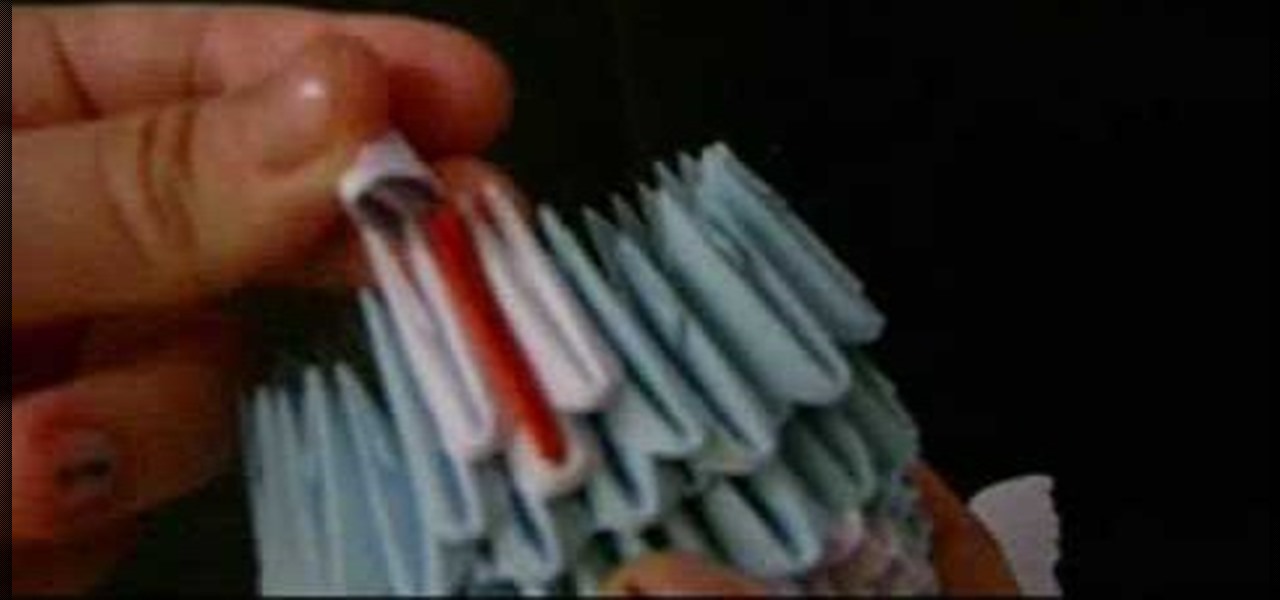
In this video, Jewellia describes how to create a 3 dimensional origami teddy bear. First, she lists the materials needed and the quantities necessary. She then begins the actual process of building the teddy bear, which is broken into steps. Step 1 is "creating the base". You will create 18 "pairs" out of origami paper which you then put small blue origami triangles on top. It looks circular. She then demonstrates how to repeat this circular pattern of triangles upward until you have a cylin...

Psychetruth shows you how to give a massage. Start out by using any kind of oil, not to much, just enough to create slip. Take your thumbs and run down the spine. Feel if there are any points that need to be massaged longer. Move up to shoulder and work the mussels in that area. Then work the neck at the base of the skull. Lift up shoulders and massage out tension. Work your way down to the lower back. Move all around the back and work deep into the muscles.

For anyone who is learning geometry and would like to learn or to review how to find the volume of a cone, this is the video for you to watch. The video provides you with both the simple formula for a cone as well as various examples which you can use to practice. The formula for finding the volume of a cone is 1/3 x pi x r^2 x h, where r is the radius of the base circle of the cone and h is the height of the cone.

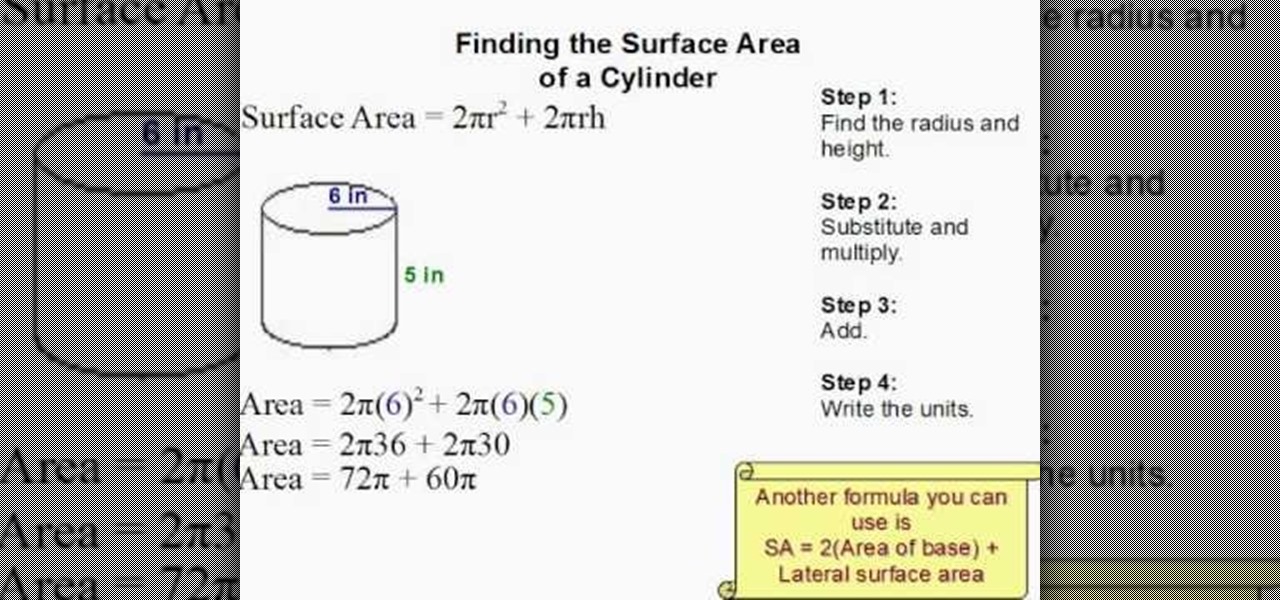
In this video tutorial the author shows how to find the surface area of a cylinder. He shows a four step approach to solve this problem. First he gives us a formula to find the surface area of a cylinder, where Surface area A = 2 * Pi * R * R + 2 * Pi * R * H, where R is the radius of the base of the cylinder and H is the height of the cylinder. Now he identifies those values and substitutes them in the formula giving the surface area of the cylinder. This video shows how to compute the surfa...

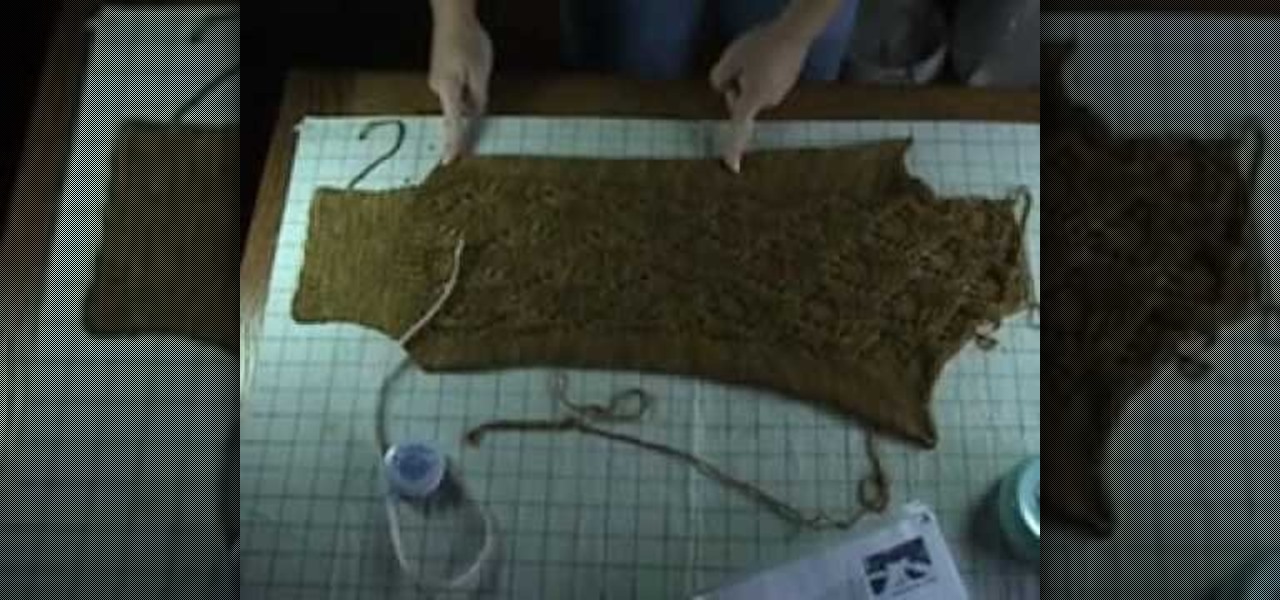
The Knit Witch shows you how to do wet blocking to a knitted piece. With specific tools like a blocking board with a grid, a tape measure, and a few other items. The items used can vary based on what kinds of material you are using so it's important to know what each one needs. Reminders and tips are explained when the pertinent step is reached so that you can keep them in order and apply them when needed. Wet blocking will be a breeze after watching this video and following the steps closely.

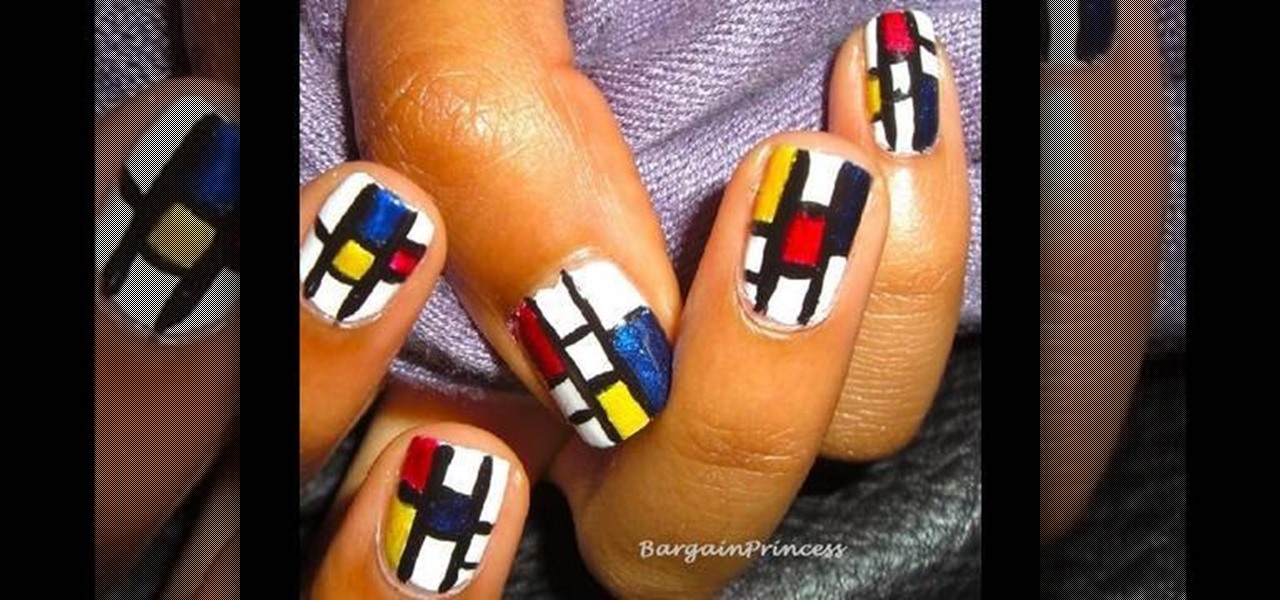
This video shows how to paint Piet Mondrian inspired block print nails yourself. Apply a white base coat and top coat. Use black nail art paint because of the thin brush. Paint two black lines the length of your nails. Then paint black lines going across the width of the nails to make random size boxes. Dab the color of paint you are going to use on a piece of paper and use the nail art brush to get the paint off of the paper and apply the different color paint to the boxes. Wait about 10 min...

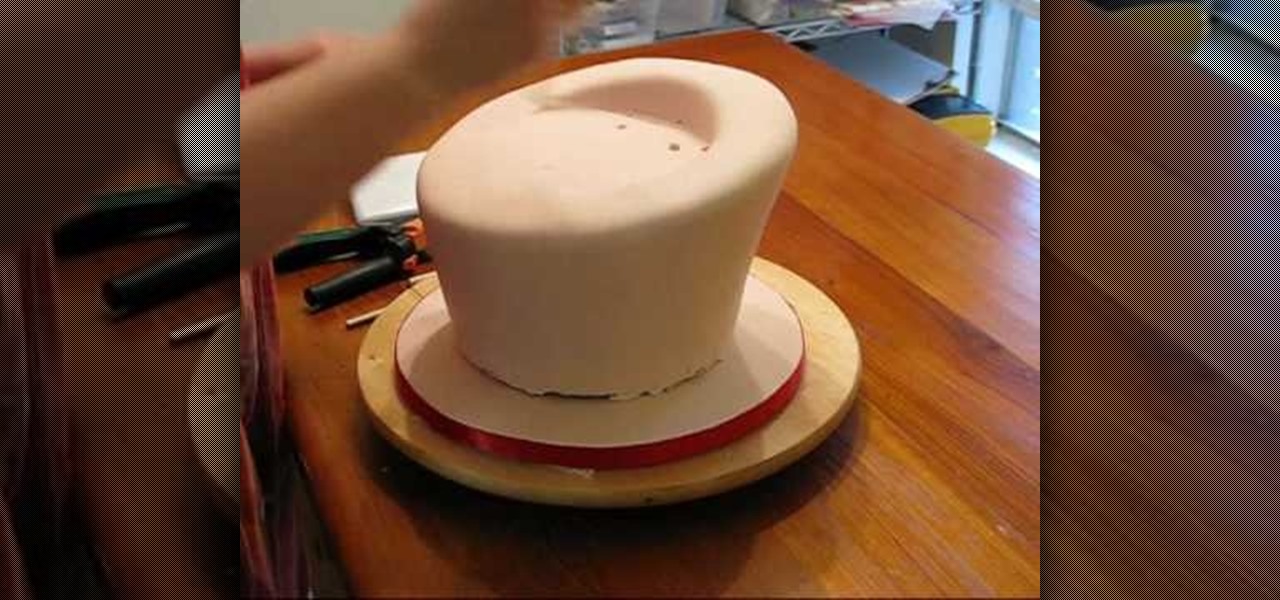
This video demonstrates how to make a topsy turvy cake. This is a very hard cake to make and requires some previous baking experience. He bakes a cake first and layers them using icing as a glue. He makes sure the cake is semi-frozen first before he starts carving it to be the base of the cake. After he is done carving, he covers the cake with icing. If you follow the rest of the steps in this video, you'll have a beautiful topsy turvy cake.

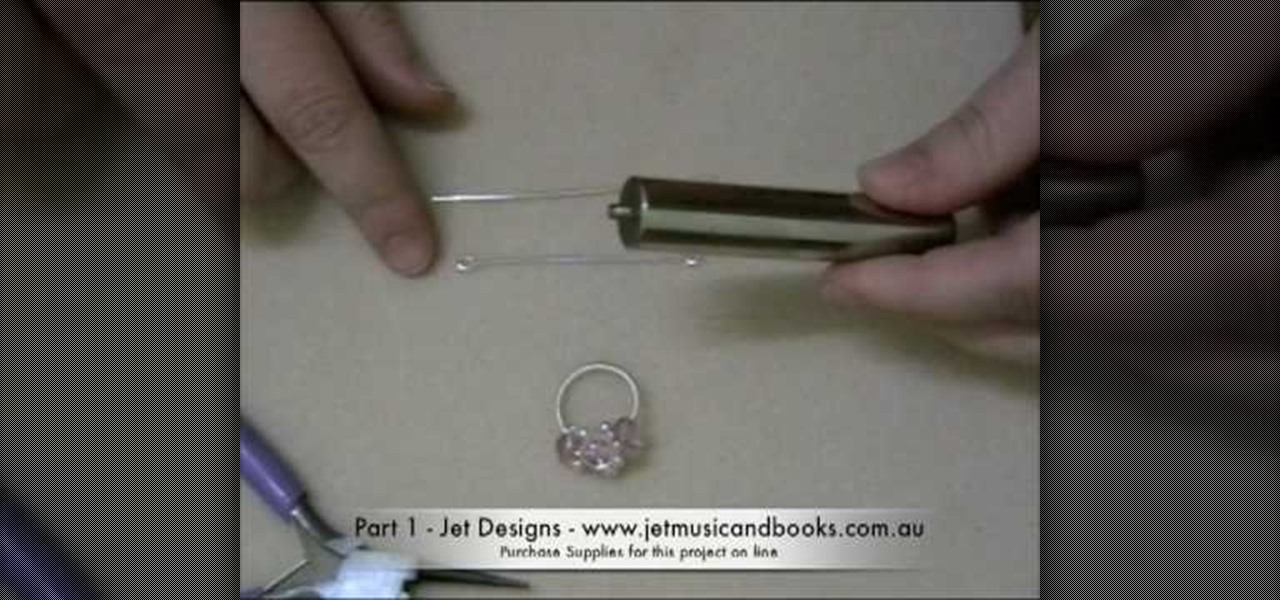
Sick of spending massive amounts of cash on jewelry that's not even your style? Express & accesorize yourself exactly the way you'd like by making your own jewelry! In this three-part jewelry-making tutorial, learn how to make a wire wrapped ring base with a crystal beed accent. You will need: A pair of flash cutters, pliers, a round object to make the ring form, 18 gage copper coated artistic wire, 24 gage artistic wire, and 26 gage artistic wire to secure the crystals & beads on the ring. E...

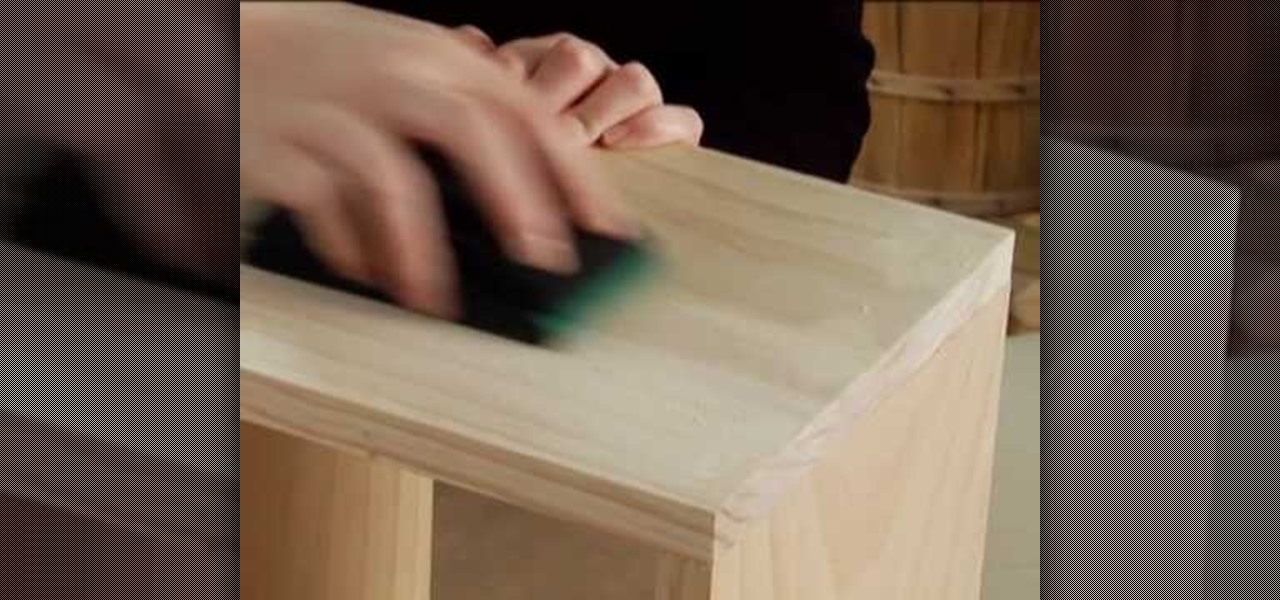
This video describes how to improve one's skill when performing home based projects with wood which is a useful skill if one wants to build a table, chair or even a box. In this video one will learn how to sink a nail, cover the hole and leave a sanded finish. For example it is important to drive all nails 1/8 an inch into the surface of the wood so the filler can cover the hole properly and avoid leaving sharp edges or uneven surfaces. Overall this video is simple, easy to follow and useful ...

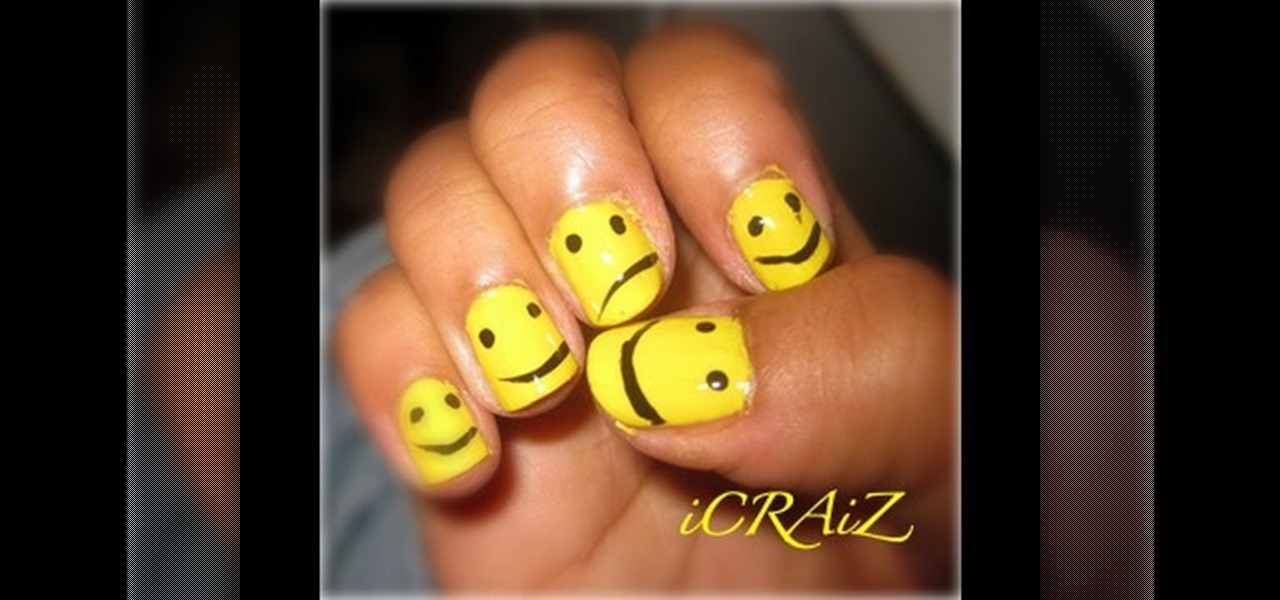
For those who would like to have fun, interestingly designed nails, this video shows how to paint smiley face nails. After applying a base coat, mix a plain matte bright yellow and a plain matte white nail polish together on a piece of paper. This will create a lighter shade of yellow. Apply the lighter yellow mixture to the nails. After applying two coats and allowing them to dry, use a black nail polish to draw the eyes and mouth of the smiley face. This will give you a cute and stylish des...

This tutorial is about how to create a Kate Moss inspired makeup look. Start with an eye shadow base that is slightly paler than your own skin tone. Use a black cream eyeliner with a small brush along the entire lash line. Smudge the line down using a cotton swab. Next cover the entire lid with black shadow. Using a smudging tool take the black shadow under the eye as well. Curl the lashes and finish with a coat of black mascara.

In this quick yet informational video, Ron Hazelton shows us how to replace an old or malfunctioning door latch in your home. After removing the doorknob itself, use a screwdriver to remove the ring around the base of the knob and then unscrew the backing that is holding the other side of the doorknob in place. Remove the old door latch and then replace it with the new one, putting in first the latch itself and one side of the doorknob. Use the screwdriver to hold this in place and then add t...

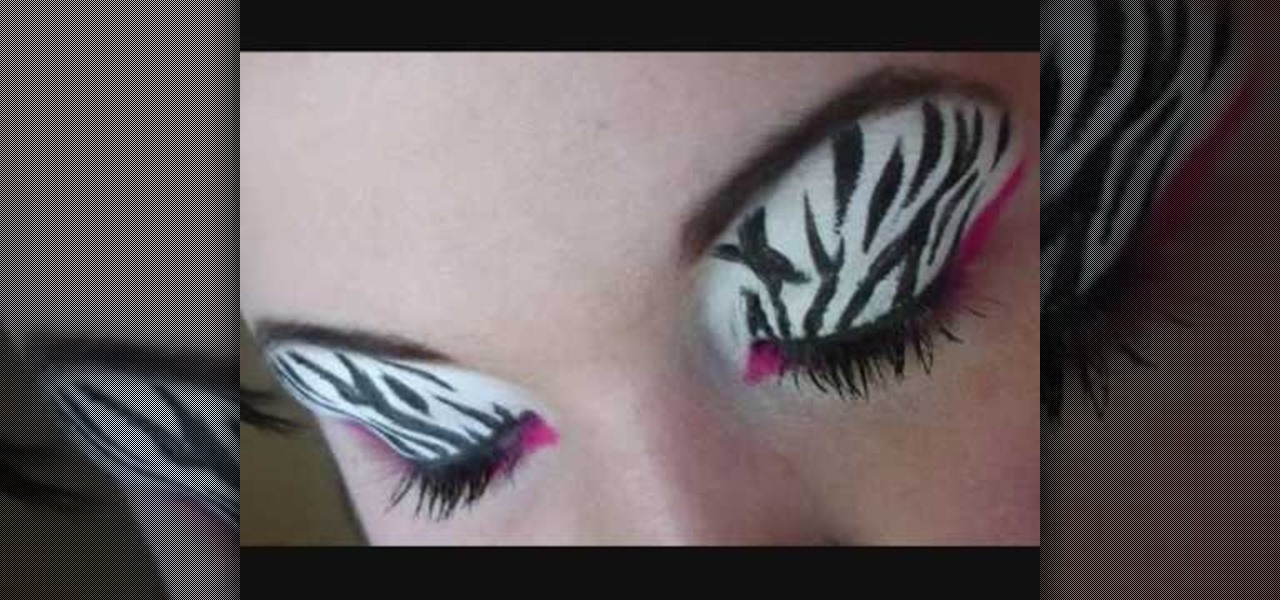
Creating a unique zebra print eye makeup design. Using a few different products such as a white base, liquid black liner, and hot pink eyeshadow you can create this effect. Video is complete with step by step pictures as well as finished photos. The color of the eyeshadow can be changed to match an outfit and create versatility. Watching this video allows you to create a very different style and look with the versatility to customize it to any particular outfit you are wearing.


