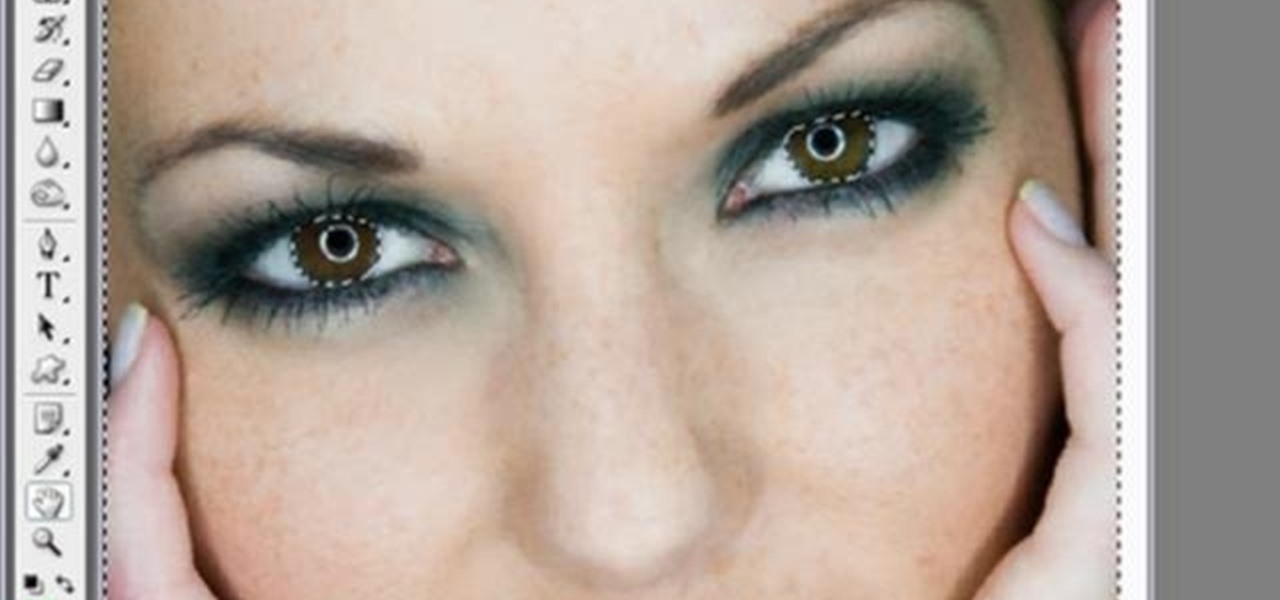
In this video, Jessica shows us how to change eye color using Photoshop. First, open up Photoshop on your computer. Open up your picture and zoom in on the eyes so you have a great view of it. Then add a new layer or "control +j". Where it says "normal" change that to color. Then select your paintbrush tool and make it a reasonable size for your eye. Click the color palette square and change the color to whichever one you choose. Now, paint over the eye and it will completely change the look!...
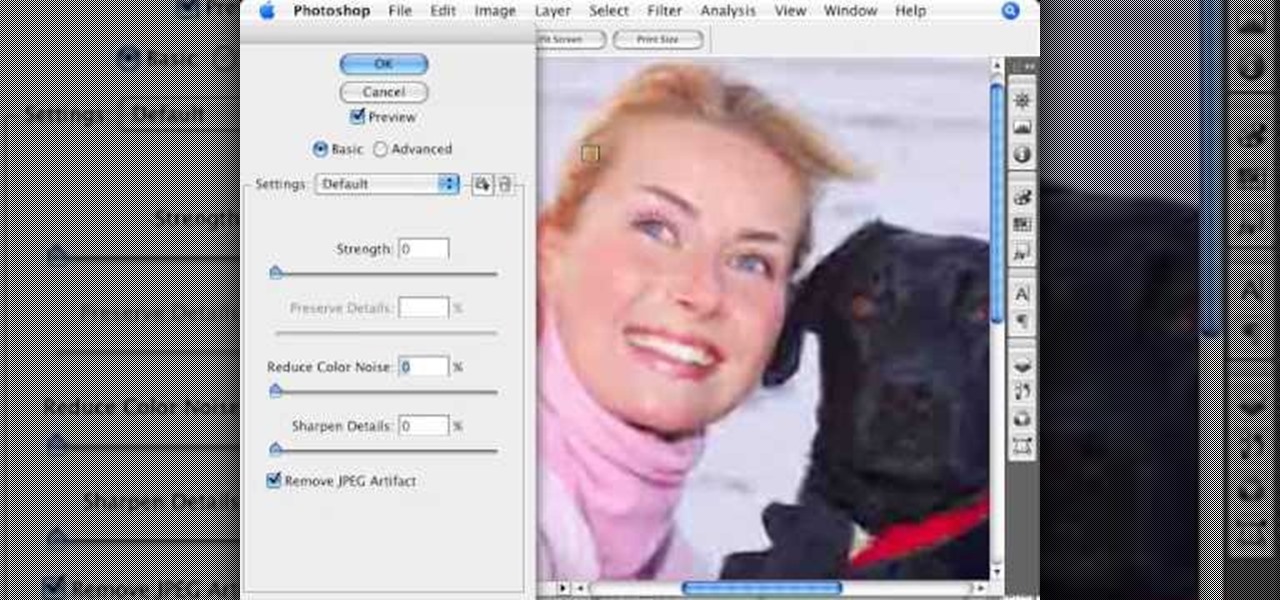
Photoshopuniverse shows how to remove JPEG Artifacts in photoshop. It's simple. Sometimes it happens that, you get the best picture which is related with your work, but unfortunately its low quality or small. If you zoom in a small picture it will pixilated. You will see some blocks. Luckily there is a way to remove it from photoshop. Go to- filter, then noise, then reduce noise. There will be an options of removing JPEG artifact. Check that. After watching the video you can remove JPEG artif...
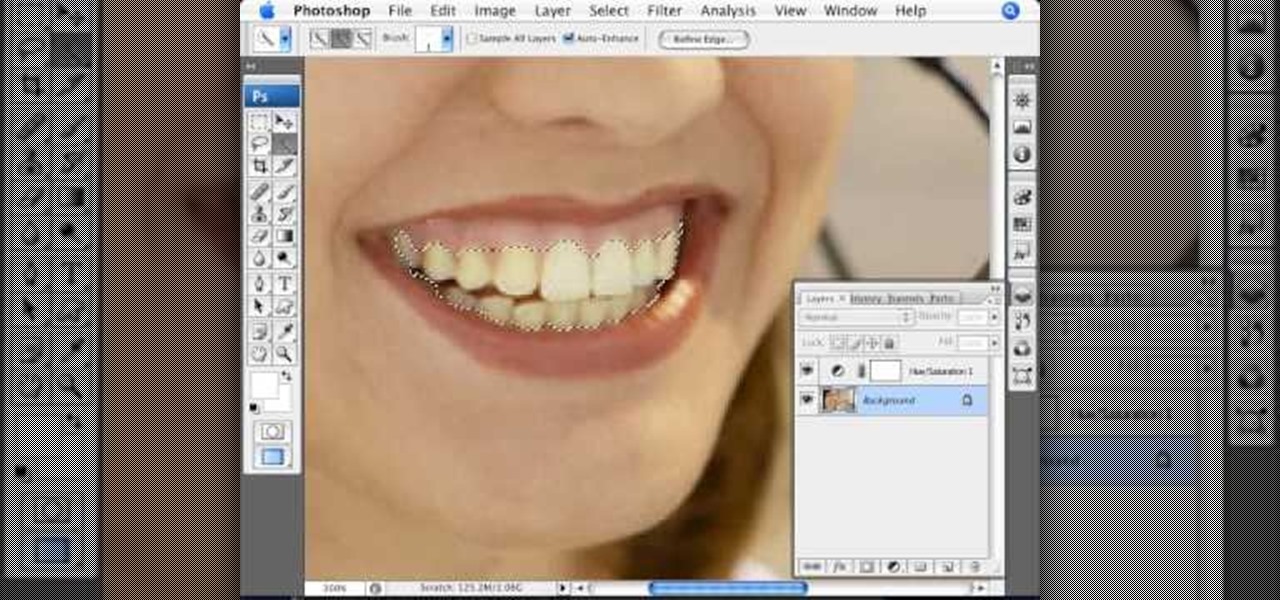
This is a terrific video on how to whiten yellow teeth in Photoshop, taught by Link. First, he zooms in on the teeth and uses the quick selection tool or magic wand. This is a pretty easy task. You just have to click and drag. If you put too much of the gums, you can hold down alt, then drag the areas you don't want. Make sure you use a small brush when using these modifications. All you have to do then, is go into the heat saturation and select shift-control-I, which inverts the selection. T...

In this two-part tutorial, learn about the basics of After Effects. These videos are made for those people who are new to After Effects and want to learn how to use it.
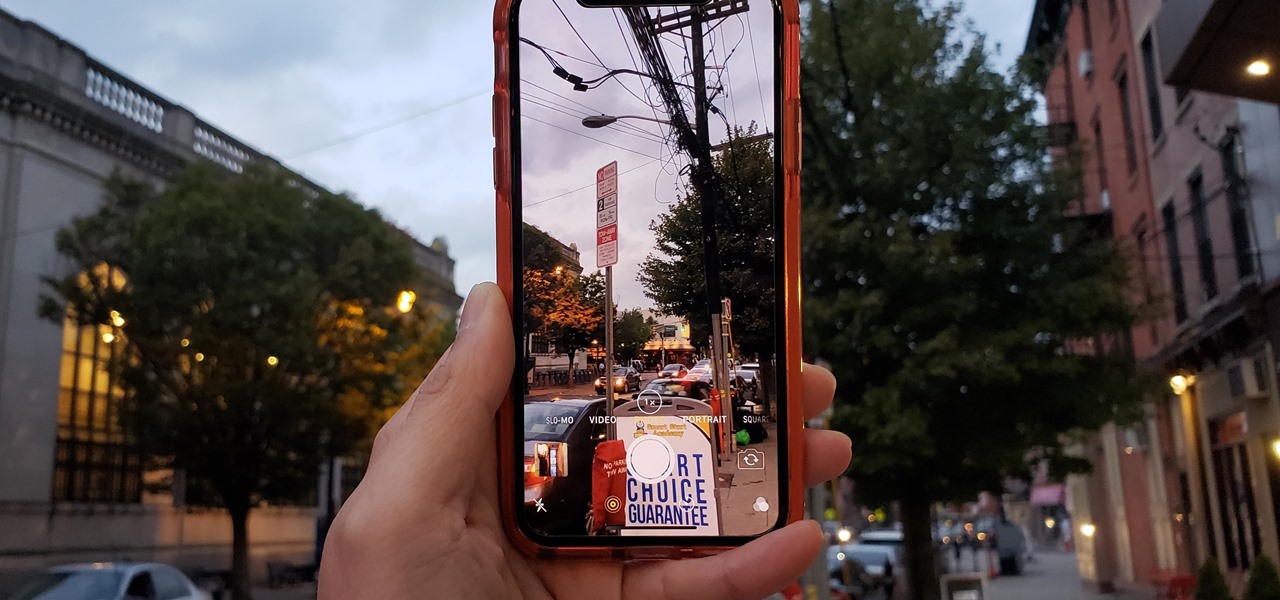
If reaching up to access Camera controls like the flash, HDR, and timer wasn't bad enough, it's gotten a lot more tedious on recent iPhones like the X, XS, and 11 series thanks to their tall displays. If you have a jailbroken iPhone, however, you can easily fix this issue using a free tweak.

DxOMark, an independent camera reviewer, has become the go-to place where consumers and OEMs alike hope for good camera scores on major new smartphones. The Google Pixel 2 has topped the charts since Oct. 2017, when the score no doubt helped pull the phone out from its troubled launch, but it has just been dethroned by the Samsung Galaxy S9+, which received the highest DxOMark score yet.

Snapseed is an app that you should definitely be using not only if you're really serious about photography, but also if you want to ensure that your online work sets the standard for social media. It's a great companion app to Instagram and VSCO, and it will save your day many times over when you find yourself on your phone, on-the-go, needing to edit an image beyond the typical everyday filters.
Photo mosaics have interested me since I was a kid. I could never understand how someone took the time and effort to make one large masterpiece out of hundreds of smaller images. Maybe I'm too daft to grasp the concept, but it seems extremely difficult. I certainly don't have the necessary skills to make my own work of art, but luckily my Nexus 7 does.
In this video we learn how to increase & decrease the size of web page content. First, click and hold down the control key and move the mouse wheel up and down. After you do this, you will start to see your web page content get larger and smaller right before your eyes. You can also use the plus and minus keys on the keyboard to get the same effect. Keep in mind you will need to do this for each of the different pages as you access them. For a more permanent fix, you will need to go to the to...
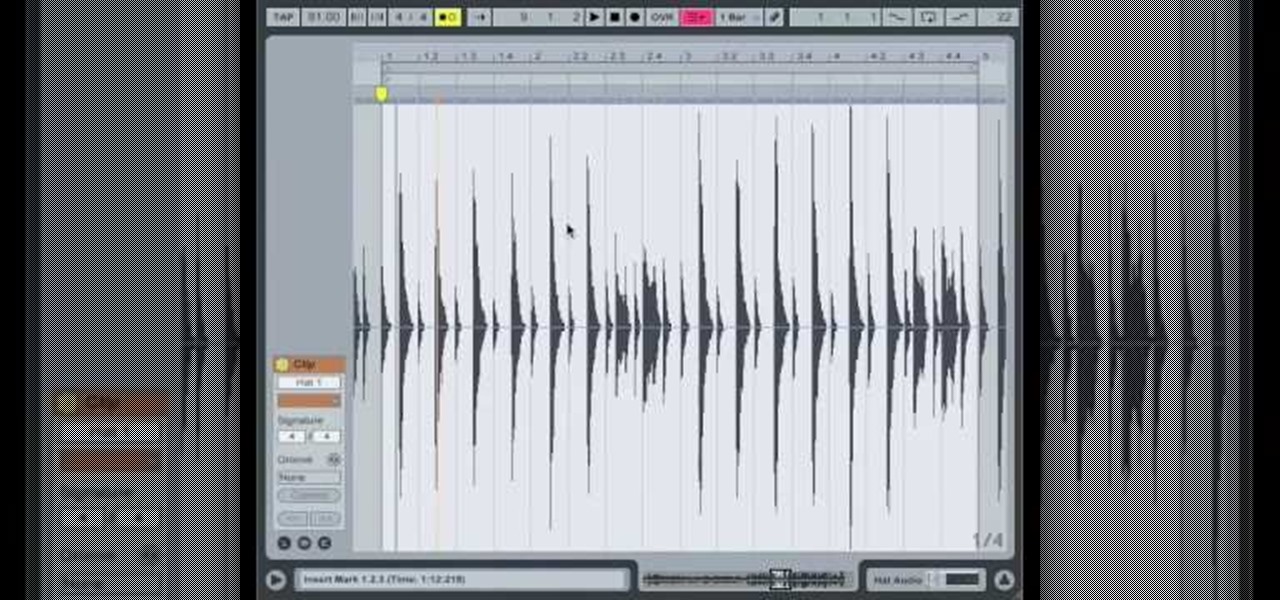
In this video, we learn how to use Ableton Live 8: Quantizing audio. To find the bars you want to use, find the up and down arrow keys. These will jump the loops back and forth based on the width of the loop race itself. Press play to search around for the best four bar section in your music. Now, set your first attack in your loop by zooming in on the hit. Hover over the audio and create a warp marker to drag from each of the bars. Label it as the beginning of your clip to the end, then save...
This video tutorial is in the Film & Theater category which will show you how to shoot deceptive and multiple camera angles. Camera and shooting techniques can add to the magic of your videos along with some simple special effects. One of the techniques is called the Zolly. It adds drama by creating a disorienting visual effect to the viewer. By zooming out a camera while using a dolly to move in, the subject stands out as separated from the background and appears to be floating towards the c...
In this video, we learn how to use the iPhone map app. First, go to Google Maps and click on the bottom to find your current location. This will show up in a blue button, which you can tap on to find out more information. The map will go in the direction your iPhone is facing and you can zoom in on information about places around you. You can also type in a place you are searching for, and get directions, then save them to your phone if you prefer. The key is the button on the bottom right wh...
This video tutorial is in the software category where Kerry Garrison will show you how to use vignettes with Adobe Photoshop Lightroom. By this you can remove the dark corners in a photo created by some zoom lenses. Select the photo, kick in the vignettes and fade out the corners focusing on the main subject matter. For this, select 'lens correction' on the right hand side and with the help of the sliders apply the vignettes. You have the choice of applying either a light or a dark vignette. ...
Mark Wallace shows us how to use a wide lens for portrait photography. A longer lens minimizes distortion in your picture and it maximizes what type of view you can see, so you can see more of the thing you are taking a picture of and less of the background. These lenses help keep the picture clean and uncluttered. You can see the difference between a wide and short angle lens by taking pictures with them and looking at the differences between them. There is also a zoom available, which makes...
A ripple stitch looks just like the rippling waves on an ocean, swaying back and forth and creating a beautifully punctuated, undulating pattern. Replicate the ocean's waves by learning how to create the ripple stitch.
This video shows us the procedure to use an iPhone with a microscope using iMicroscope. Open the application and focus the object correctly in the microscope. Bring the camera in the phone near the eye piece and click a photo once you get the object correctly focused. Hit 'Use' and put in the magnification of the image. Hit 'Accept' and view the image. You can see a magnification scale, date and an automatically scaled scale bar. You can zoom in the image. Save the picture in the camera roll....
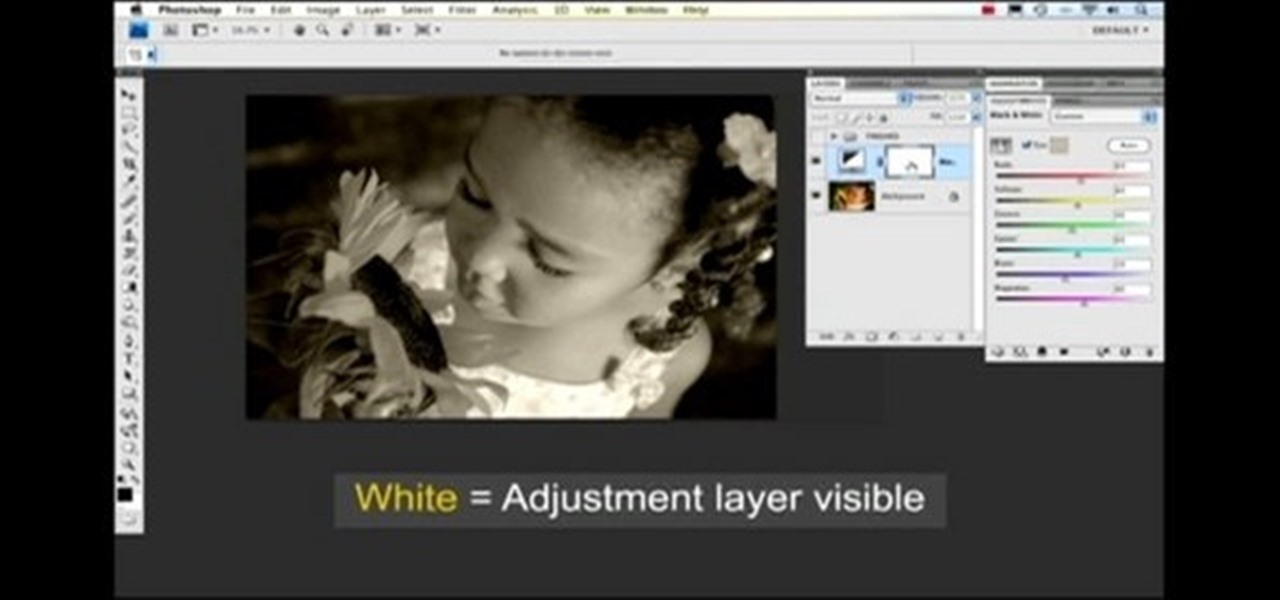
Nichole Young demonstrates how to hand color using layer masks in Photoshop CS4, which also works in Photoshop CS3. The procedure can be summarized in two stages: turning the picture you would like to edit black and white and then bringing color back into it to give it a hand-colored look. The black-and-white effect is achieved by creating a new layer over the background layer. The next step is to give the picture a warm look by adjusting the layer’s respective color balance. Then bring the c...
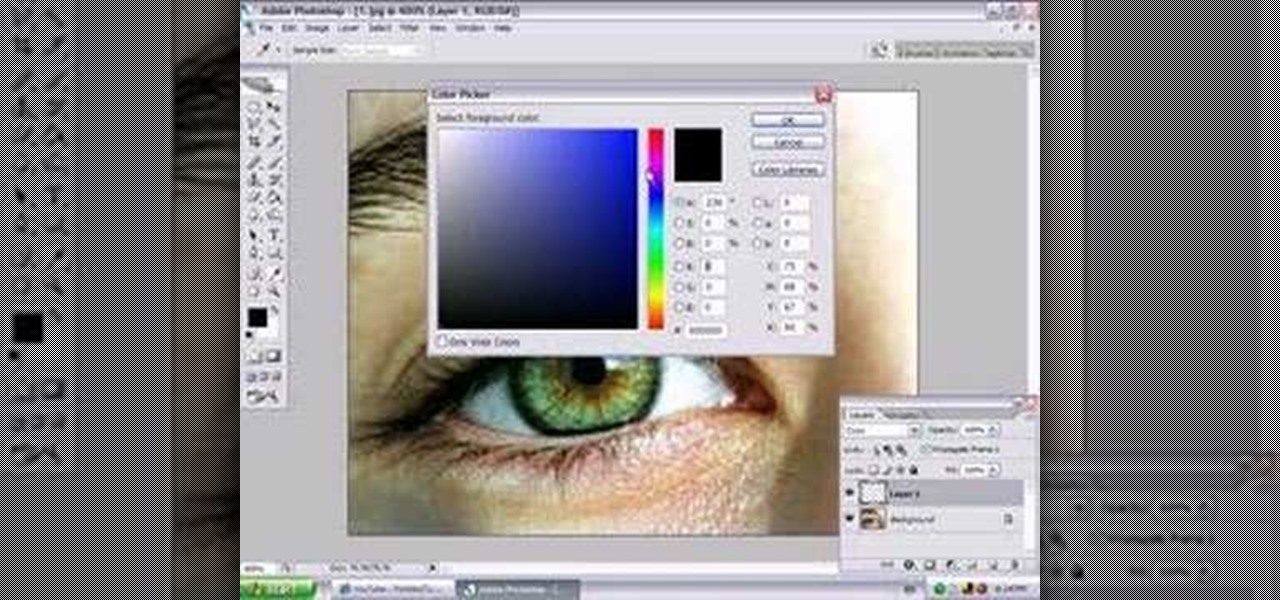
Yanik Chauvin continues his online photo school with this video on how to change eye color in Photoshop. Yanik makes this complicated program seem simple as he shows exactly what steps to take to make realistic color change in the eyes of a person. He creates a layer that will be used to edit the eyes, then zooms in on and selects them. He picks a nice green color to use, shows what settings to use to make it look realistic, then applies final touches by changing the opacity of the new color....
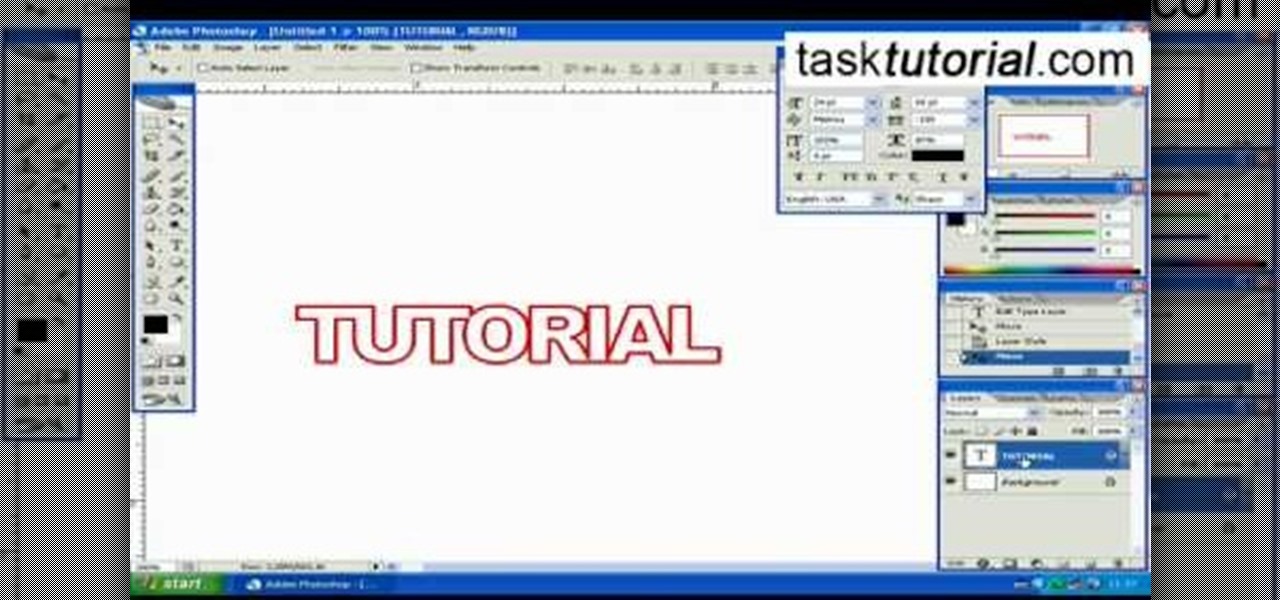
This how-to video is about how to create a simple text effect in Photoshop.
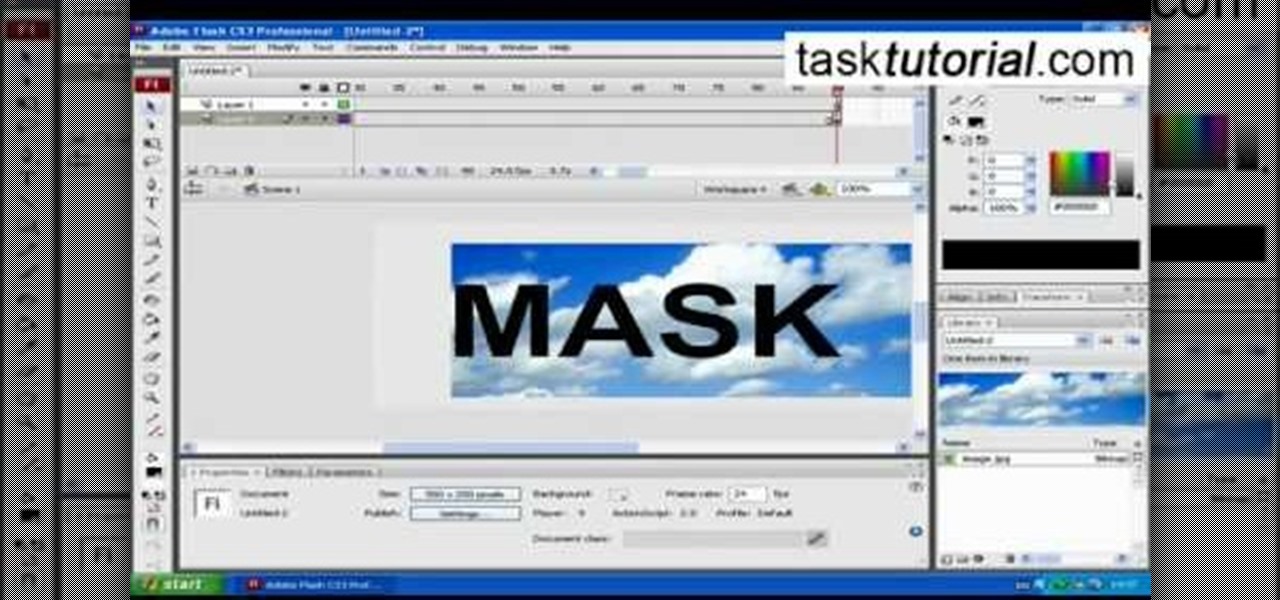
clipping mask Sponsored by SimpleRetouch.com Start by creating a task with the name Mask, then Choose a color and a font size.
This video is all about the keyboard shortcuts that are used in Microsoft Excel of the latest version. If you really need speed and efficiency then watch this video for its shortcut keyboard buttons. After typing all the data, if you need to see the page setup with the help of the mouse than it will take a pretty long time. By opting for keyboard shortcuts you can save much of your time and can invest it in another work. If you press 'alt' button then it will show keyboard shortcuts on the sc...
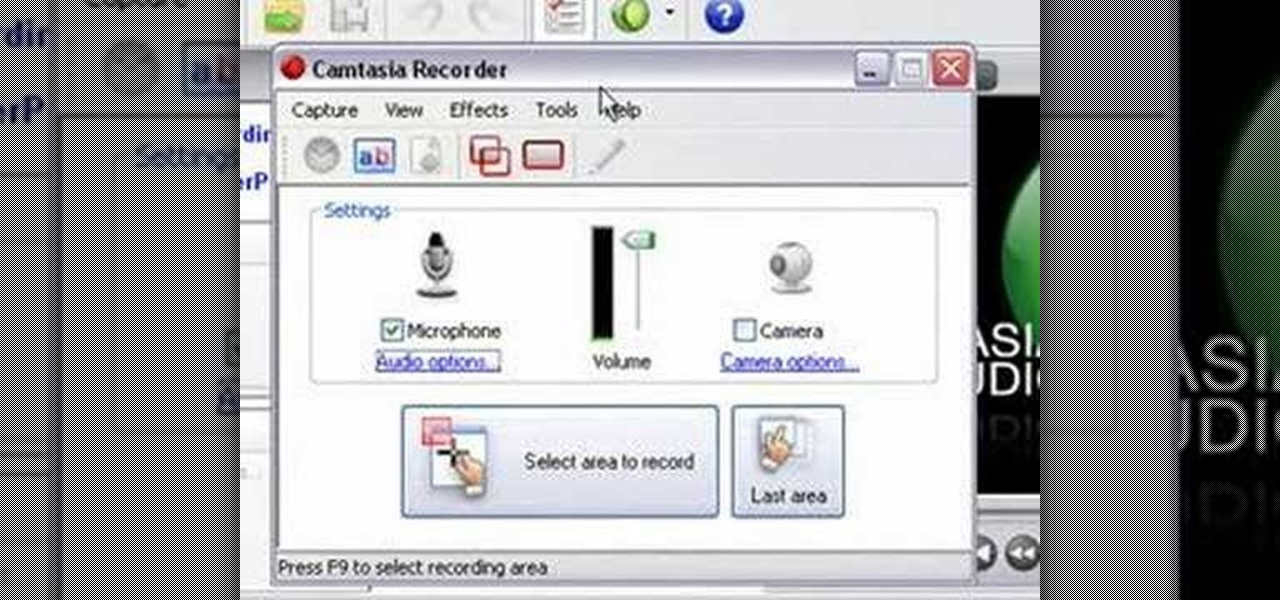
In this tutorial, Mike Lively of Northern Kentucky University shows you how to annotate a video using a Bamboo pad and Edit it using Camtasia studio.
This tutorial will let you hack into a wide selection of web cams and online security cameras. The hack is actually quite easy, and is best done with a browser like Mozilla Firefox. Navigate to Google in your browser, and then type in "inurl:viewerframe?mode+refresh". This piece of code will open up a list of active webcams. Then just surf through your choices and watch whatever you want. You can even change the camera angle and zoom in and out of the picture!
In this video, we learn how to change hair color in Photoshop CS3 and CS4. First, open up your image and zoom in on the hair. From here, you will click on the selection tool with a circle to select your image. Now, make sure this is the perfect size for the entire image. Right click and make sure it's sized out right. Now, select the hair and a red marker will appear. Select the whole surface of the hair, and as you get to the short hair use a smaller circle tool, don't worry about the smalle...
In this video, we learn how to draw wolf eyes. Start out by drawing the outline for the wolf head. Then you will draw the eyes in an almond shape dragging downward on the nose. After this, zoom in on the eyes with the computer and then fill in darker lines around the eyes. Draw in the pupils on the eyes and add in the details for the corners of the eyes as well. If you want to draw wolf eyes from a side view, draw the outline of the head to give you reference, then draw the shape of one of th...
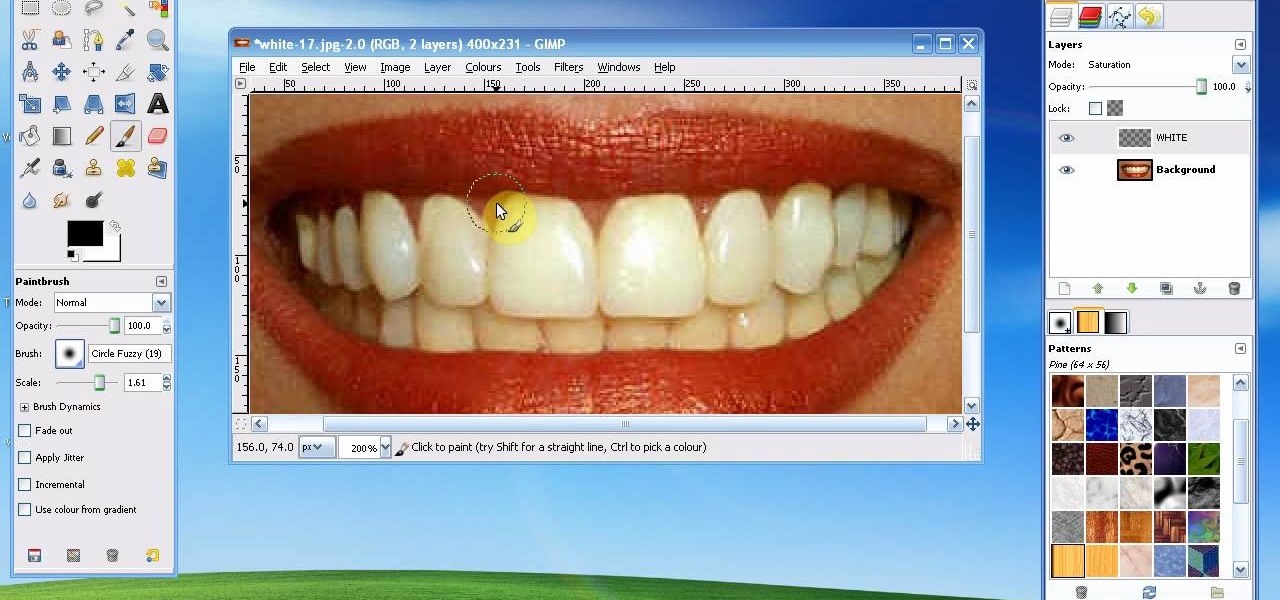
In this tutorial, we learn how to whiten teeth in the Gimp image editor. First, open up GIMP and zoom in on the teeth of your image. From here, create a new layer named "white", making sure it's transparent. Now, make sure the white tab is on the top and go to "mode" then "saturation". Select the brush named "circle fuzzy 19". Put the scale around 1.5 or 1.6 and then draw on the teeth, which will make them white! Do this for all of the teeth, then when you save you can use this as your image ...
In this video, we learn how to ink and color in Photoshop. First, you will want your background and sketch in two layers. Make a new layer which will be the layer you ink your art on. Move the opacity down on this, then zoom in and start inking your art. Use a normal brush in whatever size will fit your art the best. Take your time, then start a new layer when finished. Color the areas of the picture, then when you join these layers together, you will have an entire drawing finished. Make sur...
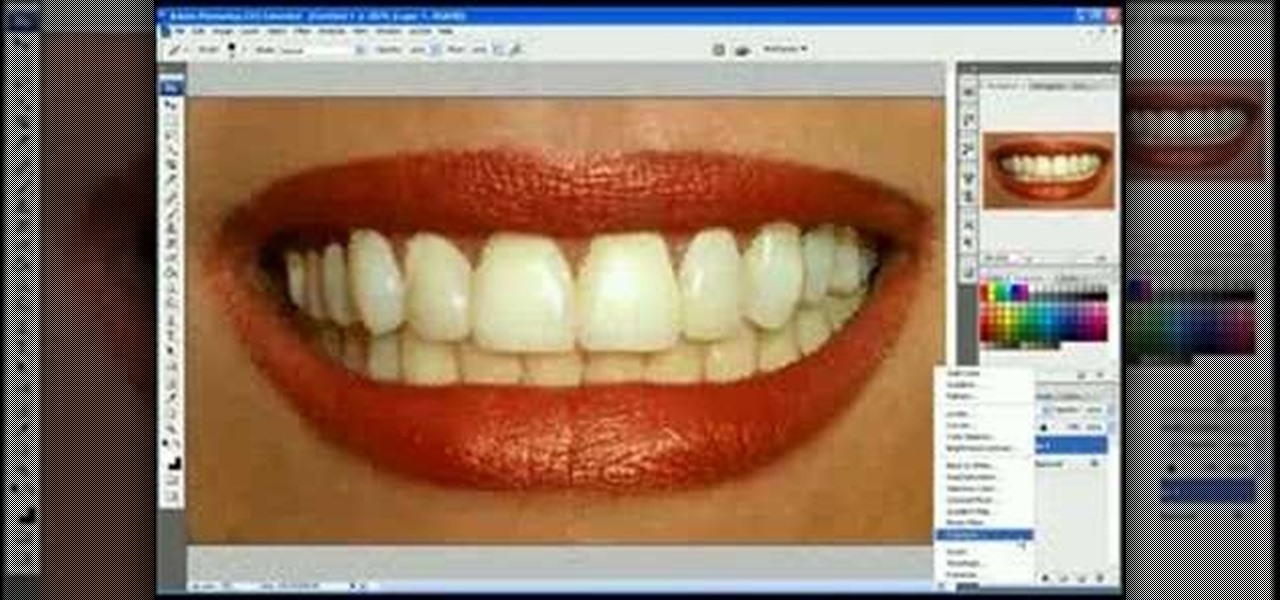
In this video we learn how to whiten teeth in Photoshop like a professional. Start off by opening up Photoshop and zooming in on the teeth in your photo. Start out by selecting a hollow brush and then paint the selection onto the teeth. Paint around them carefully and make sure you don't touch the gums in the middle and on the top of the teeth. Once you have selected the entire area of the teeth you will see them all covered in red. Then, go to "select" and "inverse", then press the button fo...
In this tutorial, we learn how to isolate your subject to get better photos. If you are taking a picture in an area with a lot of people or surroundings in the background, have your subject stand up on something. After you do this, you can take the shot and have nothing in the picture with your subject but the background. You can also have a child go on a playground and zoom in on them if you are taking a picture of a child. On the playground, you can find tons of spots where the child can be...
In this video, we learn how to use FastStone Image Viewer: the basics. After you have downloaded and installed this software, open it up. Now, go to the settings section of the software and move between the tabs to change and explore the different settings. When you select an image, it will automatically zoom in, you can move between different images, then you can set it as wallpaper, edit it, save it, and much more. You can upload picture and images by going through the file menu, then editi...
In this video, we learn how to remove acne spots with Photoshop. First, open up the picture and zoom in on the acne you want to remove. Now, unlock the layer by right clicking and unlocking it. Next, use the clone stamp tool while pressing alt to clear the skin where the blemishes are at. Click constantly on the acne until all of it is done. You want to click as many times as possible to get the best effect in removing this. When you are finished with this, duplicate the layer, then change th...
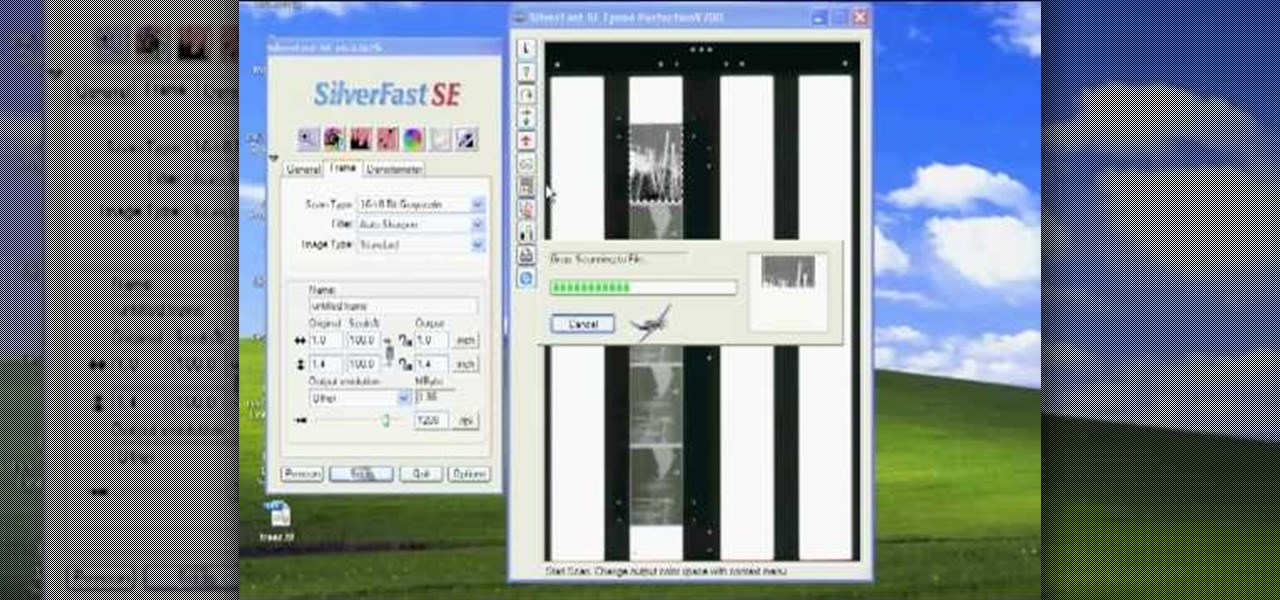
In this tutorial, we learn how to scan and edit negatives with SilverFast and Photoshop. First, open up the software and lay your negative in the scanner. Make sure you have selected the correct settings when you go to scan it, and click that it's transparent. Also, you will need to increase the size of it and make sure the lighting is correct. Now, scan the image and load it onto the software. Once it's loaded, you will be able edit it by zooming in and then rotating the image so it's the co...
In this tutorial, we learn how to remove a scar in Photoshop. First, select the magnifying glass to zoom in on the area you are working on. Next, select the paperclip icon, the select the second brush. Now, come to the edge of the scar and drag across the around the entire scar. Come back around, then the scar will be highlighted. Now click down and hold the image highlighted, and you can smooth out the skin and it will disappear. Next, do this on the other side of the face to remove the rest...
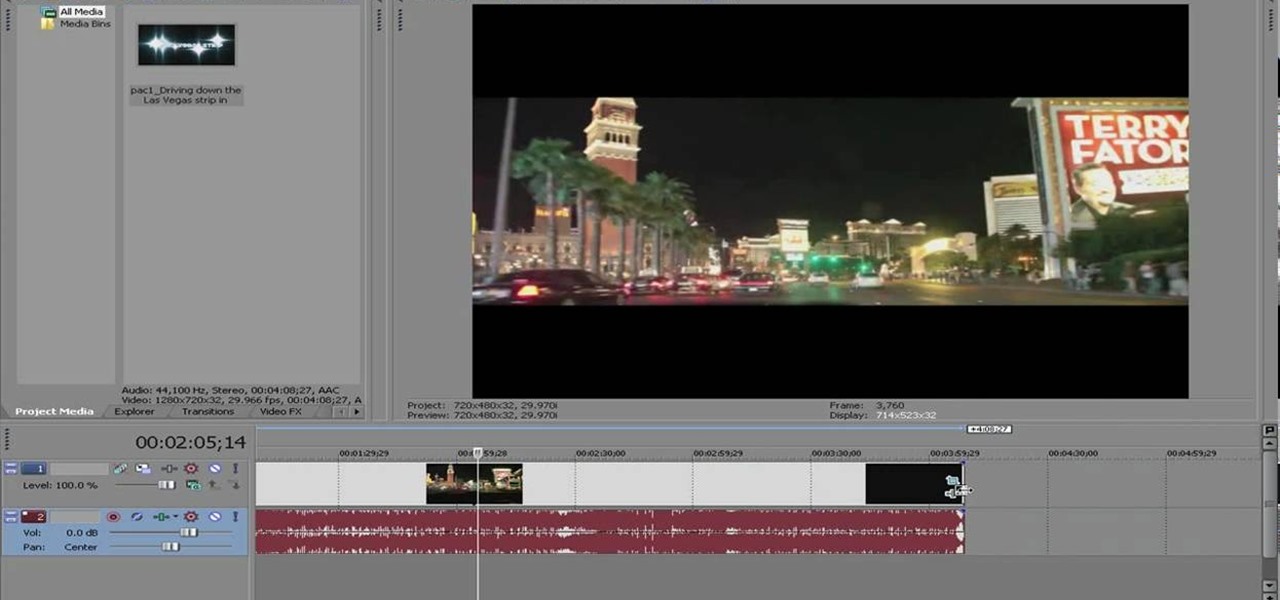
In this tutorial, you'll see how to create a widescreen letterbox effect, removing and company logos or TV icons which appear at the bottom of the screen. This technique also comes in handy to remove any unwanted element or to zoom in on a particular object. Whether you're completely new to Sony's popular nonlinear editor (NLE) or are a seasoned digital video professional simply looking to pick up a few new tips and tricks, you're sure to be well served by this free video software tutorial. F...
This tutorial teaches us how to touch up eyes while using Photoshop. First, open up Photoshop and zoom into the eyes on a picture you want to touch up the eyes on. First, select the adjustment layer icon and brighten the image. Next, invert the mass and select the "v" key, then pain the eyes on both sides. Next, click "filter" and then click "blur" so you will soften the edges so the picture doesn't look fake. Now, you can click on "before and after" to see what the picture results look like....
In this Electronics video tutorial you will learn how to take a picture with your LG GW620. First you got to press and hold the camera key on the side of your phone. This will open up the camera options. If you tap the screen you will see the options icons on the side. The various icons are zoom, exposure, flash, macro and settings. On the right hand side you have the back, camera mode and the gallery icons. To take a photo, tap on the camera mode icon. The photo will be clicked and then a li...
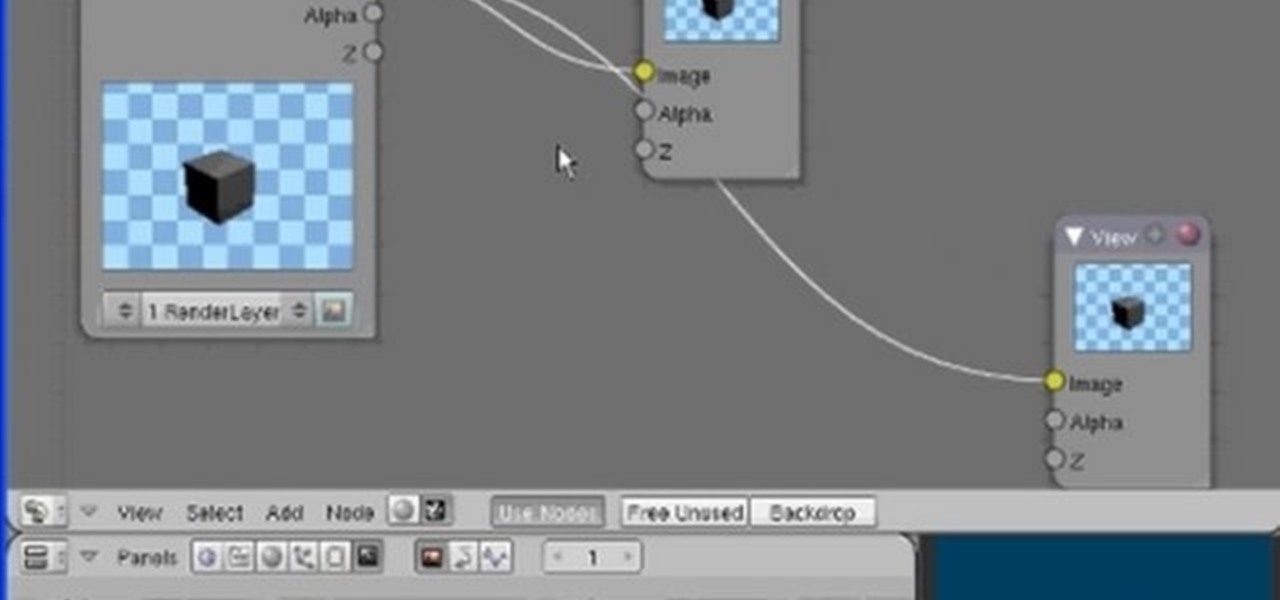
The Node Window is a workspace or desktop for compositing. This clip covers all the mouse and hot keys you use for navigating around and in that workspace and discusses how to add/delete/move nodes, pan/zoom/autozoom the window.
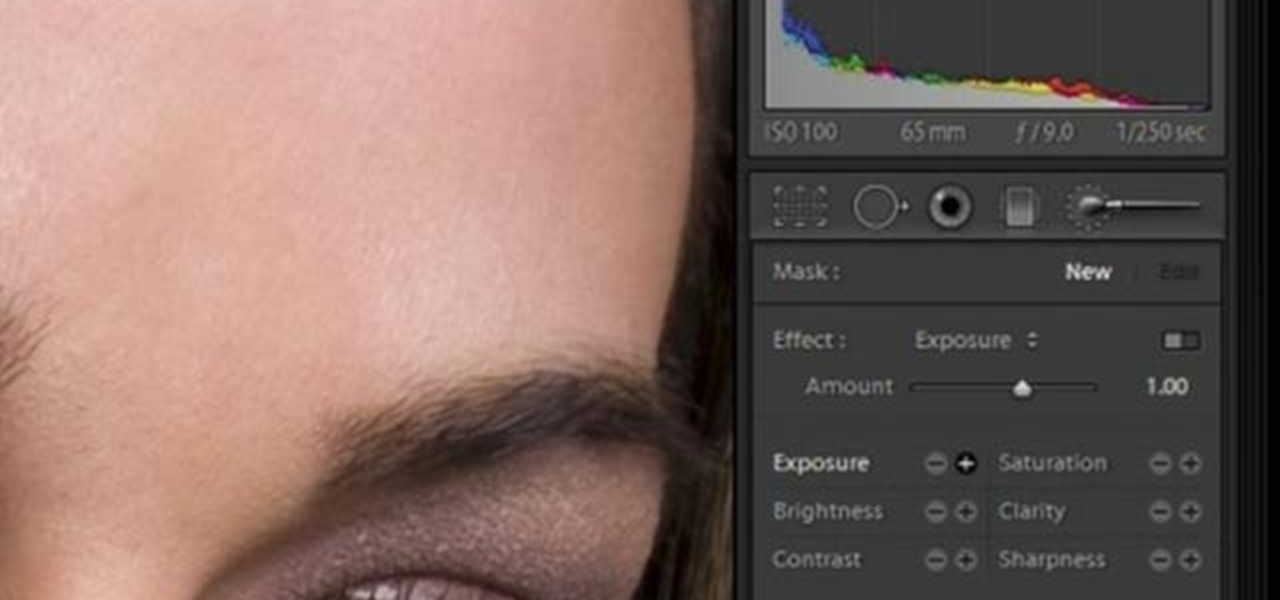
In this software video tutorial you will learn how to soften skin feature in Lightroom 2 in Yanik's Photo School. Select a photo and zoom in to the skin area. Click on the adjustment brush, or ctrl K. Here you can adjust 7 features; exposure, brightness, contrast, saturation, clarity, sharpness and color. But, if you click on the other 'exposure' dropdown menu, you will get these 7 options and additionally a 'soften skin' option. Click on 'soften skin' and it gives you the options to add nega...
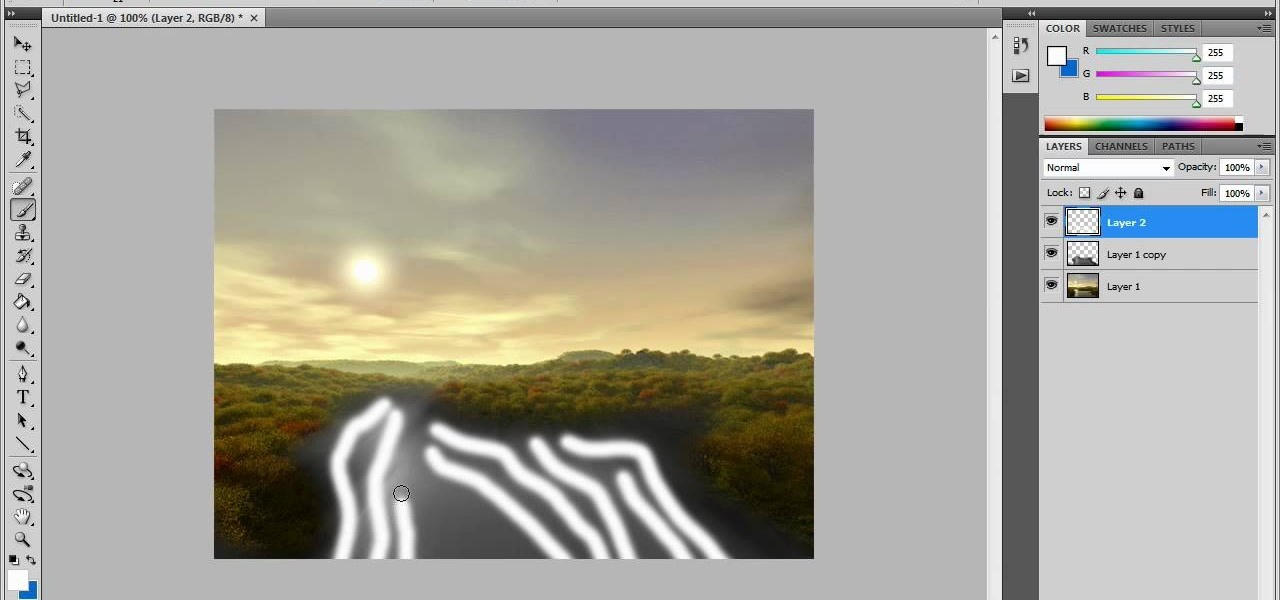
In this video tutorial, viewers learn how to create fog using Adobe Photoshop. Begin by importing the image into the program and duplicate the image. Now go to Filter, select Blur and select Radial Blur. Set the amount to 100, Blur Method to Zoom and Quality to Best. Now select the rectangular marking tool and select the sky. Then open the Hue/Saturation menu and set the Saturation to -100. Use the eraser tool to remove the gray from the edges. Now use the paint tool and paint white streaks o...
In this video, we learn how to get white teeth using PhotoShop. Before you begin, open up PhotoShop and open the picture you want to change. Make sure you zoom in on the teeth so you have a good view and it's easier to paint. First, select the dodge tool, the choose midtones. Now, select the brush that is "round-soft" and brush the brush over the teeth that you want whitened. If you make any mistakes, you can use the eraser tool to clean up what you changed. Once you are done, save your photo...